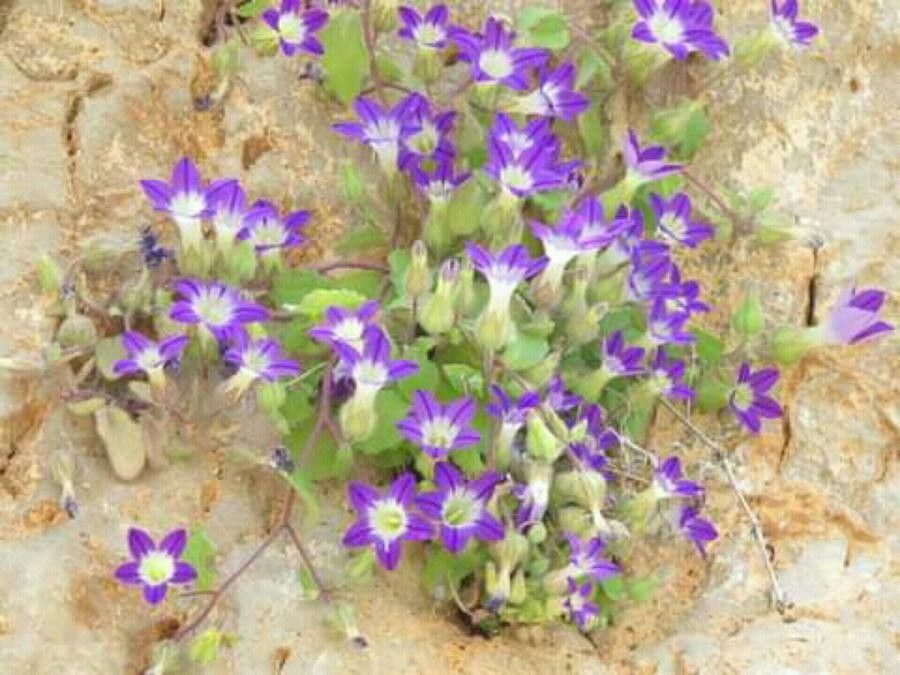
Unleashing the Beauty of Campanula camptoclada: A Guide to Propagation
Campanula camptoclada, with its cheerful, bell-shaped flowers and trailing habit, is a delightful addition to any garden. But what if you could share this charm with your loved ones, or even start a whole new patch of these delightful blooms? That’s where propagation comes in.
This guide will delve into the exciting world of propagating Campanula camptoclada, empowering you to grow your own plants from cuttings or seeds.
The Power of Propagation:
Propagation is the process of creating new plants from existing ones. It’s an incredibly rewarding experience that allows you to expand your garden, share your favorite plants, and even preserve rare or beloved varieties.
Method 1: Stem Cuttings (The Easy Way)
- Timing is Key: The ideal time for taking stem cuttings is in the spring or early summer, when the plant is actively growing.
- Cut & Prep: Select healthy, non-flowering stems. Using a sharp knife or shears, cut a 4-6 inch section just below a leaf node, making a clean, angled cut. Remove the bottom leaves.
- Rooting Hormone (Optional): Dip the cut end of the stem in rooting hormone to encourage root development.
- Potting Up: Fill a small pot with a well-draining potting mix, such as a peat-free blend. Make a small hole in the center and insert the prepared stem, ensuring that at least one leaf node is buried.
- Cultivation: Mist the cuttings regularly, and keep the potting mix consistently moist but not soggy. Place your pot in a bright, indirect light spot.
- Rooted & Ready: After a few weeks, you should see the first signs of new growth, indicating that roots have formed. Once your cuttings are well-rooted, you can transplant them into individual pots or into your garden.
Method 2: Seed Propagation (For Patience & Diversity)
- Collect Seeds: Allow your Campanula camptoclada to flower and produce seed pods. Once the pods turn brown and dry, carefully collect the seeds.
- Seed Starting: In late winter or early spring, fill a seed tray with a seed-starting mix. Lightly sprinkle the seeds on the surface of the soil and cover them with a thin layer of vermiculite or compost.
- Moisture & Light: Keep the soil consistently moist. Cover the seed tray with a clear plastic dome to create a humid environment. Place the tray in a bright, warm location, but out of direct sunlight.
- Germination: Campanula camptoclada seeds typically germinate within 1-2 weeks. Once the seedlings have developed a few true leaves, you can transplant them into individual pots or outdoors.
Important Tips for Success:
- Sterilization: Before using any tools for propagation, sanitize them with alcohol wipes or a bleach solution to reduce the risk of fungal infections.
- Ventilation: When propagating using cuttings or seeds, provide good ventilation by lifting the covering or opening the lid of the propagator for a few minutes each day to prevent mold growth.
- Consistency is Key: Maintaining the right moisture levels and light conditions is crucial for successful propagation. Observe your plants closely and adjust your care as needed.
From Seed to Bloom:
With a little patience and care, you can enjoy the beauty of Campanula camptoclada for years to come. Whether you choose to propagate from cuttings or seeds, remember that every new plant you create is a testament to your gardening prowess and a continuation of the magic of this delightful species. So, unleash your inner green thumb and propagate your own Campanula camptoclada today!