Unlocking the Secrets of “Guavira” Propagation: How to Grow Your Own Campomanesia Dichotoma
The world of edible fruits extends far beyond the familiar apples, oranges, and even mangoes. Many delicious and intriguing species remain largely unknown outside their native regions. Today, we’re journeying to the sun-drenched landscapes of South America to uncover the secrets of propagating Campomanesia dichotoma, a fruit-bearing tree more delightfully known as “Guavira.”
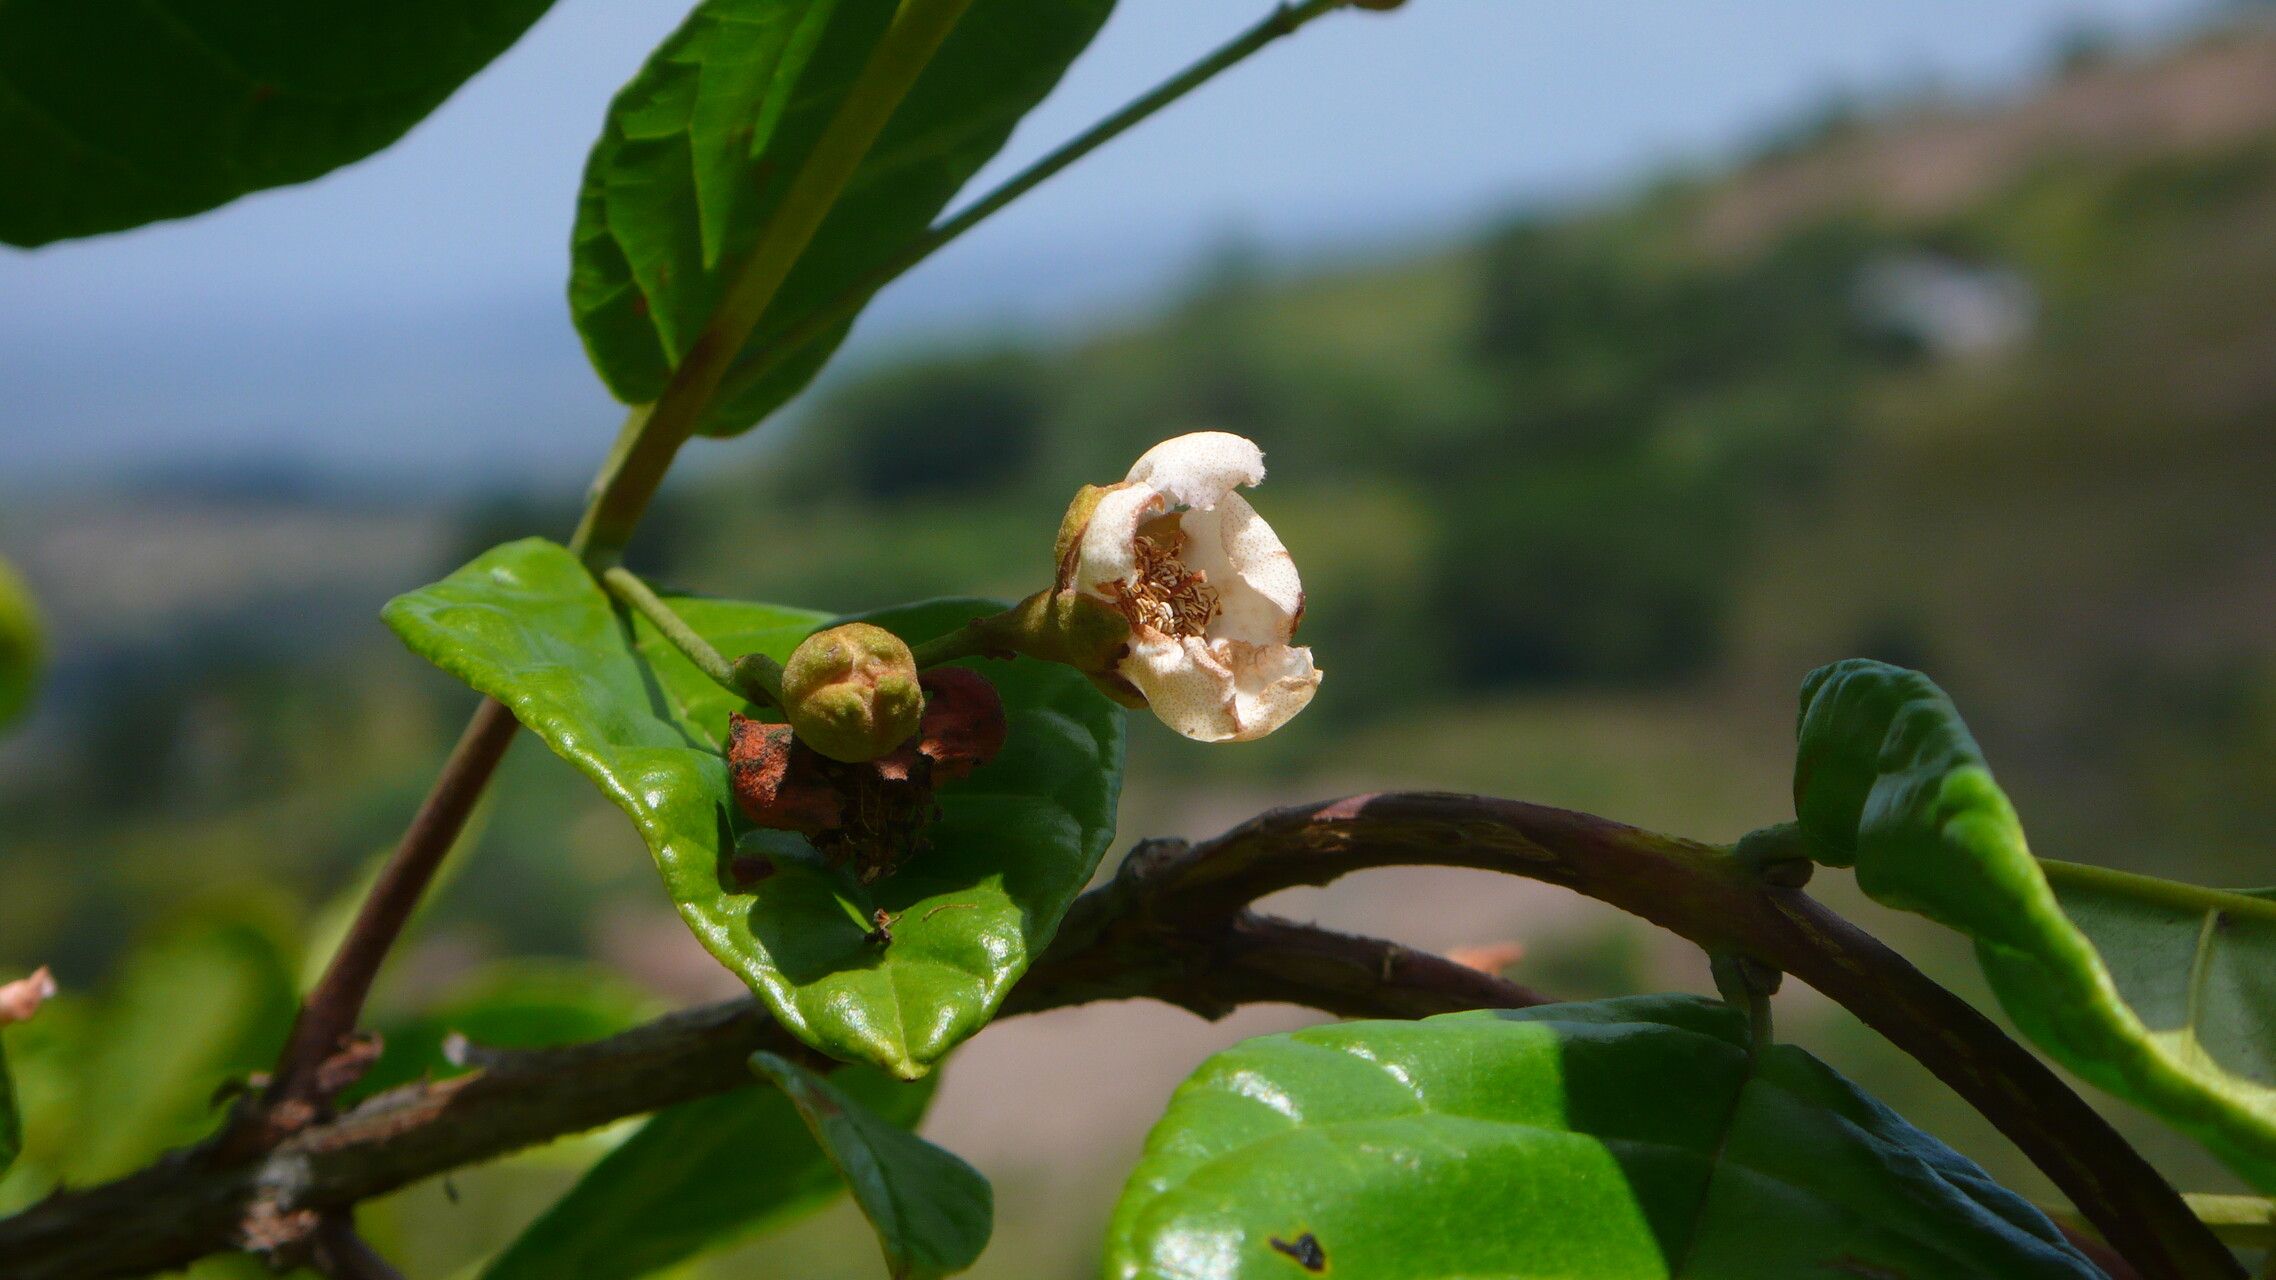
Boasting a sweet, slightly tart pulp with a hint of guava and pineapple, Guavira fruits are a delectable treat enjoyed fresh, juiced, or transformed into jams and jellies. But beyond its culinary appeal, Guavira is also an attractive, small to medium-sized tree adorned with beautiful white blossoms, making it a charming addition to gardens in suitable climates.
Ready to embark on your own Guavira growing adventure? Let’s explore the two most effective propagation methods:
1. Seed Propagation: Embracing the Essence of Patience
Growing Guavira from seed is a rewarding experience, but be prepared to embrace the virtue of patience. Here’s a step-by-step guide:
- Seed Collection and Preparation: Source fresh, ripe Guavira fruits and extract the seeds. Cleanse them thoroughly, removing any clinging fruit pulp.
- Sowing the Seeds: Choose a well-draining seed-starting mix. Sow the seeds about 1/2 inch deep, keeping them consistently moist but not waterlogged.
- Nurturing Germination: Guavira seeds can take their time, sometimes requiring 4-8 weeks or even longer to sprout. Provide warmth, humidity, and indirect sunlight.
- Transplanting Seedlings: Once seedlings develop a few sets of true leaves, carefully transplant them to individual pots, handling the delicate roots with care.
- Patience is Key: Remember, seed-grown Guavira trees can take several years to bear fruit, but the eventual reward of homegrown fruits will be worth the wait.
2. Cutting Propagation: A Faster Route to Fruitful Bounty
For those seeking a quicker path to fruit production, propagating Guavira from cuttings is a more efficient method. Here’s how:
- Taking Cuttings: During the active growing season, select healthy, semi-hardwood cuttings about 4-6 inches long. Make the cuts just below a leaf node.
- Preparing the Cuttings: Remove leaves from the lower half of the cutting and consider dipping the cut end in rooting hormone to encourage root development.
- Planting the Cuttings: Use a well-draining potting mix and insert the cuttings about 2 inches deep. Maintain consistent moisture.
- Encouraging Root Development: Cover the cuttings with a plastic bag or humidity dome to create a greenhouse-like environment that promotes rooting.
- Transplanting Rooted Cuttings: Once roots develop (usually within a few weeks), transplant the cuttings to individual pots and then, once established, to their final growing locations.
Essential Guavira Growing Tips:
- Sunlight: Guavira thrives in full sun to partial shade. Ensure ample sunlight for optimal growth and fruit production.
- Soil: Well-draining soil is crucial. Amend heavy clay soils with organic matter to improve drainage.
- Water: While drought-tolerant once established, Guavira benefits from regular watering, especially during prolonged dry periods.
- Fertilizer: Feed your Guavira with a balanced fertilizer a few times a year during the growing season.
Propagating Guavira might require a touch of patience and dedication, but the rewards are well worth the effort. By embracing these techniques, you can cultivate your very own slice of South American flavor and enjoy the exotic delights of this unique fruit for years to come.