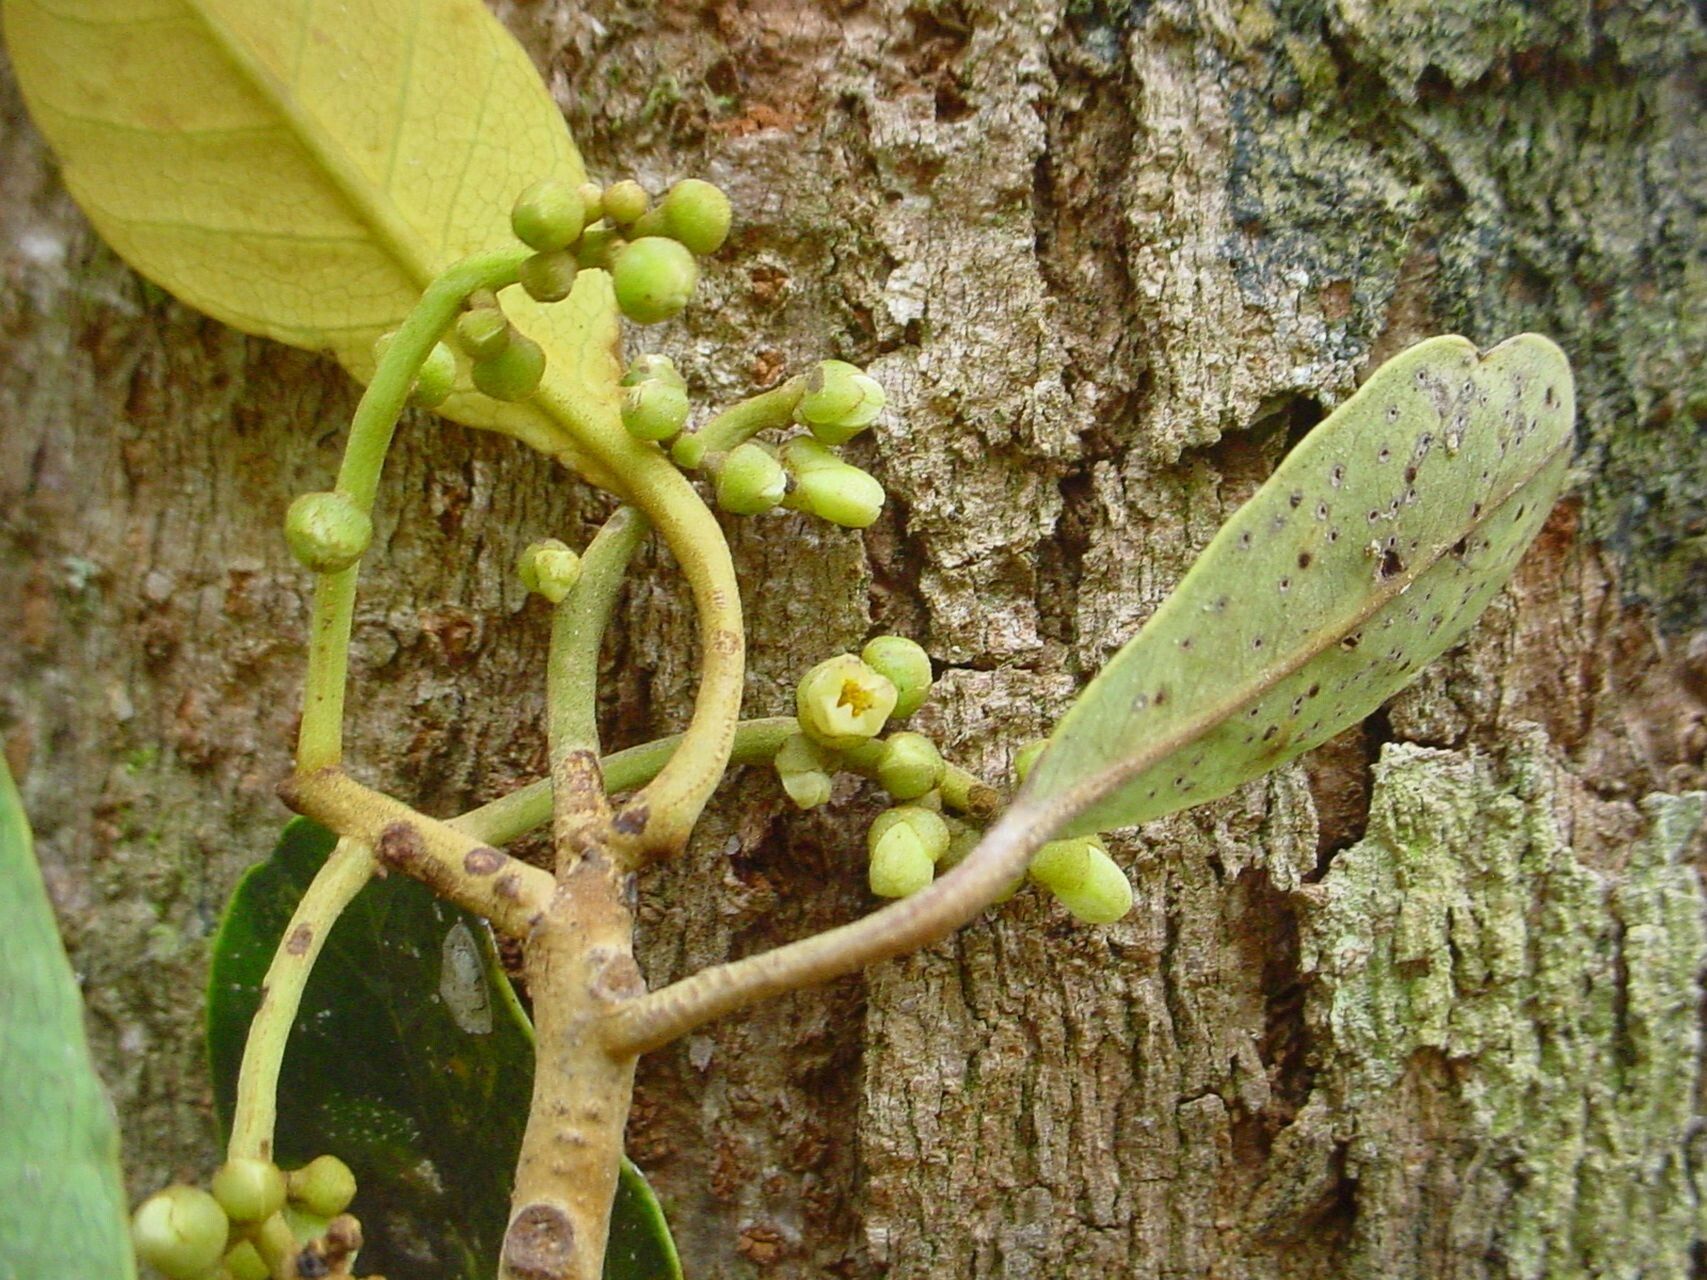
Cracking the Code: Propagating the Pili Nut Tree (Canarium oleiferum)
The Pili nut tree (Canarium oleiferum), native to Southeast Asia, is a tropical treasure. Not only does it offer generous shade with its lush foliage, but it also provides the incredibly nutritious and delicious Pili nut. If you’re looking to add this exotic gem to your garden, understanding its propagation is key. Let’s delve into the world of Pili nut propagation, exploring the different methods and what makes each tick.
Method 1: The Seed Route (Most Common)
- Timing is Everything: Fresh Pili nuts are the gold standard. Look for seeds still encased in their fleshy fruit, as dried nuts have very low germination rates.
- Prepping Your Seed: Remove the fleshy outer layer and clean the hard shell. You can nick the shell slightly to speed up germination, but be careful not to damage the seed inside.
- Sowing the Seed: Plant your Pili nut about 2-3 inches deep in a well-draining potting mix. Keep the soil consistently moist but not waterlogged.
- Patience, Young Padawan: Germination can be a waiting game, taking anywhere from a few weeks to several months. Keep the pot in a warm, shady spot and maintain moisture.
Method 2: Grafting for Superior Traits
- Why Grafting? While seed propagation is common, it doesn’t guarantee you’ll get the same variety as the parent tree. Grafting, taking a cutting from a mature, desirable tree and attaching it to a compatible rootstock, helps maintain specific traits like nut size and taste.
- Grafting Know-How: This method requires more skill and knowledge. You’ll need to choose a suitable rootstock (often a young Pili seedling) and perform the graft using techniques like cleft or wedge grafting. Online resources and gardening communities can be great sources for learning these techniques.
Method 3: Air Layering – A Patient Approach
- The Gist: Air layering involves encouraging roots to grow on a stem while it’s still attached to the parent tree. Once roots develop, you can sever the stem and have a new, independent plant.
- How It’s Done: Select a healthy branch and make a small wound. Surround the wound with moist sphagnum moss and wrap it in plastic to retain moisture. After a few months, roots should develop.
- Patience is Paramount: Air layering can take several months. This method is more common for experienced gardeners but can be rewarding for propagating specific cultivars.
Tips for Pili Nut Propagation Success:
- Well-Draining Soil is Key: Pili nut trees don’t like soggy feet. Ensure your potting mix or garden bed drains well.
- Warmth is Essential: As a tropical species, Pili nut trees thrive in warmth. Maintain a temperature range of 75-85°F (24-29°C) for optimal growth.
- Fertilize Wisely: Once your seedling or grafted plant is established, fertilize regularly with a balanced fertilizer during the growing season.
- Keep Pests at Bay: Monitor your plants for common pests and treat them promptly to prevent any damage.
Propagating Pili nut trees can be an exciting endeavor for plant enthusiasts. Whether you choose the traditional seed route, opt for grafting’s tailored approach, or explore the intricacies of air layering, understanding the basics of each method can help you add this versatile and valuable tree to your own slice of paradise.