Unfurling the Secrets of the Golden Canna: A Guide to Propagating Canna flaccida
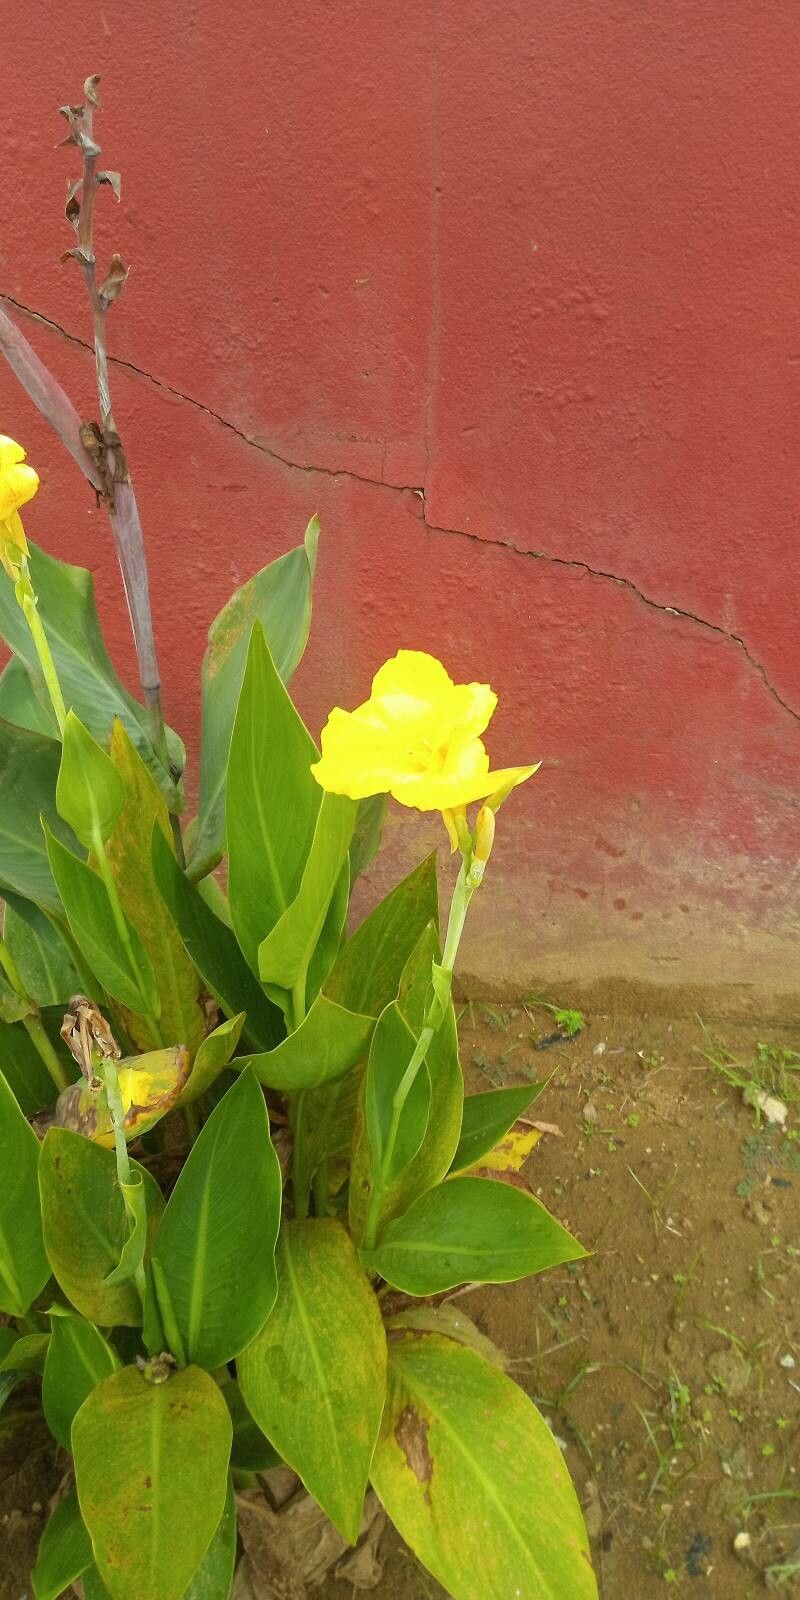
The Canna flaccida, also known as the Golden Canna or Bandana of the Everglades, is a sight to behold. Its graceful, iris-like blooms in shades of vibrant yellow emerge from tall, lush green foliage, instantly adding a touch of tropical elegance to any landscape. While admiring its beauty is effortless, have you ever considered growing your own? Propagating Canna flaccida is surprisingly straightforward and rewarding, allowing you to expand your garden with these stunning blooms.
This guide will delve into the two primary methods of propagating Canna flaccida:
1. Division:
- The Power of Rhizomes: Like many other Canna varieties, Canna flaccida grows from rhizomes, thick underground stems that store nutrients and produce new shoots. Division simply means separating these rhizomes to create new plants.
- Timing is Key: The optimal time for division is during the dormant season, typically in late fall or early winter when the plant’s growth slows down.
- Step-by-Step Division:
- Carefully dig up the entire Canna flaccida clump, ensuring you don’t damage the rhizomes.
- Gently brush off excess soil and inspect the rhizome structure.
- Using a sharp, clean knife or garden shears, divide the rhizomes into sections. Ensure each section has at least one “eye” or growth point.
- Allow the cut surfaces to dry for a day or two to prevent rot.
- Plant the divided rhizomes horizontally in pots or directly into the ground, ensuring the eyes are facing upwards and covered with about 2 inches of soil.
- Water thoroughly and provide adequate sunlight as new growth emerges.
2. Seeds:
- From Bloom to Seed: While division is the most common propagation method, Canna flaccida also produces seeds after flowering.
- A Note of Patience: Seed propagation can be a longer process compared to division, but it offers the opportunity to grow a greater number of plants.
- Step-by-Step Seed Starting:
- Collect mature seed pods from the Canna flaccida. The pods will be brown and dry when ready.
- Open the pods and remove the hard, black seeds.
- Scarify the seeds by gently nicking or sanding the outer layer. This helps water penetrate and facilitates germination.
- Soak the scarified seeds in warm water for 24 hours before sowing.
- Sow the seeds in a well-draining seed-starting mix, covering them lightly with soil.
- Place the seed tray in a warm, brightly lit area and keep the soil consistently moist but not waterlogged.
- Germination can take a few weeks to a couple of months. Be patient and provide consistent care.
- Once the seedlings have developed a few true leaves, transplant them into individual pots or your garden bed.
Essential Care for Your New Canna Flaccida:
No matter which propagation method you choose, providing the right conditions will ensure your new Canna flaccida plants thrive:
- Sunlight: These beauties love basking in the sun, so choose a location that receives at least 6 hours of direct sunlight daily.
- Soil: Ensure well-draining soil to prevent root rot. Amending the soil with compost can improve drainage and fertility.
- Water: Keep the soil consistently moist, especially during the growing season. Allow the soil to dry slightly between waterings to prevent waterlogging.
- Fertilizer: Feed your Canna flaccida with a balanced fertilizer every 4-6 weeks during the growing season to support healthy foliage and blooms.
Propagating your own Canna flaccida is a rewarding endeavor. It’s a chance to connect with nature, understand the life cycle of this stunning plant, and expand your garden with minimal cost. So, why not roll up your sleeves, get your hands a little dirty, and embark on the journey of multiplying your very own Golden Cannas? The results will be simply breathtaking.