Unveiling the Secrets: How to Propagate the Hardy Canthium Parvifolium
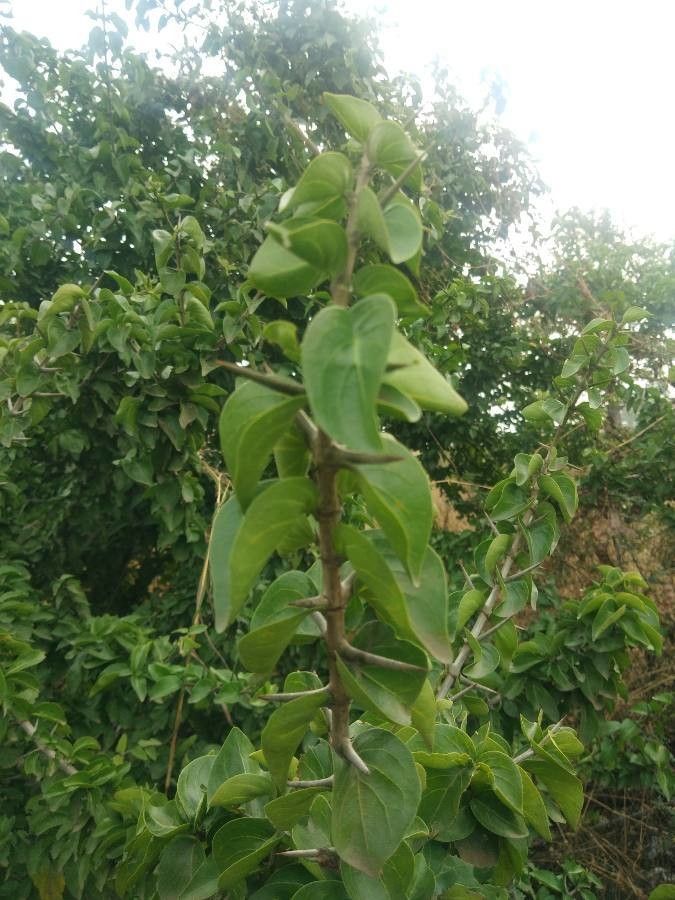
The Canthium parvifolium, also known as the Small-leaved Canthium, is a hidden gem in the world of gardening. This tough, drought-tolerant shrub, native to Australia, boasts vibrant green foliage, delicate white flowers, and intriguing orange berries, making it a captivating addition to any landscape. While readily available in nurseries, propagating your own Canthium parvifolium can be a rewarding experience for both novice and seasoned gardeners.
Two Paths to Propagation
Canthium parvifolium offers flexibility when it comes to propagation, allowing you to choose between two effective methods:
1. Seeds: Embracing the Element of Surprise
Propagating from seed offers a budget-friendly option and allows you to witness the miracle of life firsthand. However, it’s important to note that Canthium parvifolium seeds can exhibit some variability, meaning the resulting plants might not be identical to the parent plant.
Harvesting the Goods: Collect ripe, orange berries from an existing Canthium parvifolium. Extract the seeds and clean off any remaining fruit pulp.
Sowing the Seeds: Use a well-draining seed raising mix and sow the seeds at a depth of about 1 cm. Water gently and keep the soil consistently moist but not waterlogged.
- Patience is Key: Germination can be erratic and may take anywhere from a few weeks to several months. During this time, ensure the seedlings receive bright, indirect light and a consistent temperature of around 20-25°C.
2. Cuttings: Ensuring Clonal Fidelity
If you’re looking to reproduce an exact replica of your existing Canthium parvifolium, then cuttings are the way to go. This method involves taking a cutting from a healthy stem and encouraging it to develop roots.
Choosing the Right Cuttings: Select semi-hardwood cuttings from the current season’s growth. These cuttings should be about 10-15 cm long and taken from healthy, disease-free stems.
Preparing the Cuttings: Remove the leaves from the lower third of the cutting and wound the base slightly to stimulate root development. Dip the base in rooting hormone powder for an added boost.
Nurturing New Roots: Plant the prepared cuttings in a well-draining potting mix. Ensure the potting mix remains consistently moist and provide bright, indirect light.
- Transplanting Success: After about 6-8 weeks, gently tug on the cutting to check for root development. Once the roots are established, transplant the new Canthium parvifolium into individual pots or directly into the garden.
Tips for Propagation Success:
- Well-Draining Soil: Both seeds and cuttings require excellent drainage to prevent root rot.
- Ideal Lighting: Choose a location with bright, indirect light for optimal growth.
- Moderate Watering: Water regularly while maintaining a slightly moist environment. Avoid overwatering.
- Patience and Observation: Propagation takes time. Monitor your plants closely, adjusting watering and environmental conditions as needed.
Propagating your own Canthium parvifolium is a rewarding experience that connects you with the natural world. Whether you choose to propagate from seed or cuttings, following these guidelines will significantly increase your chances of success, allowing you to enjoy the unique beauty of this resilient shrub for years to come.