From Root to Revival: Propagating the Healing Power of Ipecacuanha
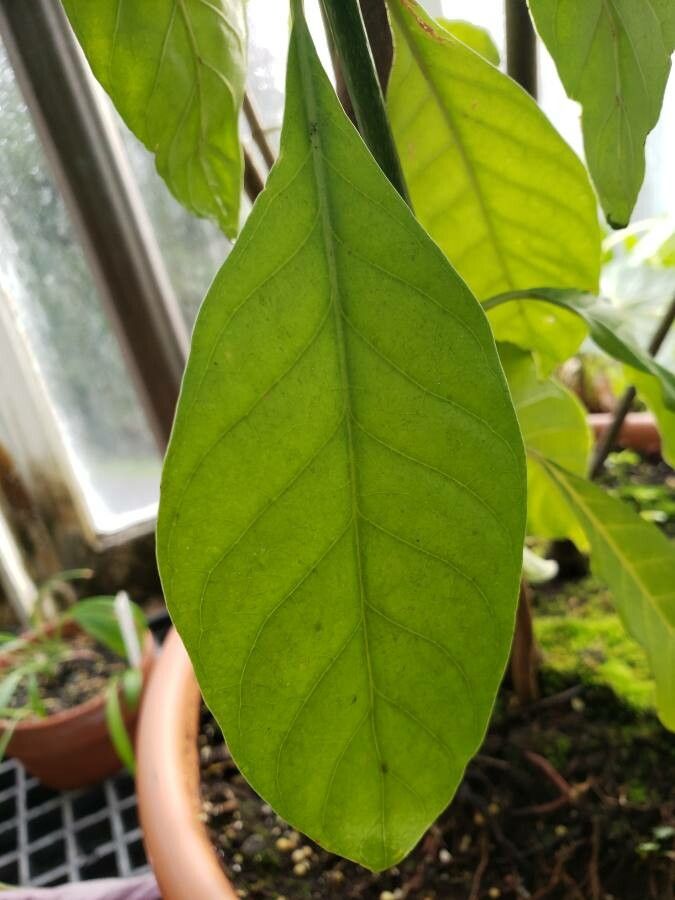
Ipecacuanha (Carapichea ipecacuanha), with its intriguing name and rich history, is a fascinating plant known for its potent medicinal properties. But did you know that this remarkable herb can be easily propagated right in your own garden?
While readily available at nurseries, the satisfaction and knowledge gained from growing your own ipecacuanha are unparalleled. Let’s explore the secrets of propagation and delve into the captivating world of this medicinal wonder.
Two Pathways to Propagation:
As with many plants, ipecacuanha can be propagated in two primary ways: through seeds and cuttings.
Seed Propagation: This method utilizes the seeds of the ipecacuanha plant and is ideal for those seeking a long-term commitment. While fascinating, it’s important to note that ipecacuanha seeds can take their time to germinate. Patience is key!
Step 1: Collect the Seeds: Gather ripe ipecacuanha seed pods (usually brown and dry) and extract their small, black seeds.
Step 2: Prepare the Soil: A well-draining seed starting mix is your best friend. Fill a seed tray or small pots with this mix.
Step 3: Sow the Seeds: Plant a few seeds per cell or pot, lightly burying them under a thin layer of soil. Lightly mist the soil, keeping it consistently moist, but never soggy.
Step 4: Create a Suitable Environment: Cover the tray or pots with a clear plastic dome to trap moisture and promote warmth. Place them in a bright, indirect light location, avoiding direct sunlight.
Step 5: Be Patient: Germination can take several weeks, sometimes even months. Maintain the moisture level, and resist the urge to disturb the soil.
- Step 6: Transplanting Time: Once your seedlings have a few true leaves, carefully transplant them into individual pots or trays.
Cuttings Propagation: A quicker and easier option, this method utilizes stem cuttings taken from an established ipecacuanha plant.
Step 1: Choose Your Cuttings: Select healthy stems with multiple nodes (the bumps where leaves grow).
Step 2: Prepare the Cuttings: Make a clean cut just below a node with a sharp knife or pruning shears. Remove any leaves below the soil line.
Step 3: Root Hormone (Optional): Dip the cut end of the cutting in a rooting hormone powder or solution to encourage root development.
Step 4: Prepare the Rooting Medium: Use a well-drained pot filled with a rooting mix or even a simple mix of perlite and peat moss.
Step 5: Plant the Cuttings: Gently insert the cutting into the rooting medium, ensuring that at least one node is buried.
Step 6: Create a Humid Environment: Place a plastic bag or dome over the pot to maintain humidity.
Step 7: Provide Light: Place the pot in a bright, indirect light location.
- Step 8: Check for Roots: After a few weeks, gently tug on the cutting to test for resistance. If it feels firmly rooted, it’s ready to be transplanted.
Ipecacuanha’s Journey from Garden to Medicine Cabinet:
Whether you choose seeds or cuttings, remember that ipecacuanha is a potent plant and should be used with caution. It is essential to consult a medical professional before using any plant-based remedies. For those interested in exploring its medicinal properties, it’s crucial to source your ipecacuanha from reputable sources and utilize it under the guidance of a qualified healthcare provider.
Propagating ipecacuanha isn’t just about growing a plant, it’s about connecting with the long-standing tradition of herbalism and appreciating the natural world’s ability to provide us with healing solutions.