Unlocking the Secrets of Carpenteria Propagation: A Guide to Growing More of This California Beauty
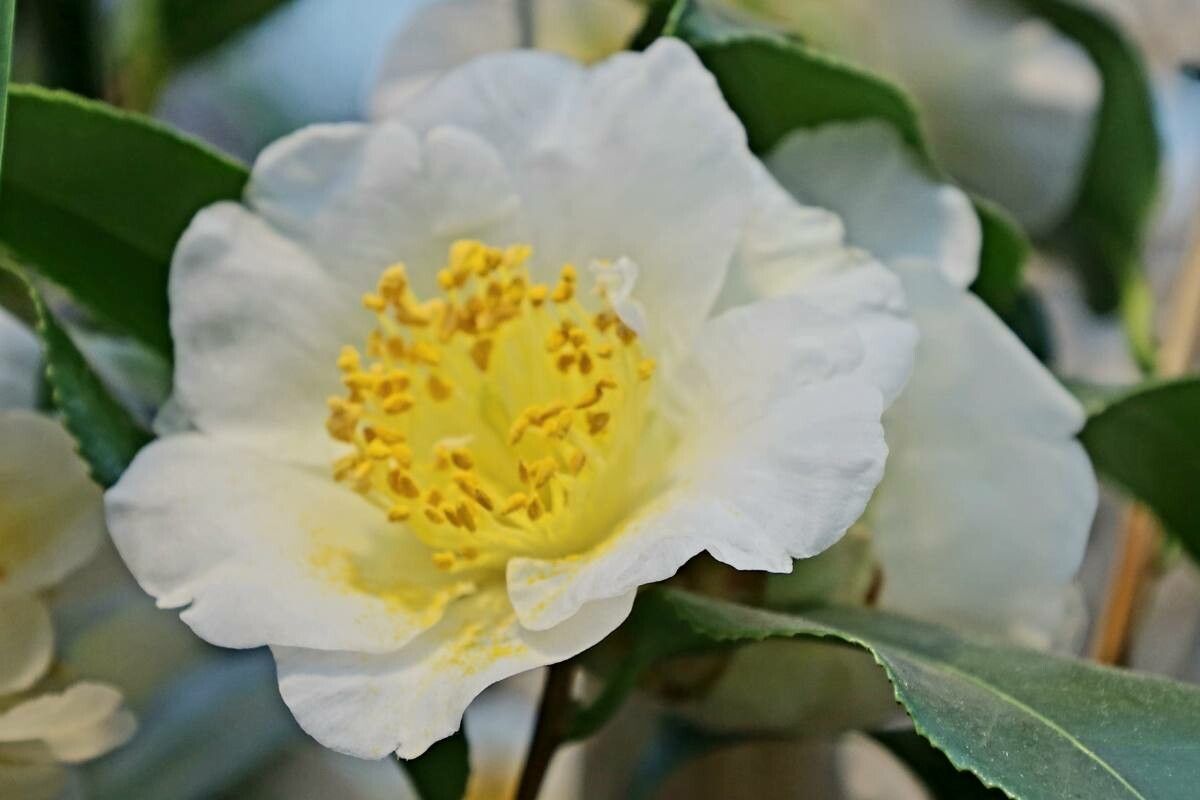
The Carpenteria californica, also known as the bush anemone, is a sight to behold. This evergreen shrub, native to California’s Sierra Nevada foothills, boasts stunning, fragrant, anemone-like white flowers that emerge in late spring and persist throughout summer. If you’re lucky enough to have one gracing your garden, you’re probably wondering how to get your hands on more of these beauties. Fortunately, propagating Carpenteria californica, while not always a walk in the park, is achievable with the right techniques.
This guide delves into two primary methods of propagation:
1. Semi-Hardwood Cuttings: A Summertime Endeavor
This technique, considered the most reliable for Carpenteria, involves taking cuttings during the plant’s active growing season in mid-to-late summer. Here’s how:
- Timing is key: Take cuttings on a cool morning after the dew has dried.
- Select your weapons: Use sharp, sterilized pruning shears or a knife to prevent disease transmission.
- Choose wisely: Look for healthy, non-flowering shoots that are beginning to firm up but still have some flexibility. A good cutting is about 4-6 inches long.
- Prepare the cutting: Remove the leaves from the lower two-thirds of the stem. Lightly wound the base of the cutting by scraping a small section of bark to expose the cambium layer. This promotes root development.
- Hormone boost: Dip the wounded end in rooting hormone powder to encourage faster and stronger root growth.
- Potting up: Plant the cuttings in a well-draining rooting mix. A combination of perlite and peat moss works well.
- A humid haven: Cover the pot with a plastic bag or place it in a propagator to create a warm, humid environment. This helps retain moisture and encourages rooting.
- Patience is a virtue: Keep the cuttings in a bright location out of direct sunlight. Rooting can take anywhere from 6-8 weeks.
- Transplanting success: Once rooted, carefully transplant the cuttings to individual pots and let them grow for a season before planting them in the garden.
2. Seed Propagation: A Test of Patience
While possible, propagating Carpenteria from seed can be a bit more challenging and time-consuming. Here’s what you need to know:
- Seed collection: Collect ripe seed capsules in the fall and allow them to dry completely.
- Cold stratification: Seeds benefit from a period of cold treatment to break dormancy. Place them in a moist paper towel inside a sealed plastic bag and store in the refrigerator for 4-6 weeks.
- Sowing the seeds: Sow the seeds in a seed-starting mix, barely covering them with soil.
- Light and warmth: Provide bottom heat and bright, indirect light.
- Germination wait: Be patient, as germination can be slow and erratic, taking anywhere from a few weeks to several months.
- Transplanting seedlings: Once the seedlings are large enough to handle, transplant them into individual pots.
Tips for Success
- Carpenteria thrives in well-drained soil and prefers partial shade.
- Water your cuttings and seedlings regularly, keeping the soil consistently moist but not waterlogged.
- Protect young plants from frost.
Propagating Carpenteria californica requires dedication and a gentle touch, but the reward of cultivating these exquisite plants is well worth the effort. By following these tips, you can increase your chances of success and enjoy the beauty of these California natives for years to come.