Unlocking the Secrets of the American Hornbeam: A Guide to Propagation
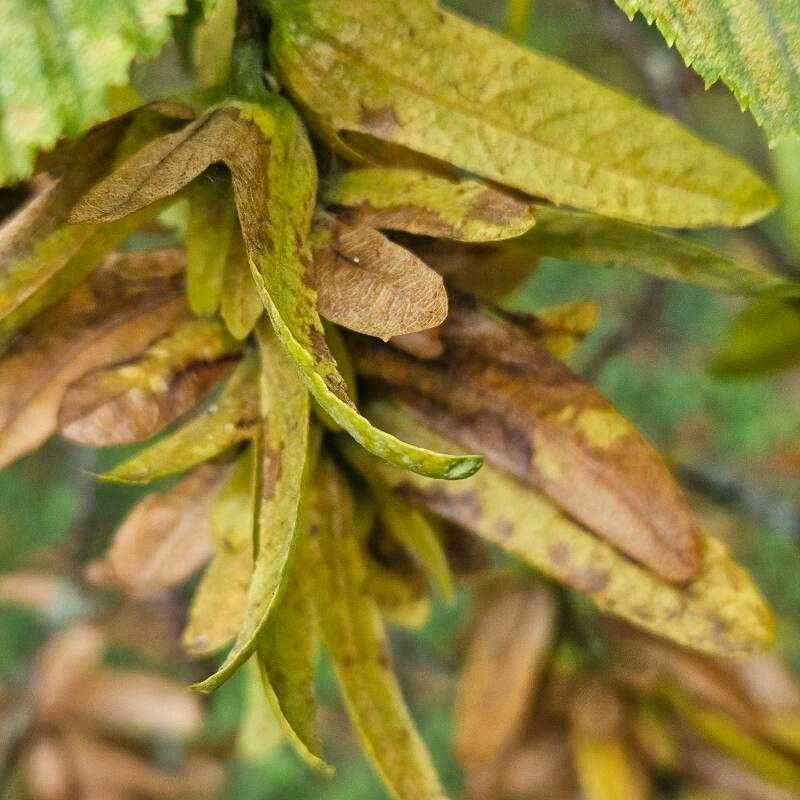
The American Hornbeam, or Carpinus caroliniana, is a captivating tree known for its elegant, smooth, gray bark and its unique, intricate branching pattern. Its resilience and adaptability make it a popular choice for landscaping, but many may be surprised to learn you can easily propagate new American Hornbeam trees from cuttings!
This blog post will guide you through the process of successfully propagating your own Carpinus caroliniana, allowing you to enjoy its beauty in your garden while sharing it with fellow plant enthusiasts.
Choosing the Right Material
The key to successful propagation lies in selecting the right material. When it comes to the American Hornbeam, hardwood cuttings taken in the winter offer the best success rate. Look for healthy, mature branches, ideally 6-8 inches long, with at least one bud. Avoid any branches that show signs of disease or damage.
Preparing the Cuttings
Once you’ve gathered your cuttings, prepare them for propagation:
- Trim the bottom at a 45-degree angle, ensuring a clean cut just below a bud.
- Remove leaves from the bottom 2-3 inches of the cutting.
- Dip the bottom in rooting hormone powder, which helps stimulate root development.
Setting Up Your Propagation Station
The propagation process itself requires a simple but well-prepared setup:
- Choose a container: A pot with drainage holes is ideal. Fill it with a porous, well-draining potting mix.
- Prepare the cuttings: Place the cuttings into the prepared potting mix, ensuring the cut end is fully submerged. Leave only the top 1-2 inches exposed.
- Keep them moist: Mist the cuttings daily to help maintain moisture.
- Provide warmth and humidity: A propagation dome can significantly increase humidity levels, which is crucial for root development.
The Waiting Game: Patience is Key
Patience is essential for successfully propagating American Hornbeam. Roots can take several months to develop. During this time, keep the potting mix moist but not soggy. Avoid direct sunlight, as this can scorch the delicate cuttings.
The Signs of Success
You’ll know your cuttings are taking root when you start to see new growth at the top. This is a good sign that the roots are forming and the plant has established itself.
Transitioning to the Garden
Once the cuttings have developed a strong root system, they can be gradually acclimated to outdoor conditions. This process involves hardening off the plants by slowly introducing them to sunlight and open air over a period of several weeks.
Planting Your New Trees
Finally, your propagated American Hornbeam is ready to be planted in its permanent location. Choose a spot with well-drained soil and partial shade. Dig a hole twice as wide as the root ball and plant the tree at the same depth it was growing in the pot.
A Final Note
Propagating your own American Hornbeams can be a rewarding experience, allowing you to witness first-hand the magic of plant life. With a bit of patience and care, you can enjoy the fascinating beauty of this indigenous tree in your own garden and share its wonder with others.