Miniature Marvel, Maximum Impact: Propagating Your Cattleya pumila Orchid
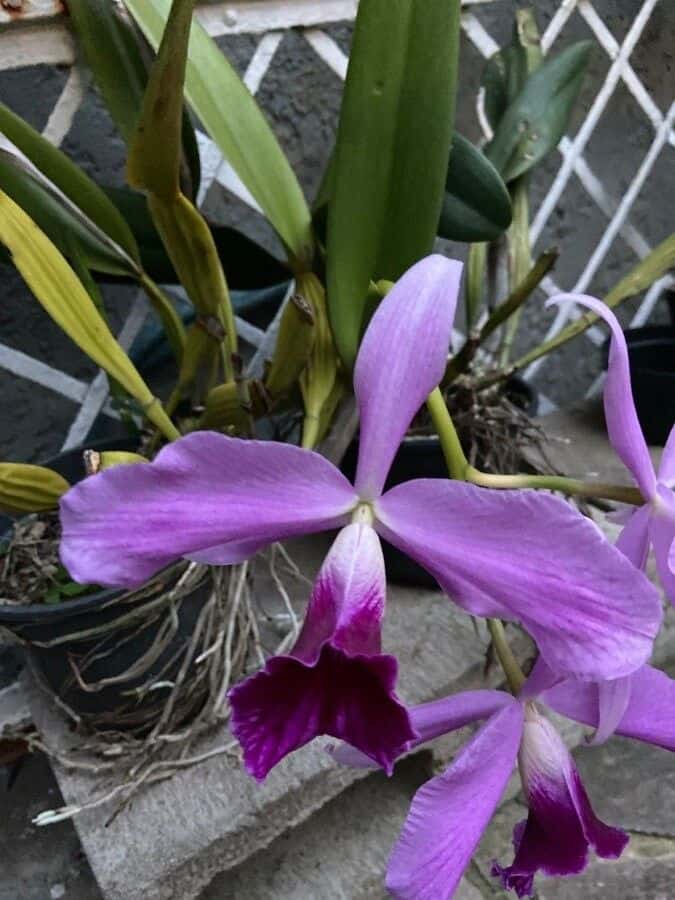
The Cattleya pumila, affectionately nicknamed the "miniature cattleya," captivates enthusiasts with its compact charm and vibrant, full-sized blooms. Unlike its larger cousins, this species remains manageable on a windowsill, making it a perfect choice for both seasoned collectors and burgeoning orchid enthusiasts. And the best part? Propagating Cattleya pumila, while requiring a bit of patience, can be a rewarding endeavor for anyone looking to multiply their miniature orchid haven.
Understanding Your Propagation Options
Propagating Cattleya pumila primarily involves two methods:
- Division: The most common and straightforward method, division involves separating mature plants with multiple growths (pseudobulbs) into smaller sections, each capable of independent growth.
- Back Bulb Propagation: A slightly more advanced technique, this involves utilizing older, often leafless pseudobulbs to encourage new growth.
Division: Creating Clones of Beauty
- Timing is Key: The ideal time for division is during spring, just as the plant begins its new growth cycle.
- Tools of the Trade: Gather sterilized cutting tools like a sharp knife or shears, pots with drainage holes, and a suitable orchid potting mix (bark chips, perlite, and charcoal work well).
- Division in Action:
- Carefully remove the plant from its pot.
- Gently untangle the roots, identifying natural division points where the rhizome (horizontal stem) connects groups of pseudobulbs.
- Using your sterilized tool, cut the rhizome cleanly, aiming for divisions with at least 3-4 healthy pseudobulbs.
- Plant each division in a separate pot, ensuring the base of the pseudobulbs sits slightly above the potting mix.
- Post-Division Care: Provide bright, indirect light, water sparingly until new growth emerges, and maintain moderate humidity.
Back Bulb Propagation: Reviving Dormant Potential
- Identifying Candidates: Choose healthy back bulbs – older, often leafless pseudobulbs that still appear plump and firm.
- Creating the Ideal Environment: Prepare a humid environment. A clear plastic container or a propagation box with sphagnum moss lining the bottom works well.
- Patience is a Virtue: Place the back bulbs horizontally on the moist sphagnum, ensuring good air circulation. Keep the environment warm and humid, and wait patiently. This method requires time, sometimes months, for new growth to emerge.
- Transplanting Success: Once new roots and shoots develop from the back bulb, carefully transplant the new plantlets into individual pots with your chosen orchid mix.
Tips for Propagation Success
- Sanitation is Paramount: Always use sterilized tools to prevent the spread of diseases.
- Proper Watering: Overwatering is the enemy. Allow the potting mix to dry slightly between waterings.
- Bright, Indirect Light: Cattleya pumila thrives in bright, indirect light. Direct sunlight can scorch their leaves.
- Embrace Patience: Propagation takes time. Don’t be discouraged if you don’t see results immediately.
Propagating your Cattleya pumila is an exciting way to expand your collection and witness the fascinating lifecycle of these miniature marvels. With a little patience, care, and the right techniques, you’ll be rewarded with even more of these stunning orchids to brighten your home.