Unlocking the Secrets to Multiplying Your Cattleya warneri: A Propagation Guide
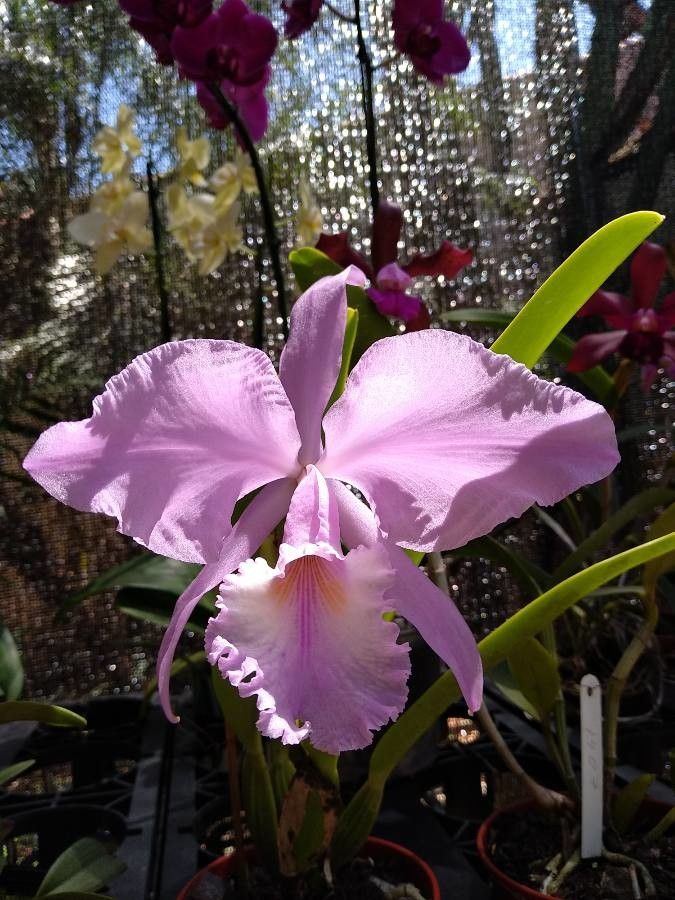
The Cattleya warneri, a breathtaking Brazilian beauty with its large, fragrant blooms, has captivated orchid enthusiasts for decades. While caring for this majestic species can be rewarding, many yearn to multiply their collection, giving rise to more of these floral masterpieces. Whether you’re an experienced orchid grower or just starting your journey, understanding the art of Cattleya warneri propagation can open doors to a flourishing orchid family.
Deciphering the Propagation Puzzle: Divisions vs. Seedlings
When it comes to propagating Cattleya warneri, two primary paths lie before you: divisions and seedlings. Each presents unique advantages and challenges:
- Divisions: This method, also known as vegetative propagation, involves separating a mature plant into multiple sections, each containing its own root system and growth points (pseudobulbs). It’s generally faster than growing from seed and guarantees a genetically identical replica of the parent plant, preserving its unique characteristics.
- Seedlings: This method entails germinating seeds, often requiring specialized lab equipment and sterile techniques. While more demanding and time-consuming, growing from seed can be a rewarding experience, potentially leading to unique hybrids with novel traits.
Mastering the Art of Cattleya warneri Divisions
For most hobbyists, divisions offer the most practical and successful propagation route for Cattleya warneri. Here’s a step-by-step guide:
Timing is Key: The ideal time for division coincides with the plant’s active growth phase, typically in spring or early summer. Look for new roots emerging from recently matured pseudobulbs.
Tools of the Trade: Gather your sterilized tools: a sharp, clean knife or pruning shears, a fungicide solution, and fresh potting medium specific to Cattleya orchids.
Careful Extraction: Gently remove the orchid from its pot. Inspect the rhizome (the horizontal stem connecting pseudobulbs) and identify sections with at least 3-4 healthy pseudobulbs, ensuring each division has sufficient roots.
The Art of Separation: Using your sterilized tool, carefully cut the rhizome, making clean cuts to minimize stress on the plant.
Post-Division Care: Treat all cut surfaces with fungicide to prevent infection. Pot each division in fresh, well-draining medium, ensuring the rhizome sits slightly above the surface.
- Patience is a Virtue: Place newly potted divisions in a warm, humid environment with indirect sunlight. Water sparingly until new roots establish themselves.
Navigating the Challenges
While divisions provide a relatively straightforward approach, potential pitfalls exist:
Rot and Disease: Maintaining sterile conditions during division is crucial. Always sterilize your tools and use a fungicide to prevent infections, which can quickly decimate a newly divided plant.
Environmental Stress: After division, providing adequate humidity and avoiding overwatering are vital to minimize stress and promote root development.
- Patience is Paramount: Remember that newly divided plants might take a season or two to fully recover and bloom again.
The Rewards of Propagation
Successfully propagating Cattleya warneri can be deeply rewarding, allowing you to:
Expand your orchid family with genetically identical copies of prized plants.
Share the joy of these captivating blooms with friends and fellow enthusiasts.
- Gain a deeper understanding of orchid biology and propagation techniques.
While the journey may seem daunting initially, armed with the right knowledge and a dash of patience, you too can unlock the secrets to propagating Cattleya warneri and revel in the beauty of these exquisite orchids for years to come.