Plumes of Color: Multiplying Your Celosia Grandiflora
Celosia grandiflora, with its whimsical plumes of vibrant color, is a showstopper in any garden. But did you know that propagating this beauty is surprisingly easy? Whether you’re a seasoned gardener or just starting out, multiplying your Celosia grandiflora is a rewarding experience that will flood your garden with even more of these fascinating blooms.
Two Paths to Propagation: Seeds vs. Cuttings
There are two primary methods for propagating Celosia grandiflora:
1. Starting from Seed:
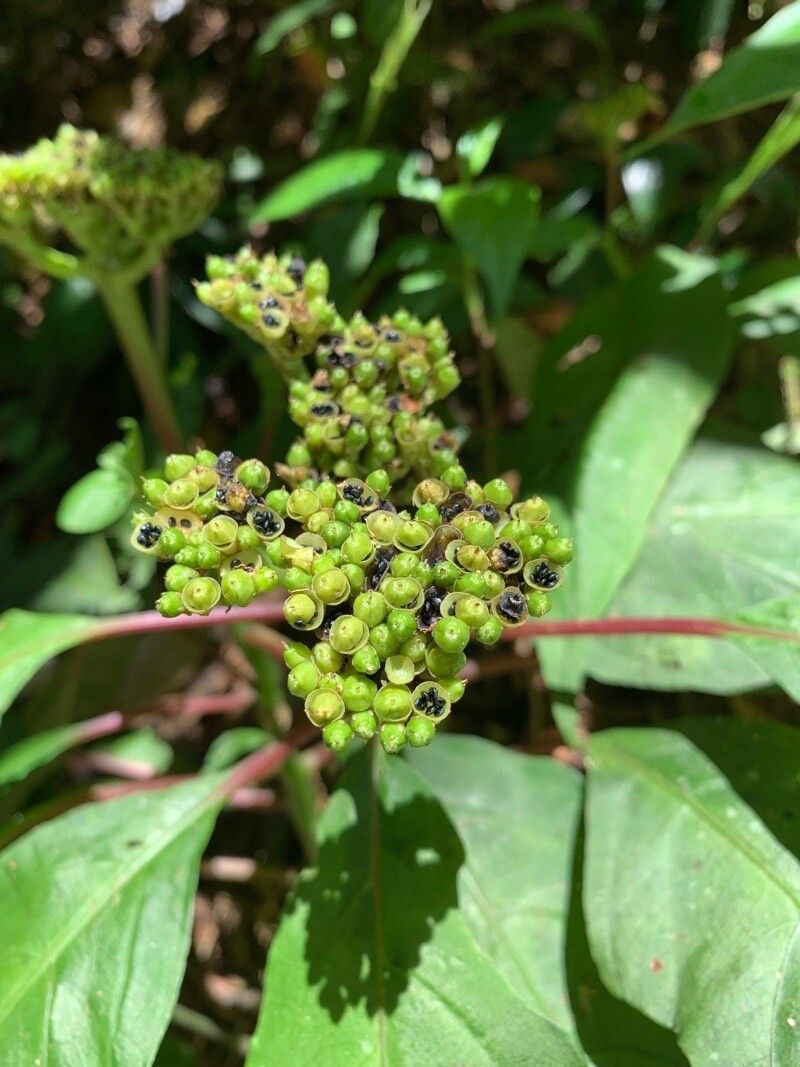
This is the most common and straightforward method. Celosia grandiflora readily produces an abundance of seeds after its flowers fade. Here’s how to harness the power of these tiny treasures:
- Seed Collection: Once the flower plumes have dried and turned brown, gently crush them between your fingers to release the seeds.
- Sowing Time: For best results, start seeds indoors 6-8 weeks before the last expected frost.
- Sowing Process: Sow seeds thinly on the surface of a well-draining seed starting mix and lightly press them in. Celosia seeds need light to germinate, so don’t bury them deeply.
- Keep it Cozy: Maintain a temperature of 70-75°F (21-24°C) and keep the soil consistently moist but not soggy.
- Transplanting Time: After the last frost has passed and the seedlings have developed several sets of true leaves, harden them off gradually before transplanting them outdoors.
2. Propagation from Cuttings:
While slightly less common, propagating Celosia grandiflora from cuttings is another excellent way to create new plants that are identical to the parent plant. Here’s how it’s done:
- Timing is Key: Take cuttings in the morning from healthy, non-flowering stems during the active growing season.
- Making the Cut: Using a sharp, clean knife or pair of scissors, take a 4-6 inch cutting from the tip of the stem, just below a leaf node.
- Prep the Cutting: Remove the lower leaves from the cutting, leaving 2-3 leaves at the top.
- Rooting Hormone (Optional): While not essential, dipping the cut end in rooting hormone can encourage faster root development.
- Potting Up: Insert the cut end of the stem into a well-draining potting mix.
- Humidity is Key: Cover the pot with a plastic bag or place it in a propagator to maintain high humidity.
- Patience is a Virtue: It may take several weeks for roots to develop. Once new growth appears, you can gradually acclimate the cutting to normal conditions.
Caring for Your Celosia Progeny
No matter which propagation method you choose, provide your new Celosia grandiflora plants with the following care:
- Sunlight: These sun-lovers thrive in 6-8 hours of direct sunlight daily.
- Well-Drained Soil: Celosia dislikes soggy roots, so plant them in well-draining soil.
- Watering: Water deeply when the topsoil feels dry to the touch, but avoid overwatering.
- Fertilizing: Feed regularly with a balanced liquid fertilizer throughout the growing season.
With a little effort and these simple techniques, you can easily propagate Celosia grandiflora and enjoy an explosion of vibrant, feathery plumes in your garden year after year!