
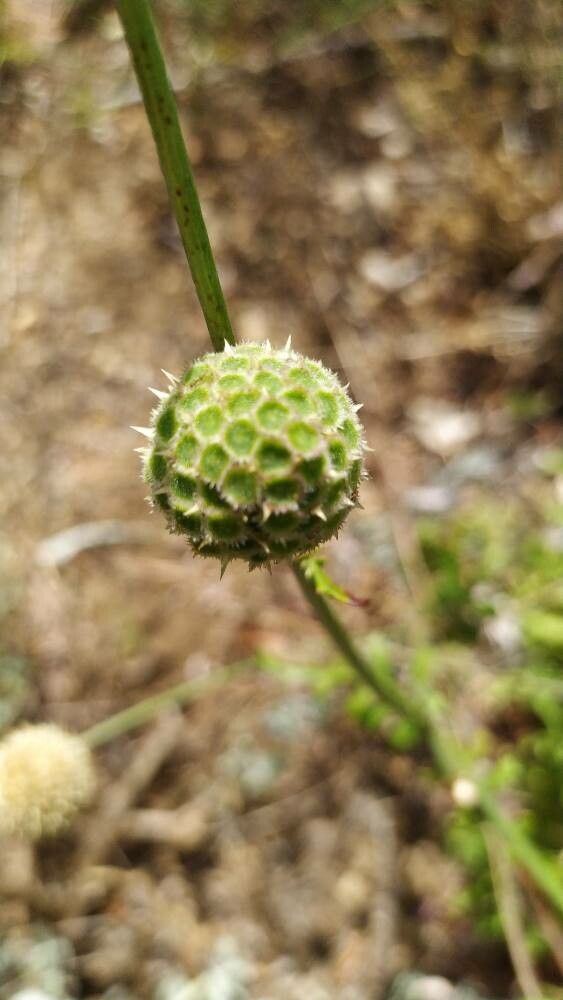
Unlocking the Secrets of Cephalaria ambrosioides: A Propagation Primer
Cephalaria ambrosioides, also known as the Scabious Yellow Cephalaria, is a unique and beautiful perennial boasting vibrant yellow, pincushion-like flowers that bring a touch of wildflower charm to any garden. While not as widely known as other perennials, its beauty and resilience make it a worthwhile addition to any landscape. But how do you go about propagating this somewhat rare gem? Fear not, fellow plant enthusiasts – this propagation primer is here to guide you through the process!
Choosing Your Weapon: Seed vs. Cuttings
There are two primary methods for propagating Cephalaria ambrosioides: seeds and cuttings. Each technique has its own pros and cons, making it essential to choose the method best suited to your resources and comfort level.
1. Seed Propagation:
- Pros: Economical, great for producing multiple plants, allows for genetic variation.
- Cons: Requires more patience, potential for variability in offspring.
Getting Started:
- Timing is key: Sow seeds in late winter or early spring in seed trays filled with a well-draining seed compost.
- Light touch: Only lightly cover the seeds, as they require light for germination.
- Warmth and moisture: Provide a warm environment (around 70°F) and keep the soil consistently moist but not waterlogged.
- Be patient: Germination can take anywhere from 2 to 4 weeks.
- Transplanting: Once seedlings have developed a couple of true leaves, transplant them into individual pots and gradually acclimate them to outdoor conditions before planting in their final location.
2. Propagation from Cuttings:
- Pros: Faster than seed propagation, ensures offspring identical to the parent plant.
- Cons: Requires access to an existing healthy plant, slightly more technically demanding.
Getting Started:
- Best time to strike: Take cuttings in late spring or early summer from healthy, non-flowering stems.
- Make the cut: Use a sharp, sterilized knife or pruner to take 4–6-inch cuttings, making the cut just below a leaf node.
- Prep the cutting: Remove the lower leaves from the cutting, leaving only a few at the top.
- Hormone boost (optional): Dip the cut end in rooting hormone to encourage faster root development.
- Planting: Stick the cuttings in a pot filled with a well-draining rooting mix, ensuring the leaf nodes are beneath the surface.
- Humidity is key: Cover the pot with a plastic bag or use a propagator to maintain high humidity.
- Indirect sunlight: Place the pot in a location with bright, indirect light.
- Root development: Check for root development after 4-6 weeks. Once rooted, transplant the cuttings into individual pots and allow them to grow stronger before planting them outdoors.
Nurturing Your New Plants:
Regardless of your chosen propagation method, provide your young Cephalaria ambrosioides with well-drained soil, ample sunlight, and regular watering. These factors are essential for their growth and development.
Whether you’re a seasoned gardener or just starting, propagating Cephalaria ambrosioides is a rewarding experience that allows you to add this charming wildflower to your own garden haven. So why not give it a try? With a little patience and care, you’ll be rewarded with an abundance of these cheerful yellow blooms for years to come!