Unearthing the Secrets of Texas Star Propagation: Grow your own Patch of Lone Star Beauty
The Texas Star, also known by its scientific name Chaptalia texana, is a charming wildflower native to the grasslands and prairies of, you guessed it, Texas! This resilient beauty boasts charming silver-backed leaves and cheerful, daisy-like blooms that emerge in the spring. If you’re looking to add a touch of Texan charm to your garden, why not try propagating your own Texas Star? This guide will walk you through two methods: growing from seed and division.
Method 1: Sow the Seeds of Success
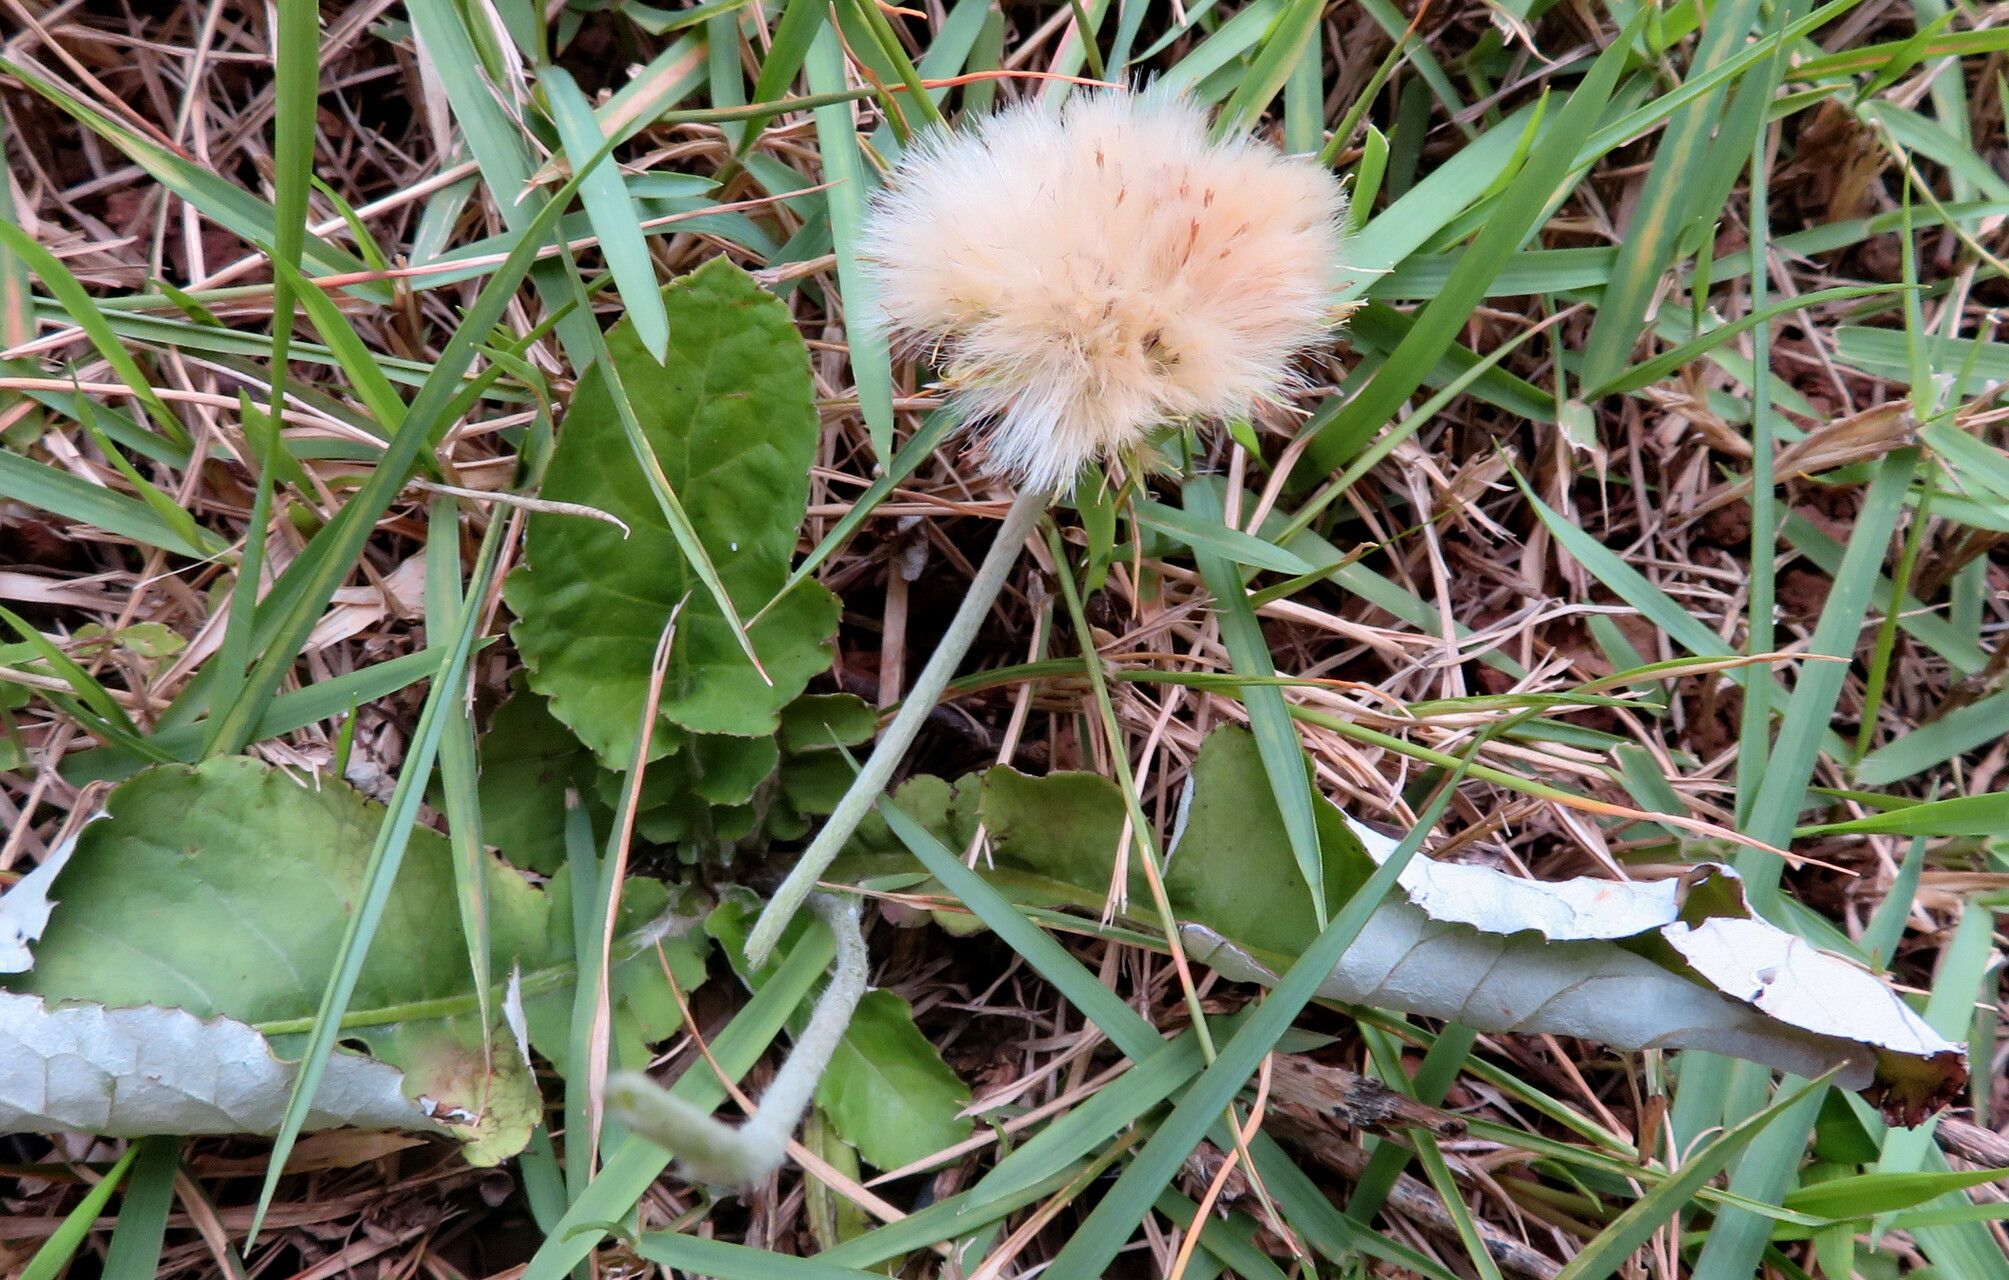
- Harvesting Seeds: After the blooms fade, the Texas Star develops fluffy seed heads reminiscent of dandelions. Wait until the fluffy heads begin to dry and turn brown, then carefully collect them in a paper bag.
- Seed Preparation (Optional, but recommended): Texas Star seeds benefit from a period of cold stratification. You can mimic winter conditions by placing the seeds in a moist paper towel, sealing them in a plastic bag, and storing them in the refrigerator for 4-6 weeks.
- Time to Sow: The optimal time to sow your seeds is in the fall or late winter. If you’ve cold stratified your seeds, plant them directly into your garden or containers once the last frost has passed.
- Sowing the Seeds: Scatter your seeds over well-drained soil, ensuring they make good contact but are not buried deeply. Lightly water them in and be patient – germination can take a few weeks.
Method 2: Divide and Conquer with Division
For a quicker and more reliable method, particularly if you already have an established Texas Star plant, division is the way to go. This method takes advantage of the plant’s natural ability to spread via rhizomes (underground stems).
- Timing is Key: Divide your Texas Star in the early spring or fall when the plant is dormant or just beginning to emerge from dormancy.
- Digging Up the Plant: Carefully dig up a mature Texas Star, making sure to get as much of the root system as possible.
- Dividing the Rhizomes: Using a sharp, clean knife or garden shears, divide the rhizome mass into sections, ensuring each section has a good amount of roots and at least one growth point.
- Replanting: Replant your divisions immediately in well-drained soil, spacing them about 12-18 inches apart. Water them in well and watch them flourish.
Caring for Your Texas Star Newcomers
Whether you’ve grown your Texas Star from seed or division, providing the right environment ensures they thrive:
- Sun Lovers: Texas Stars adore basking in full sun, though they can tolerate some light shade.
- Well-Drained Soil is a Must: Soggy roots are a recipe for disaster. Ensure your soil drains well or amend it with sand or compost.
- Water Wisely: Once established, Texas Stars are relatively drought tolerant. Water them deeply but infrequently, allowing the soil to dry out between waterings.
- Minimal Feeding Required: These wildflowers are not heavy feeders. If necessary, a light application of balanced fertilizer in the spring is sufficient.
Reap the Rewards of Your Efforts
By following these simple steps, you can successfully propagate your own patch of Texas Star wildflowers. Not only will you enjoy their cheerful blooms year after year, but you’ll also be providing valuable habitat and food sources for native pollinators. Let the Texas Star be a reminder of the beauty and resilience found in nature, right in your own backyard!