Winter’s Delight: How to Propagate Your Own Chimonanthus praecox
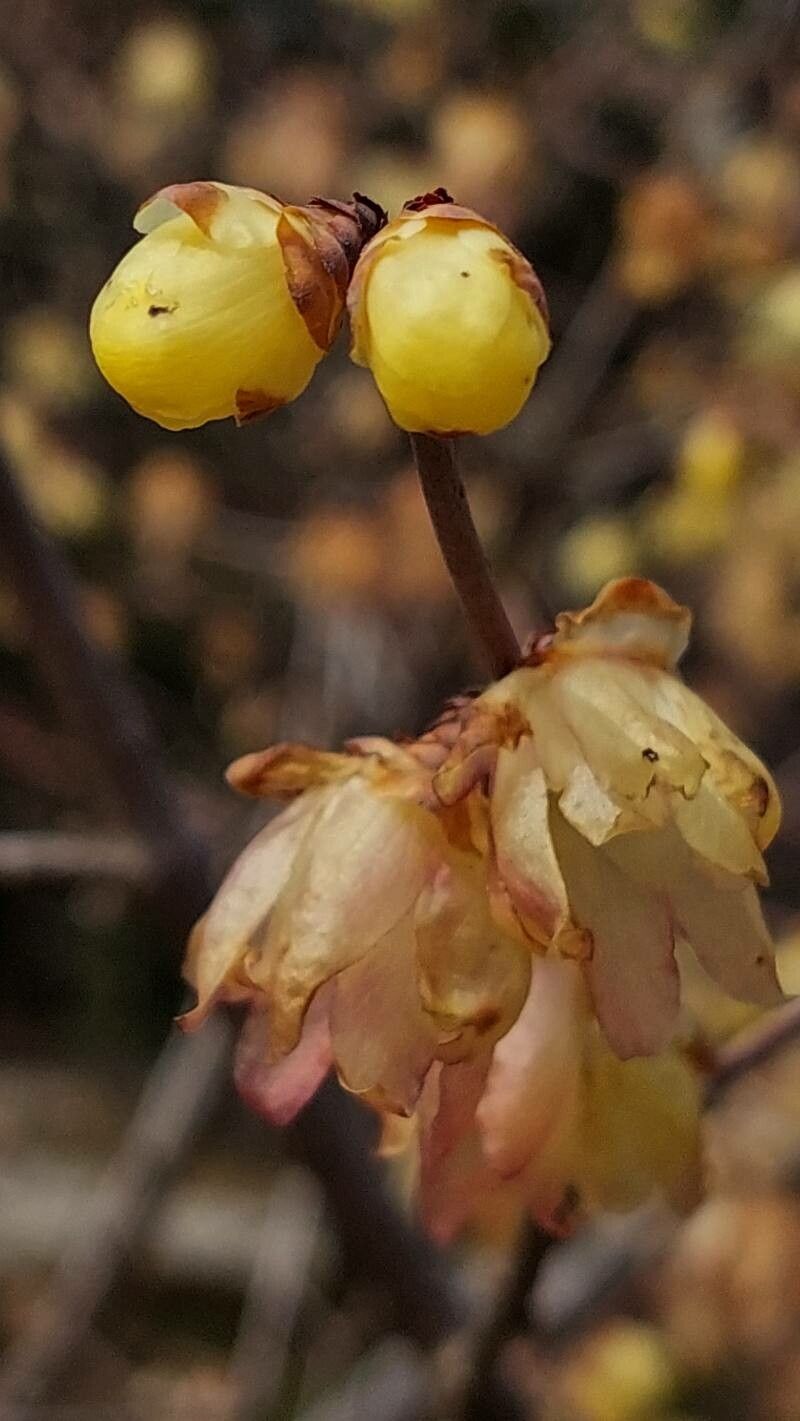
The Chimonanthus praecox, also known as the Wintersweet, is a captivating shrub that enchants with its fragrant, star-shaped flowers even during the coldest months. If you’re captivated by this winter wonder, you might be wondering how to share its beauty with others or expand your own garden. The answer lies in propagation, and luckily, it’s a relatively straightforward process.
Two Methods, Two Rewards:
There are two primary methods for propagating Wintersweet: seed propagation and softwood cuttings.
Seed Propagation: A Long-Term Commitment
While the thought of growing a Wintersweet from seed might seem exciting, it’s important to understand that this method is a patience-testing endeavor. Here’s why:
- Time Commitment: Seeds take several years to mature into flowering plants. You’re looking at a minimum of three to five years before you see those lovely fragrant blooms.
- Stratification: Wintersweet seeds require a period of cold stratification, mimicking the natural winter conditions they experience in their native habitat. This involves storing the seeds in a cold, moist environment (like a refrigerator) for several weeks or months.
Softwood Cuttings: The Faster Route to Blooms
For quicker results, softwood cuttings offer a faster and more reliable path towards a blooming Wintersweet. Here’s a step-by-step guide:
1. Timing is Key: The best time to take softwood cuttings is in late spring or early summer. Choose new, semi-hardened growth that’s still flexible yet has started to mature.
2. Cutting Selection: Using sharp, clean shears or a knife, cut a 4-6 inch section of a healthy branch. Ensure your cutting has at least two to three leaf nodes (the bumps on the stem where leaves grow).
3. Leaf Removal: Remove any leaves from the bottom inch or two of the cutting. This leaves a bare area for root development.
4. Root Hormone (Optional): Dip the cut end of the cutting into a rooting hormone powder or solution to promote faster root growth.
5. Potting Mix and Placement: Use a well-draining potting mix and place the cutting in a pot with drainage holes. Ensure the bottom leaf node is submerged in the soil.
6. Create a Greenhouse Environment: To encourage root growth, create a mini-greenhouse environment by covering the pot with a plastic bag or a humidity dome. This traps moisture and helps maintain a warm, humid environment.
7. Patience and Care: Place the pot in a bright location, but out of direct sunlight. Keep the potting mix consistently moist but not soggy. Over time, you’ll see new growth emerging.
8. Time for Transplant: Once the cutting has developed a strong root system – usually within a few months – you can gently remove the plastic cover and allow the cutting to acclimate to outdoor conditions.
9. Planting Time: Once the cutting has established itself, you can finally transplant it into your garden bed or a larger pot.
Tips for Success:
- Water Wisely: Overwatering can lead to root rot, so ensure the soil is adequately drained.
- Choose the Right Location: Wintersweet prefers a partially shaded spot with well-drained soil.
- Protect from Harsh Winters: In colder climates, provide your Wintersweet with some winter protection, such as a layer of mulch or a burlap wrap.
Beyond Propagation:
Whether you propagate your Wintersweet from seed or cuttings, you’ll be rewarded with a plant that offers beauty and fragrance throughout the year. Its captivating blooms and sweet scent are sure to brighten even the darkest days of winter.