Unlocking the Secrets of Chloranthus Oldhamii Propagation: From Seed to Success
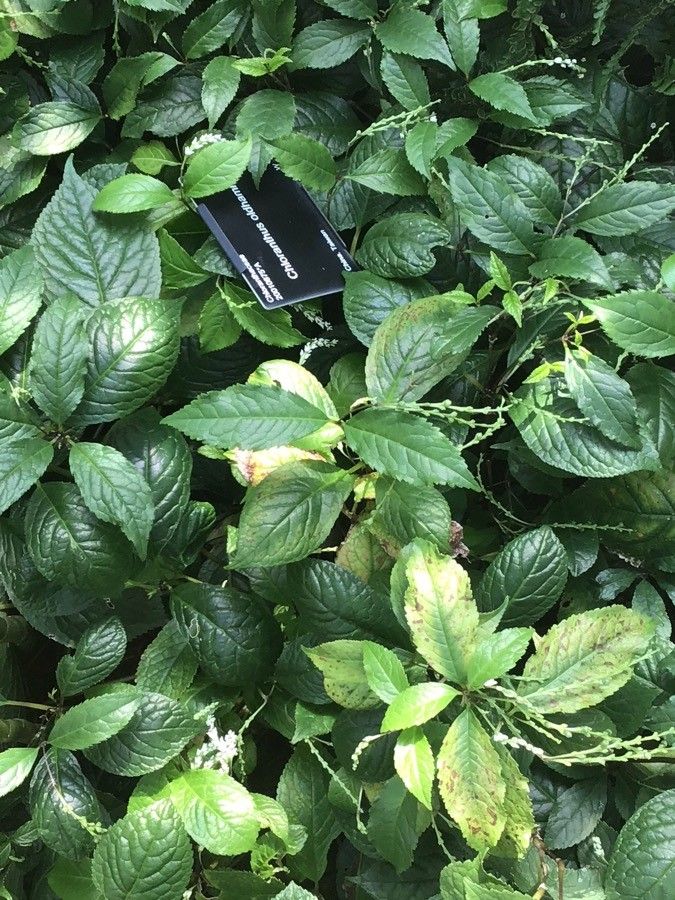
Chloranthus oldhamii, with its captivating fragrance and graceful foliage, is a hidden gem amongst shade-loving perennials. While readily available at specialty nurseries, wouldn’t it be incredibly rewarding to propagate your own “Oldham Chloranthus” and witness the magic of new life unfold?
While this might sound daunting, fear not! This guide will delve into the various methods of Chloranthus oldhamii propagation, empowering you to expand your garden with this unique beauty.
Method 1: The Wonder of Seeds
Best Time: Fall
Pros: Economical, potential for greater genetic diversity
Cons: Can be slow, requires patience
Propagation from seed offers an exciting, albeit lengthy, journey. Here’s how:
- Harvesting Seeds: Collect ripe berries in the fall. Be patient – they may take time to ripen. Look for plump, dark berries.
- Seed Extraction: Carefully remove the fleshy pulp surrounding the seeds. You can use a sieve and running water to aid this process.
- Sowing: Sow seeds immediately in a well-draining seed-starting mix. Cover lightly with soil and mist gently.
- Patience is Key: Germination can be erratic, taking anywhere from a few weeks to several months. Maintain consistent moisture and provide a warm, shaded environment.
Method 2: Division: Sharing is Caring
Best Time: Early Spring or Fall
Pros: Relatively easy, yields established plants
Cons: Requires an existing plant
Division is the most straightforward way to propagate Chloranthus oldhamii and is best done when the plant is dormant.
- Prepare the Plant: Water the plant thoroughly a day or two before division.
- Careful Excavation: Gently dig up the Chloranthus oldhamii clump, ensuring minimal root disturbance.
- Division Time: Use a sharp, clean knife or spade to divide the clump into smaller sections, each with healthy roots and shoots.
- Replanting: Replant the divisions at the same depth they were growing previously. Water thoroughly and provide shade.
Method 3: Cuttings: A Snippet of Life
Best Time: Late Spring to Early Summer
Pros: Relatively quick and straightforward
Cons: Higher chance of failure compared to division
Propagating from cuttings requires a bit more finesse but can be equally rewarding.
- Selecting Cuttings: Choose healthy, non-flowering stems around 4-6 inches long. Make a clean cut just below a leaf node.
- Prepare the Cutting: Remove the lower leaves, leaving 2-3 leaves at the top.
- Rooting Hormone (Optional): While not essential, dipping the cut end in rooting hormone can increase success rates.
- Planting the Cutting: Plant in a pot filled with a well-draining, moist potting mix.
- Creating Humidity: Cover the pot with a plastic bag or humidity dome to maintain moisture. Keep in a warm, shaded location.
- Monitoring: Roots should develop in 4-8 weeks. Once established, gradually acclimate the new plant to outdoor conditions.
Tips for Success
- Well-Drained Soil: Chloranthus oldhamii thrives in moist but well-drained soil. Amend heavy clay soils with organic matter to improve drainage.
- Shade is Key: Direct sunlight, especially during peak hours, can scorch the leaves. Plant in a shady or partially shaded location.
- Consistent Moisture: Keep the soil consistently moist, especially during the first year after planting or propagation.
No matter which propagation method you choose, remember that patience and observation are key. With a little effort and care, you’ll be rewarded with the pleasure of watching your very own Chloranthus oldhamii flourish and thrive!