Unlocking the Secrets of Chloropyron Palmatum: A Beginner’s Guide to Propagation
Have you fallen in love with the unique beauty of Chloropyron palmatum, but are hesitant to spend a fortune on new plants? Fear not! This intriguing species, known for its striking, palmate leaves and vibrant hues, can be readily propagated at home.
This blog post will guide you through the fascinating world of Chloropyron palmatum propagation, unveiling simple and effective methods you can use to grow more of these captivating plants.
Understanding the Basics
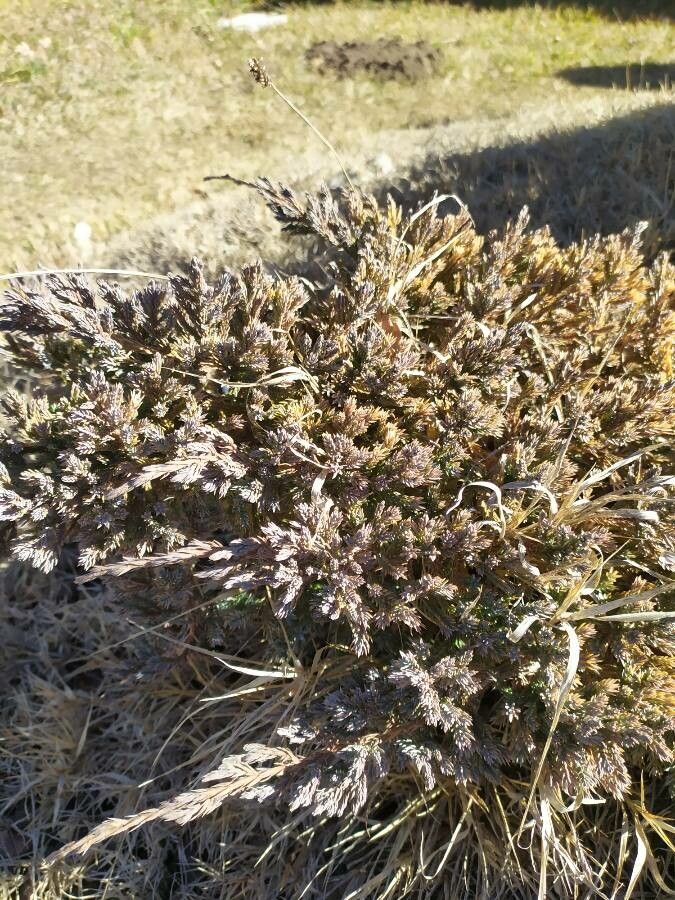
Chloropyron palmatum, often mistaken for a fern or a palm, thrives in moist, shaded environments and is highly adaptable to various indoor conditions. The most common method of propagation is through cuttings. These cuttings, taken from healthy, mature stems, can develop into independent plants with proper care.
Methods of Propagation
- Stem Cuttings:
- Timing: The ideal time to take stem cuttings is during the active growth phase, typically in spring or early summer.
- Process:
- Select a healthy, non-flowering stem.
- Using a sharp, clean knife, make a cut just below a node (the point where a leaf grows).
- Remove the lower leaves below the node and dip the cut end in rooting hormone powder for faster root development.
- Prepare a pot filled with a well-draining potting mix.
- Insert the cutting into the mix, ensuring the node is buried in the soil.
- Place the pot in a bright, indirect light location and keep the soil consistently moist.
- Leaf Propagation:
- Timing: While less common, leaf propagation can also be successful for Chloropyron palmatum.
- Process:
- Select a healthy, mature leaf with a small stem attached.
- Carefully cut the leaf from the main plant, leaving a bit of the stem.
- Place the leaf in a shallow container with water, making sure the stem is submerged.
- Change the water every few days to prevent contamination.
- Within a few weeks, you should see roots sprouting from the base of the leaf.
- Once the roots are a few inches long (usually 2-3 weeks), you can transplant the leaf into a pot with well-draining soil.
Tips for Success
- Use clean tools: Sharp, clean tools prevent disease spread and promote healthy root formation.
- Provide optimal conditions: Place your cuttings in a bright, indirect light location with consistent moisture. Humidity trays or misting can also help.
- Patience is key: Propagation takes time. Don’t be discouraged if you don’t see results immediately.
Troubleshooting
- Yellowing leaves: Could indicate overwatering or inadequate light. Adjust watering frequency and provide more brightness.
- Wilting: Indicates dryness. Water thoroughly and prevent reoccurrence.
Fungal diseases: Properly sanitize tools and ensure good drainage to prevent fungal growth.
Expanding Your Chloropyron Palmatum Collection
By mastering the art of propagation, you can exponentially expand your collection of Chloropyron palmatum, creating a stunning display of these captivating plants. Sharing your propagated plants with friends or family is also a wonderful way to extend their beauty and spread the joy of gardening.
This journey into the world of Chloropyron palmatum propagation allows you to appreciate these unique plants even more. By understanding the basics and practicing these simple techniques, you can unlock the secrets of successful plant propagation and enjoy the satisfaction of nurturing new life.