Unlocking the Secrets of the Plume Thistle: A Guide to Propagating Cicerbita plumieri
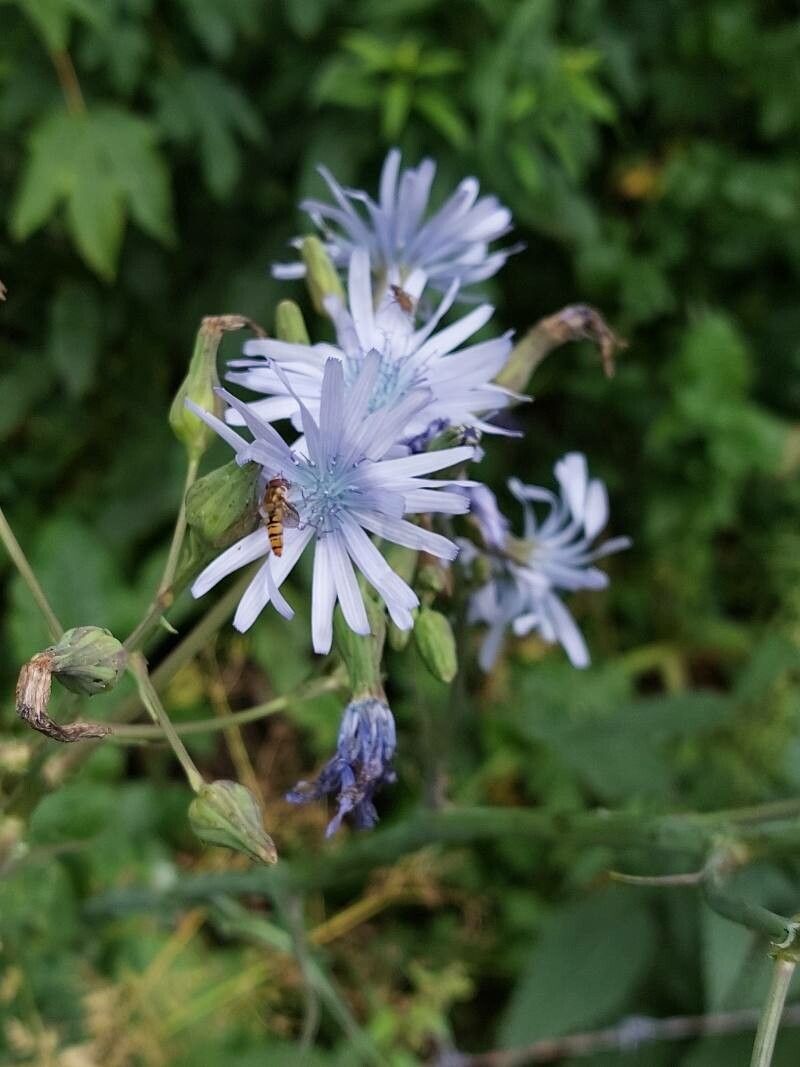
The Plume Thistle, or Cicerbita plumieri, captivates with its towering height, delicate blue-violet flowers, and intriguing history steeped in herbal remedies. While its majestic presence graces gardens effortlessly, you might wonder how to welcome more of these beauties into your own outdoor space. Luckily, propagating Cicerbita plumieri is a rewarding endeavor, achievable through two main methods: seed sowing and division.
Seed Starting: A Journey From Tiny Specks to Towering Blooms
- Seed Collection: As summer wanes and the Plume Thistle’s vibrant blooms fade, they give way to fascinating seedheads resembling dandelion clocks. Collect the seeds on a dry day, gently separating them from the fluffy pappus.
- Cold Stratification: In their natural habitat, Plume Thistle seeds experience winter’s chill, a crucial element for successful germination. Mimic this process by storing seeds in a sealed container with slightly damp vermiculite or sand in your refrigerator (around 4°C) for 4-6 weeks.
- Sowing Time: Spring, after the last frost, marks the ideal time for sowing. Fill seed trays with a well-draining seed compost, sprinkle the stratified seeds on the surface, and lightly cover them with a thin layer of compost or vermiculite.
- Light and Water: Place the trays in a bright location, avoiding direct sunlight that could scorch the delicate seedlings. Keep the compost consistently moist, misting gently to avoid disturbing the seeds.
- Transplanting: After a few weeks, seedlings will emerge. As they develop true leaves, gradually acclimate them to outdoor conditions before transplanting them to their final positions in your garden, ensuring ample spacing for their impressive size.
Division: Multiplying Your Floral Bounty
For a quicker way to increase your Plume Thistle population, division is an effective method typically carried out in spring or fall:
- Choose Mature Plants: Select healthy, well-established plants displaying vigorous growth.
- Careful Extraction: Using a sharp spade or garden fork, carefully lift the entire clump from the ground, being mindful of the extensive root system.
- Division Process: Gently shake off excess soil to expose the roots and carefully divide the clump into smaller sections, ensuring each section retains healthy roots and shoots.
- Replanting: Replant the divisions into well-prepared planting holes, similar in size to the original root ball. Water them thoroughly to encourage establishment.
Caring for Your Plume Thistle Progeny
Regardless of the propagation method, providing the right growing conditions ensures your Plume Thistles flourish:
- Sunlight: Opt for a location that basks in full sun to partial shade.
- Soil: Well-drained soil is crucial to prevent root rot. Adding organic matter during planting enhances soil fertility and drainage.
- Watering: While drought-tolerant once established, regular watering during the first year post-planting encourages vigorous root development.
Propagating Cicerbita plumieri is a fulfilling journey, allowing you to witness the fascinating life cycle of this captivating plant. With a sprinkle of patience and a dash of dedication, you can enjoy its dramatic presence and contribute to the enduring legacy of this beautiful thistle.