Unleash the Beauty of Italian Thistle: A Guide to Propagation
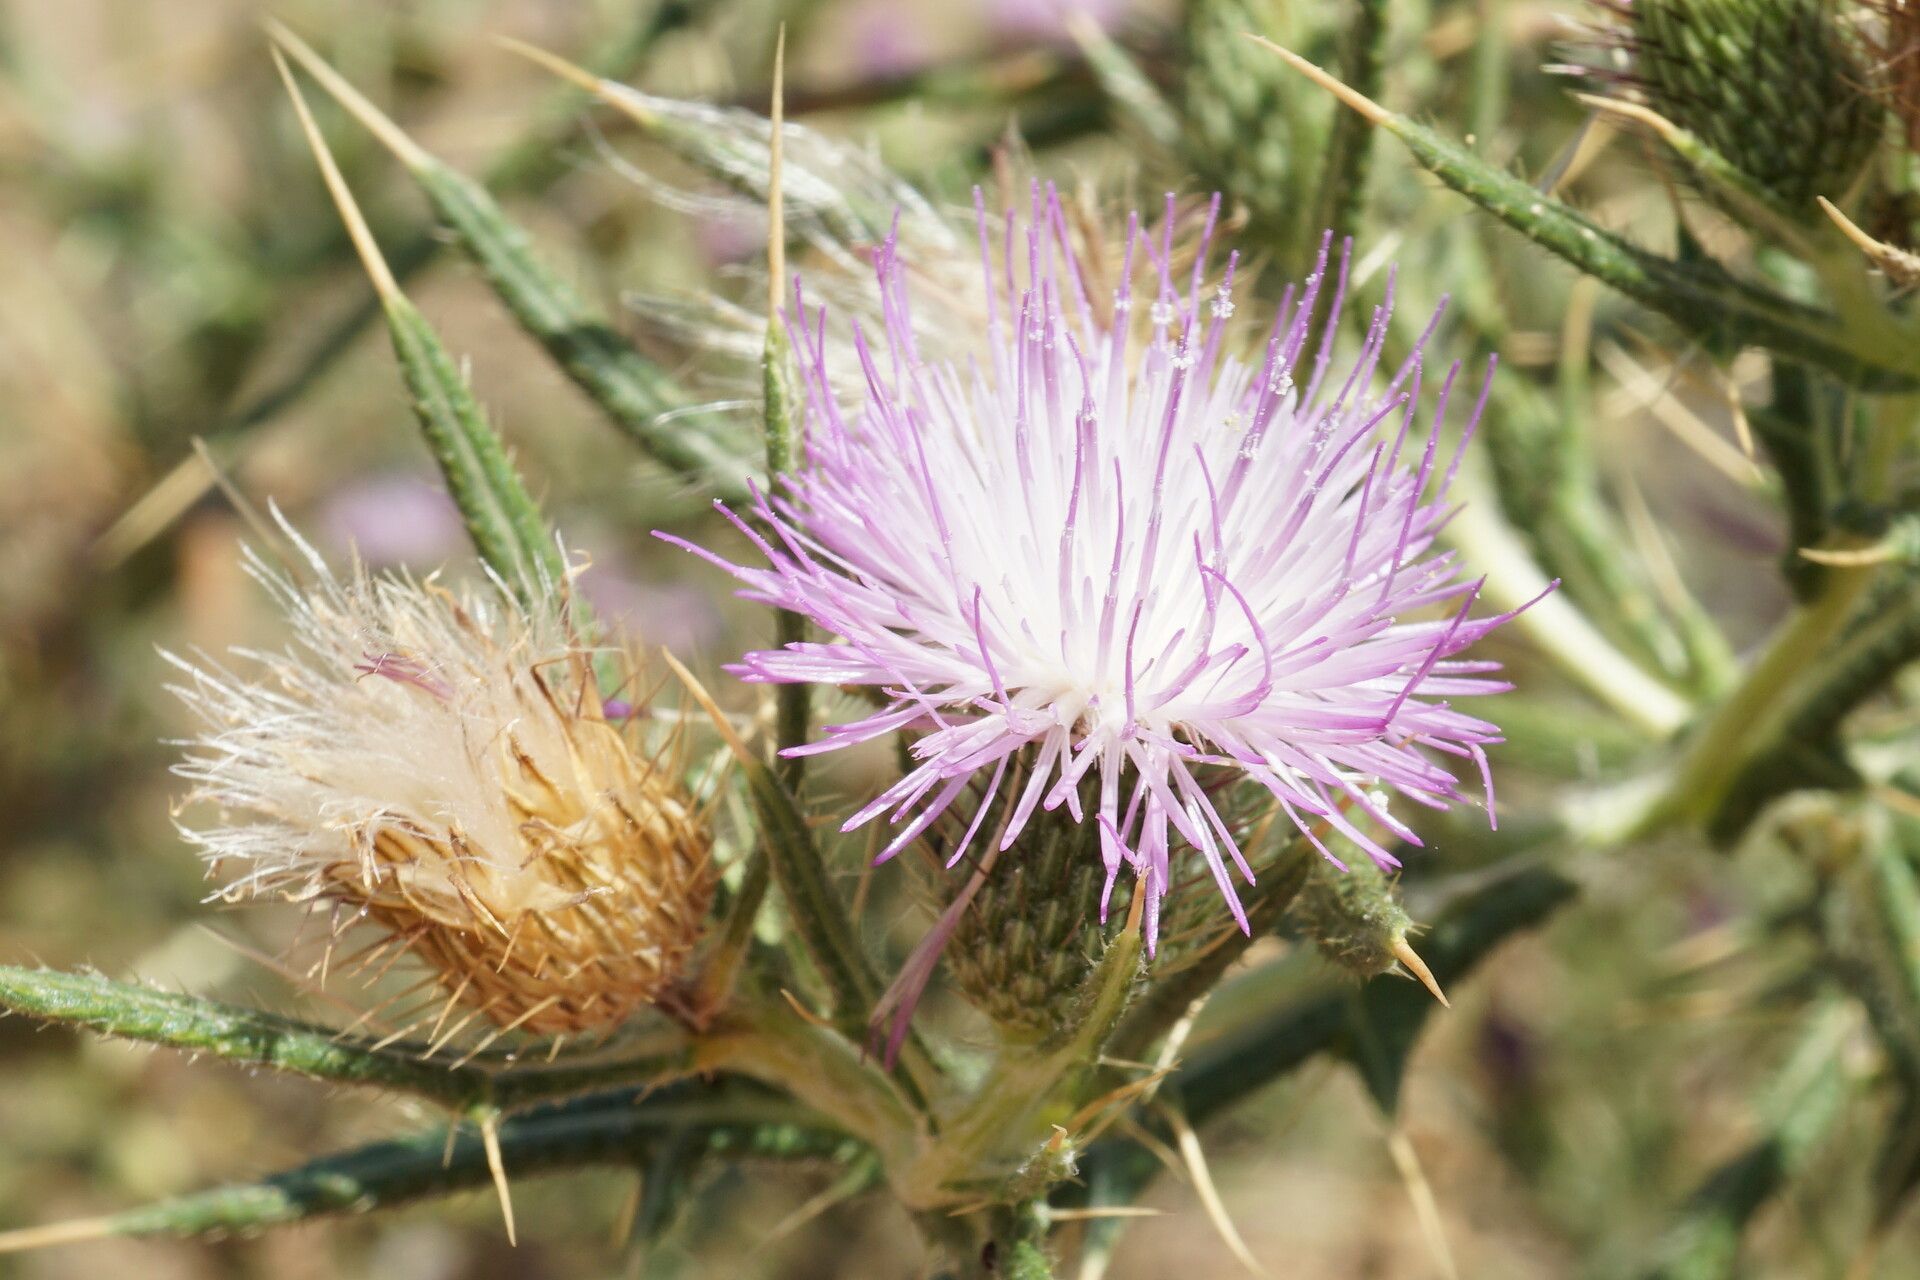
The Italian Thistle (Cirsium italicum), with its striking purple flowers and architectural foliage, is a captivating addition to any garden. But beyond its beauty lies a fascinating secret – the ease with which it can be propagated. Whether you’re a seasoned gardener or just starting your green thumb journey, propagating Italian Thistle is a rewarding experience. Let’s explore the best methods to bring this stunning plant into your own garden.
Seeds: The Natural Way to Start
Like many wildflowers, Italian Thistle readily produces seeds. This makes starting new plants from seed a simple and successful method. Here’s a step-by-step guide:
- Collect Seeds: After blooming, the flower heads will transform into fluffy seed capsules. Gather the ripe seeds by carefully collecting the capsules and gently removing the seeds.
- Sow Seeds Directly: Sow the seeds directly into the garden bed in early spring. Choose a spot with well-drained soil and full sun. Lightly cover the seeds with soil and keep the soil consistently moist.
- Patience is Key: Italian Thistle seeds are slow to germinate, so be patient. With proper care, small seedlings should emerge within a few weeks.
Division: A Speedy Way to Multiply
Another straightforward technique for spreading Italian Thistle is division. This method involves separating established plants into smaller sections, each with its own root system.
- Choose the Right Time: The best time to divide Italian Thistle is in early spring or late summer.
- Prepare the Plant: Carefully dig around the plant to expose the root system. Use a sharp knife or garden trowel to divide the clump into smaller sections.
- Replant and Water: Plant each section in its own spot, making sure to keep the roots moist. Water thoroughly after planting.
Cuttings: A More Advanced Technique
While not as common, propagating Italian Thistle from cuttings is possible. This method is slightly trickier but provides a way to create a clone of your existing plant.
- Choose Healthy Stems: Cut off about 4 inches of a healthy stem from a mature Italian Thistle plant.
- Prepare the Cuttings: Remove the lower leaves and make a clean cut just below a node (where leaves grow).
- Root the Cuttings: Dip the cut ends in rooting hormone and insert them into a pot filled with a rooting medium. Place the pot in a shaded location with consistent moisture.
- Monitor for Growth: With proper care, the cuttings should develop roots within a few weeks. New growth indicates successful rooting.
Important Tips for Success
- Soil Choice: Italian Thistle thrives in well-drained soil with good drainage. Amend the soil with compost or aged manure for optimal growth.
- Watering: Water consistently, especially during the first few weeks after propagation. Allow the soil to dry slightly between waterings.
- Sun Exposure: Italian Thistle prefers full sun, meaning at least six hours of direct sunlight daily.
- Pest and Disease: While generally disease-resistant, Italian Thistle can be susceptible to aphids and other pests. Monitor your plants and take appropriate action if necessary.
Beyond the Garden: A Versatile Plant
The Italian Thistle is more than just a beautiful flower. Its fluffy seed heads are a valuable source of food and nesting material for birds. The plant’s prickly leaves can be used for natural pest control in the garden.
With its easy propagation methods and numerous benefits, the Italian Thistle offers a truly rewarding gardening experience. Embrace its beauty and enjoy the satisfaction of growing your own colony of these captivating plants.