Unlocking the Secrets of Clematis grossa: A Guide to Propagation
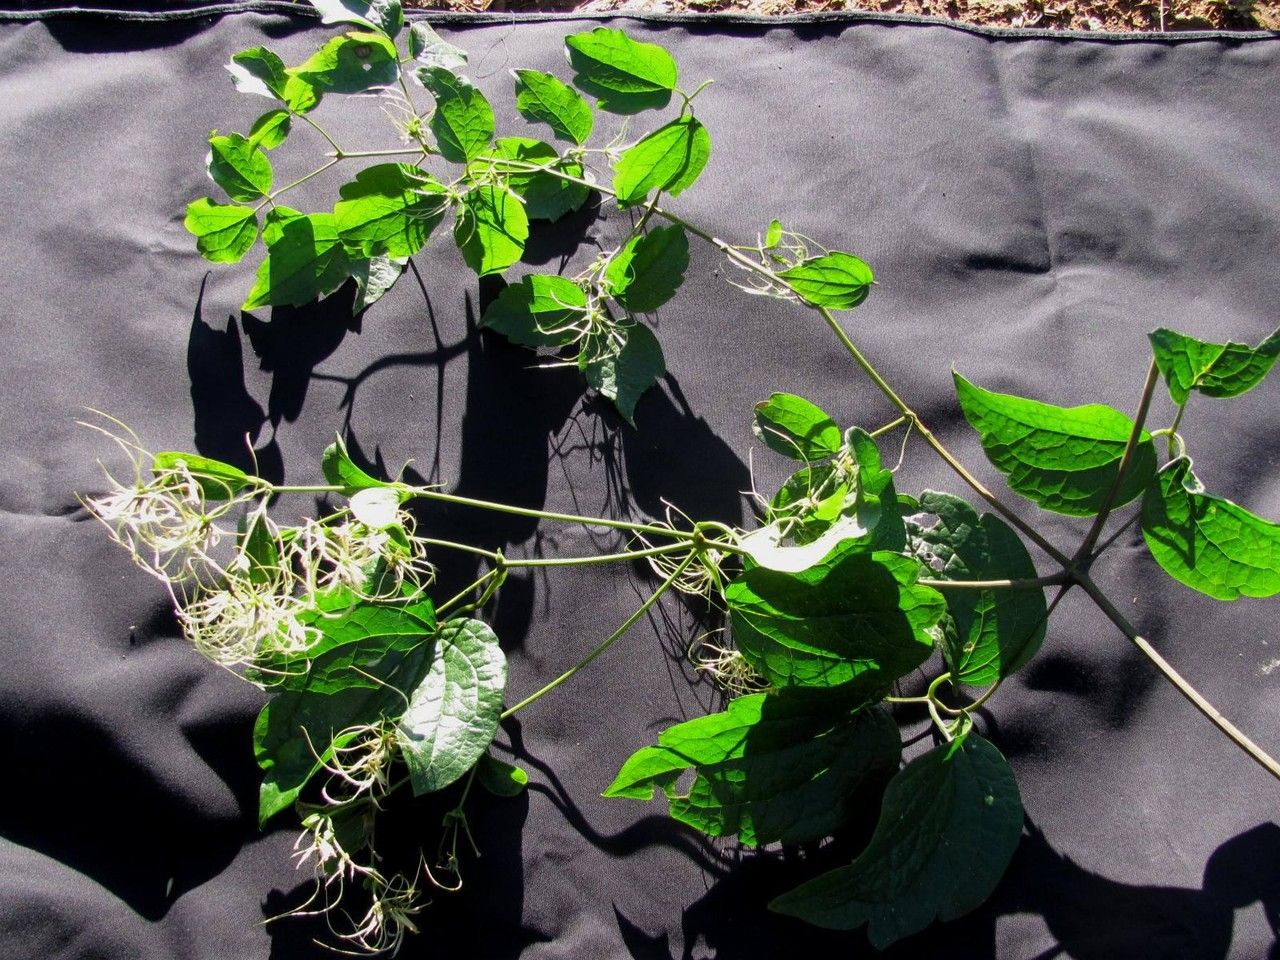
Clematis grossa, with its captivating, large, bell-shaped flowers, is a prized addition to any garden. But where can you find more of this beauty? Thankfully, this stunning climber is quite amenable to propagation, allowing you to share its charm or expand your own collection.
This blog post will arm you with the knowledge and techniques you need to successfully propagate Clematis grossa, be it through cuttings, layering, or seeds.
Cuttings: A Speedy and Versatile Method
Taking cuttings is a popular method for propagating Clematis grossa, yielding new plants faster than from seed.
Timing is Key: The best time to take cuttings is in the late spring or early summer when the plant is actively growing.
The Process:
- Select Healthy Stems: Choose semi-hardwood stems, about 6-8 inches long, that are growing straight and have developed a bit of woody texture.
- Prepare the Cuttings: Using sharp, clean shears, make a clean cut just below a leaf node. Remove the bottom leaves and make a pinch cut at the top to encourage branching.
- Root Hormone: Dip the cut end of the cutting into a rooting hormone powder or gel to boost root formation.
- Planting: Insert the cuttings into a pot or tray filled with a well-draining potting mix. Ensure the bottom node is buried, and water thoroughly.
- Humidity and Light: A clear plastic dome or bag placed over the cuttings will provide necessary humidity. Place the container in a bright, indirect light location.
- Maintenance: Keep the potting mix moist but not soggy. Regularly check for root development; typically, roots will form in 4-6 weeks.
Layering: A Hands-Off Approach
Using the layering method, you can encourage a new plant to develop directly from the parent plant, eliminating the need for cuttings.
The Process:
- Choose a Suitable Stem: Select a low-hanging, flexible stem close to the ground.
- Prepare the Stem: Make a small cut on the underside of the stem, just above a leaf node.
- Layering: Bend the stem down to the ground, gently tucking the cut portion into a shallow trench filled with a well-draining mix. Secure the stem with a wire or peg.
- Maintenance: Keep the area around the layered stem moist, and monitor for root growth. The layering process usually takes several months.
- Separation: Once roots have developed, carefully cut the new plant from the parent stem and pot it up.
Seeds: A Patience-Testing Approach
While Clematis grossa can be propagated from seed, it is a less common method due to its longer time to maturity.
The Process:
- Harvest Seeds: Collect ripe seeds from mature pods in the fall.
- Seed Preparation: Clean the seeds and sow them directly into a seed tray or starter pot filled with a well-draining mix.
- Germination: Keep the seeds moist and maintain a temperature of 65-70°F (18-21°C). Clematis grossa seeds often require warm stratification, a period of several weeks in temperatures of 35-40°F (2-4°C) to break dormancy.
- Thinning: As seedlings develop, thin them to allow sufficient space for growth.
Post-Propagation Care
No matter the method used, post-propagation care plays a crucial role in the success of your new Clematis grossa plants. Provide sufficient light, water regularly, and fertilize to encourage healthy growth.
Final Thoughts
Armed with these techniques, you can successfully propagate your own Clematis grossa, adding its charismatic presence to your garden or sharing its beauty with others. Whether you choose the quick method of cuttings, the hands-off approach of layering, or a patient journey with seeds, the reward of a thriving Clematis grossa vine is sure to be worth it.