Unlocking the Secrets of Clivia Nobilis Propagation: From Offsets to Blooms
Clivia nobilis, with its elegant strappy leaves and stunning clusters of pendulous, bell-shaped blooms, is a sight to behold. Unlike its more common cousin, the Clivia miniata, the “Nobilis” boasts a unique charm with its delicate, often fragrant flowers. But did you know that this beauty can be multiplied right in your own home? That’s right, propagating Clivia nobilis is not only achievable but a rewarding experience for any plant enthusiast.
Two Paths to Proliferation: Offsets and Seeds
There are two primary methods to propagate Clivia nobilis:
Offsets (Division): This method, ideal for beginners, involves separating naturally occurring “pups” from the mother plant.
- Seeds: A more time-consuming endeavor, seed propagation is perfect for those wanting to grow a larger quantity or experience the full life cycle of their Clivia.
The Art of Dividing Offsets
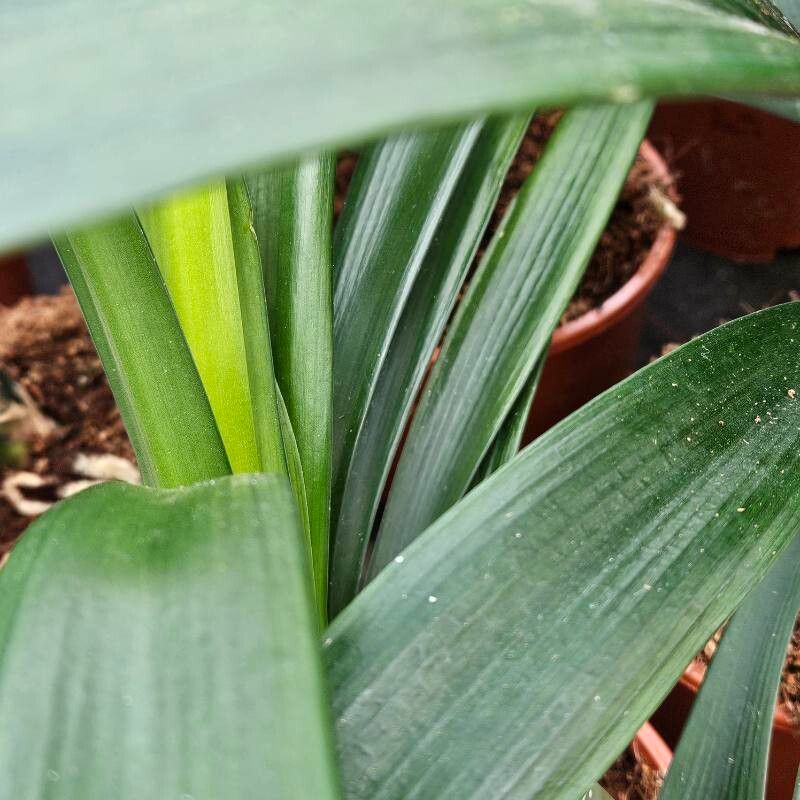
Offsets, or pups, are miniature versions of the parent plant that sprout from the base. Here’s how to give them their own pot:
Timing is Key: The optimal time for division is after the plant has finished flowering, typically in late spring or early summer.
Gentle Removal: Carefully remove the mother plant from its pot. Using a clean, sharp knife or shears, carefully separate the offset, ensuring it has its own root system.
Potting Up: Choose a pot slightly larger than the offset’s root ball. Use a well-draining potting mix specifically formulated for Clivia or epiphytes. Plant the offset at the same depth it was previously growing.
- Patience is a Virtue: Water the newly potted offset thoroughly, allowing excess water to drain. Place the plant in a warm, bright location out of direct sunlight. Avoid overwatering! Allow the soil to dry out slightly between waterings. It may take a few years for the offset to mature and bloom.
The Magic of Seed Propagation
While more time-consuming, seed propagation can be a rewarding process:
Harvesting Seeds: Allow seed pods to dry completely on the plant before collecting. Remove the fleshy outer layer to reveal the hard, dark seeds within.
Soaking for Success: Soak the seeds in lukewarm water for 24 hours to enhance germination rates.
Sowing the Seeds: Plant each seed about an inch deep in a seed-starting mix. Keep the soil consistently moist but not waterlogged.
Warmth and Light: Provide bottom heat using a seedling mat to maintain a temperature of around 70-75°F (21-24°C). Once seedlings emerge, relocate them to a bright location, out of direct sunlight.
- The Long Game: Seed-grown Clivia nobilis can take anywhere from 3 to 5 years to reach flowering maturity.
Nurturing Your New Generations
Regardless of your chosen method, providing the right care is crucial for your Clivia nobilis offspring:
Light: Bright, indirect light is ideal. Avoid harsh, direct sunlight, especially during the hottest part of the day.
Water: Allow the soil to dry out slightly between waterings. Overwatering can lead to root rot. Reduce watering in winter.
Fertilizer: Feed your Clivia with a balanced liquid fertilizer diluted to half strength during the growing season (spring and summer).
- Patience is Key: Remember that Clivia nobilis, particularly those grown from seed, are slow-growing plants. Be patient, provide proper care, and you’ll be rewarded with their stunning blooms for years to come.
Propagating your own Clivia nobilis is a fulfilling endeavor. Through careful attention and a little bit of patience, you can create a legacy of breathtaking blooms that will grace your home for years to come!