Unlocking the Secrets of Clowesia russelliana Propagation: A Guide to Multiplying Your Orchid Marvel
The Clowesia russelliana, with its cascading sprays of fragrant, otherworldly blooms, is a true showstopper in the orchid world. While caring for this exquisite plant might seem intimidating at first, propagating your own Clowesia russelliana can be a rewarding experience for orchid enthusiasts of all levels. Let’s delve into the fascinating techniques for multiplying your very own "lady of the night" orchid.
Understanding the Basics
Before embarking on the propagation journey, it’s crucial to understand the plant’s growth cycle. Clowesia russelliana, like many orchids, can be propagated through two primary methods: division and back bulbs.
- Division: This method involves separating mature plants with multiple healthy growths (pseudobulbs) during repotting.
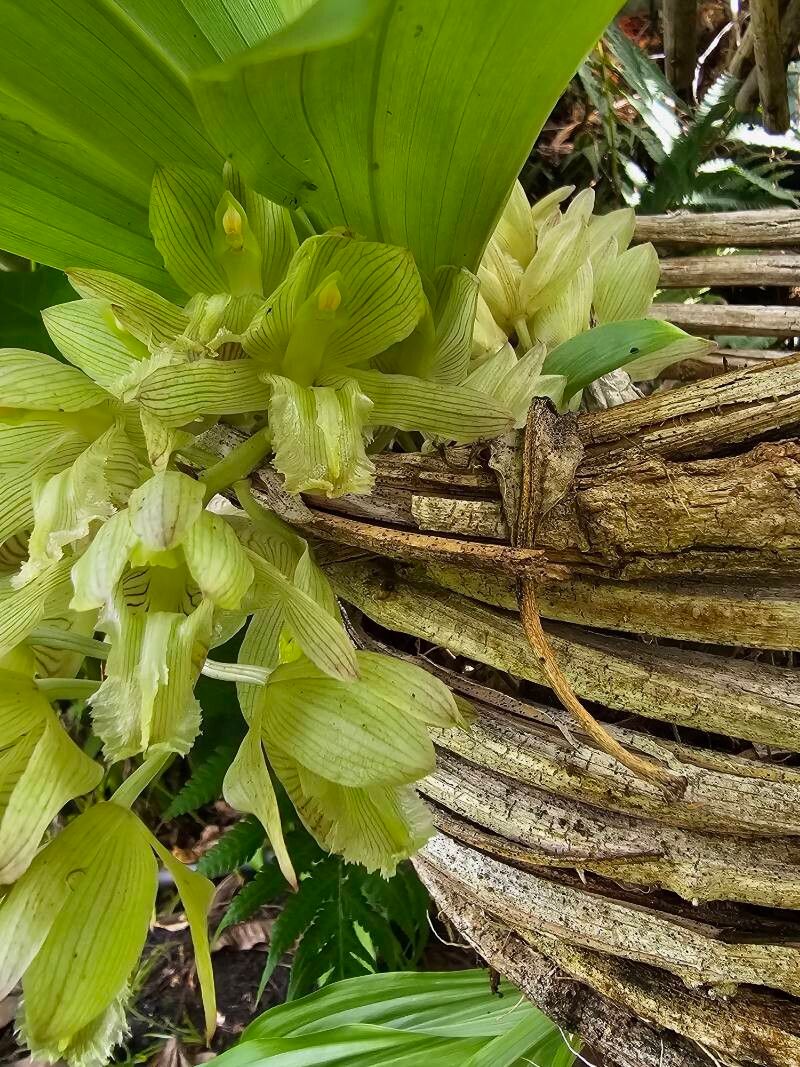
- Back Bulbs: Clowesia russelliana produces a chain of pseudobulbs, with older ones gradually losing their leaves. These "back bulbs" can be encouraged to sprout new growths.
Timing is Everything: When to Propagate
The ideal time for both division and back bulb propagation is during the plant’s active growing season, typically in spring as new growth emerges. This is when the plant has the most energy reserves to support new growth.
Method 1: Division – Separating for Success
- Preparation is Key: Gather sterilized cutting tools, fresh potting mix specifically formulated for orchids, and appropriately sized pots.
- Careful Separation: Gently remove the plant from its pot and inspect the rhizome (the horizontal stem connecting the pseudobulbs). Using a sterile cutting tool, divide the rhizome, ensuring each section has at least 3-4 healthy pseudobulbs with active roots.
- Potting Up: Plant each division into its own pot, ensuring the base of the pseudobulbs sits slightly above the potting mix level. Water sparingly until new growth appears.
Method 2: Back Bulbs – Awakening Dormant Potential
- Identifying Viable Candidates: Look for plump, firm back bulbs without any signs of rot or disease.
- Creating the Ideal Environment: Prepare a humidity tray by filling it with pebbles and water. Place the back bulbs on top of the pebbles, ensuring they don’t sit in water. Cover the tray with a clear lid or plastic wrap to create a humid environment.
- Patience is Paramount: Place the tray in a warm, well-lit location, out of direct sunlight. Maintain humidity and mist the bulbs regularly. It may take several weeks or even months for new growth to appear.
- Potting Up New Growth: Once new roots and shoots emerge from the back bulbs, pot them up individually in a well-draining orchid mix, treating them as you would a mature plant.
Nurturing Your New Propagations
Provide your newly propagated Clowesia russelliana with bright, indirect light, high humidity, and warm temperatures. Water them thoroughly when the potting mix approaches dryness, allowing excess water to drain completely. Fertilize regularly during the growing season with a diluted, balanced fertilizer.
Reaping the Rewards
Propagating your Clowesia russelliana is a rewarding endeavor, allowing you to expand your orchid collection and share these botanical treasures with fellow enthusiasts. By following these techniques and providing the right care, you’ll be rewarded with even more of these captivating, fragrant blooms for years to come.