
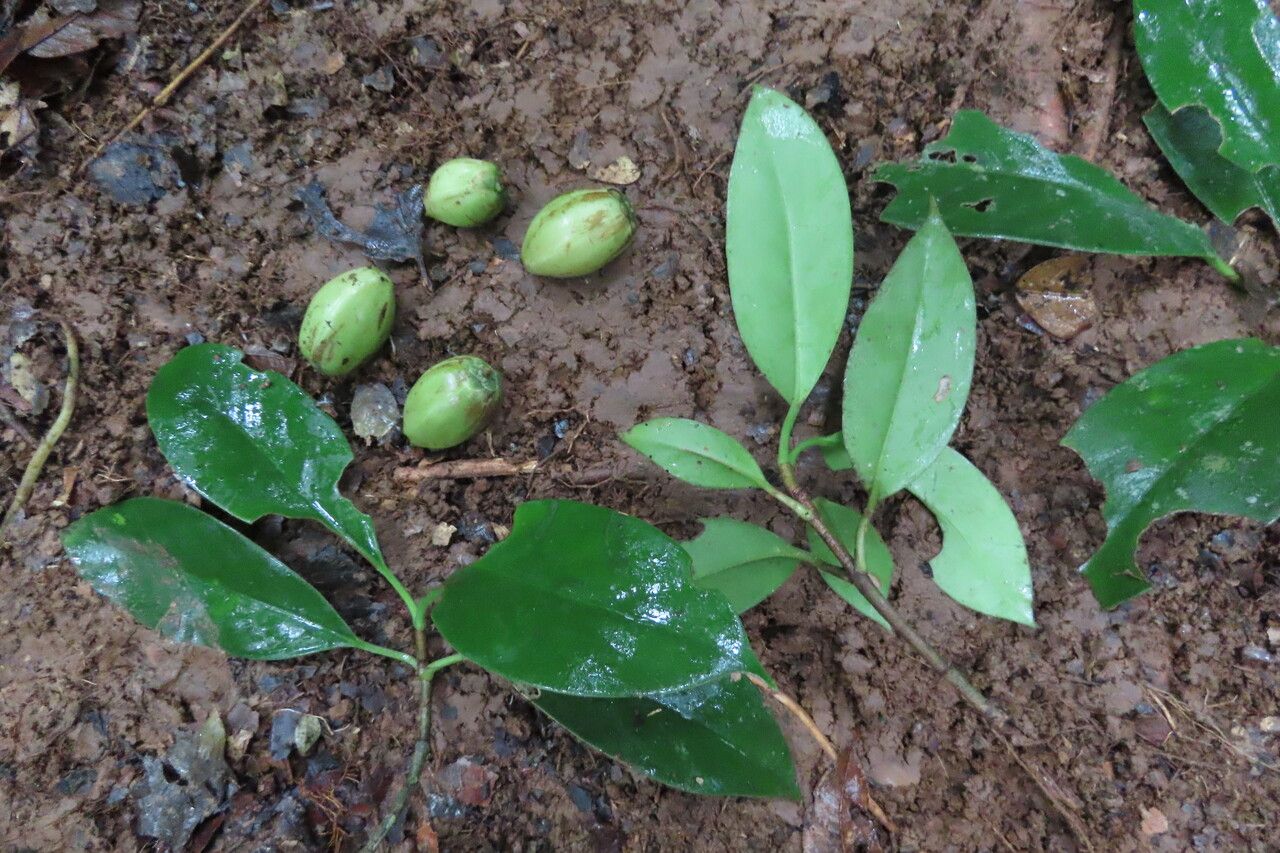
Taming the Amazon: Propagating Your Own Clusia Amazonica
The Clusia amazonica, also known as the Autograph Tree for the intriguing way its leaves scar, is a unique and beautiful addition to any plant lover’s collection. Native to the Amazon rainforest, this tropical evergreen boasts thick, glossy leaves and delicate white flowers. While relatively low-maintenance once established, propagating your own Clusia amazonica can seem a tad daunting. But fear not, fellow plant enthusiasts, for we’re about to demystify the process!
Two Roads to Success: Seed vs. Cuttings
When it comes to propagating Clusia amazonica, you have two primary options: seeds and cuttings.
Seed Propagation: This method, while exciting, is akin to embarking on a botanical adventure. Finding viable seeds can be challenging, as they aren’t readily available commercially. If you do manage to source some, be prepared for a longer journey, as germination can be slow and unpredictable.
- Cutting Propagation: This technique is the more popular and reliable choice for propagating Clusia amazonica. It involves taking a cutting from a healthy, mature plant and encouraging it to develop roots. This method offers a higher success rate and a relatively faster route to growing a new plant.
Mastering the Art of Cuttings
Let’s delve into the steps involved in propagating Clusia amazonica from cuttings:
1. Gather Your Tools:
- Sharp, sterilized pruning shears or knife: Cleanliness is crucial to prevent infections in your cuttings.
- Small pot or propagation tray: Choose a container with good drainage.
- Well-draining potting mix: A blend of peat moss, perlite, and vermiculite works well.
- Rooting hormone (optional but recommended): This helps speed up root development.
2. Selecting and Taking the Cuttings:
- Timing is Key: Spring or early summer is the ideal time for taking cuttings, as the plant is actively growing.
- Choose Wisely: Select a healthy stem that is at least 4-6 inches long and has several leaves. The stem should be relatively new growth but firm, not overly soft.
- Make the Cut: Using your sterilized shears, make a clean cut just below a leaf node (where the leaf attaches to the stem). Remove the leaves from the bottom two inches of the cutting.
3. Preparing the Cutting:
- Wound the Stem (Optional): Gently scoring or scraping the bottom inch of the stem can encourage root production.
- Hormone Boost: Dip the wounded end of the cutting into rooting hormone, following the product’s instructions.
4. Planting and Care:
- Potting Up: Make a small hole in the prepared potting mix and gently insert the cutting, burying the bottom node.
- Creating a Humid Environment: Clusia amazonica thrives in high humidity. Cover the pot with a plastic bag or use a humidity dome to create a microclimate.
- Light and Water: Place the cutting in a bright location but out of direct sunlight. Water the soil whenever it feels dry to the touch, ensuring adequate drainage.
5. Patience is a Virtue:
Rooting typically takes 4-8 weeks, but it can sometimes take longer. You’ll know roots have formed when you see new growth on the cutting.
Congratulations, You’re a Propagator!
Once your cutting has rooted and shows signs of new growth, gradually acclimate it to regular household conditions before transplanting it into a larger pot. With proper care and attention, your propagated Clusia amazonica will thrive and bring a touch of the Amazonian rainforest into your home!