
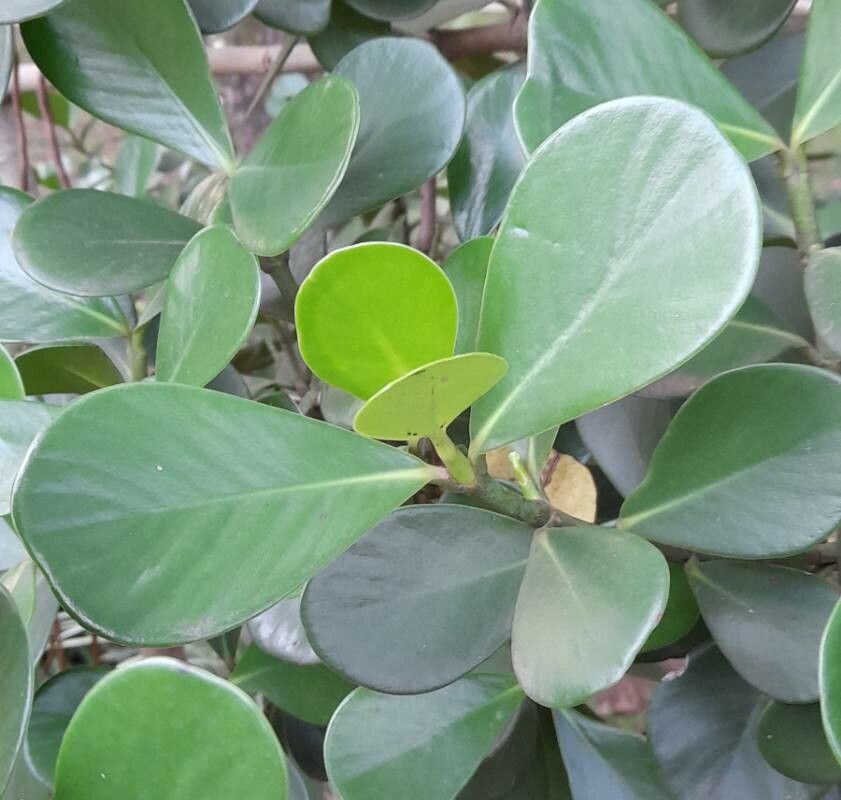
Unlocking the Secrets of Clusia Criuva Propagation: Grow Your Own Tropical Oasis
Clusia criuva, with its glossy leaves and captivating presence, is an increasingly popular choice for bringing a touch of the tropics indoors. And the best part? Propagating Clusia criuva is surprisingly achievable, even for those new to the world of plant parenthood. Let’s explore the fascinating methods you can use to grow your own Clusia criuva, expanding your plant family without breaking the bank.
Understanding the Clusia Criuva:
Native to the Caribbean and South America, Clusia criuva is an evergreen shrub known for its thick, leathery leaves and fascinating ability to absorb water through its aerial roots. This characteristic makes it remarkably resilient and forgiving, perfect for those seeking a low-maintenance yet visually striking plant.
Methods of Propagation:
While Clusia criuva naturally spreads through seeds, these can be difficult to obtain. Instead, home growers rely on two main propagation methods:
1. Stem Cuttings:
- The Process: This technique involves taking a section of the stem and encouraging it to develop roots. Select a healthy stem, ideally around 6-8 inches long, with at least two sets of leaves. Make a clean cut just below a leaf node (the bump where a leaf emerges), remove the lower leaves, and place the cutting in a well-draining propagation mix.
- Key Considerations: Maintain a humid environment by covering the pot with a plastic bag or using a propagation dome. Place the cutting in indirect sunlight and keep the soil consistently moist but not soggy. Rooting hormones can help expedite the process.
- Timeline: Roots typically form in 4-8 weeks. Once you see new growth, it’s a good sign that your cutting has successfully established roots.
2. Air Layering:
- The Process: A slightly more advanced method, air layering encourages root development while the branch is still attached to the mother plant. Choose a mature, healthy stem and make a small, upward-angled cut about 1/3 of the way through the stem. Dust the wound with rooting hormone and wrap it with moist sphagnum moss, securing it with plastic wrap.
- Key Considerations: Ensure the moss remains consistently damp throughout the process. This method requires patience, as root development can take several months.
- Timeline: Once you see a healthy network of roots forming through the plastic, you can cut the branch below the root ball and pot it up as you would a rooted cutting.
Caring for Your New Clusia Criuva:
- Light: Clusia criuva thrives in bright, indirect light. Avoid placing it in direct sunlight, which can scorch the leaves.
- Water: Water thoroughly when the top inch of soil feels dry. Be mindful of overwatering, as soggy soil can lead to root rot.
- Humidity: As a tropical plant, Clusia criuva appreciates humidity. Mist regularly or place it near a humidifier to create a happy environment.
- Fertilizer: Feed with a balanced liquid fertilizer diluted to half strength during the growing season (spring and summer).
Propagating your Clusia criuva is a rewarding experience that allows you to nurture new life and expand your plant collection. With a little patience and the right techniques, you’ll be rewarded with beautiful, thriving plants that bring a touch of the tropics to your home. Happy propagating!