Unlocking the Secrets to Propagating the Kapok Bush: A Step-by-Step Guide
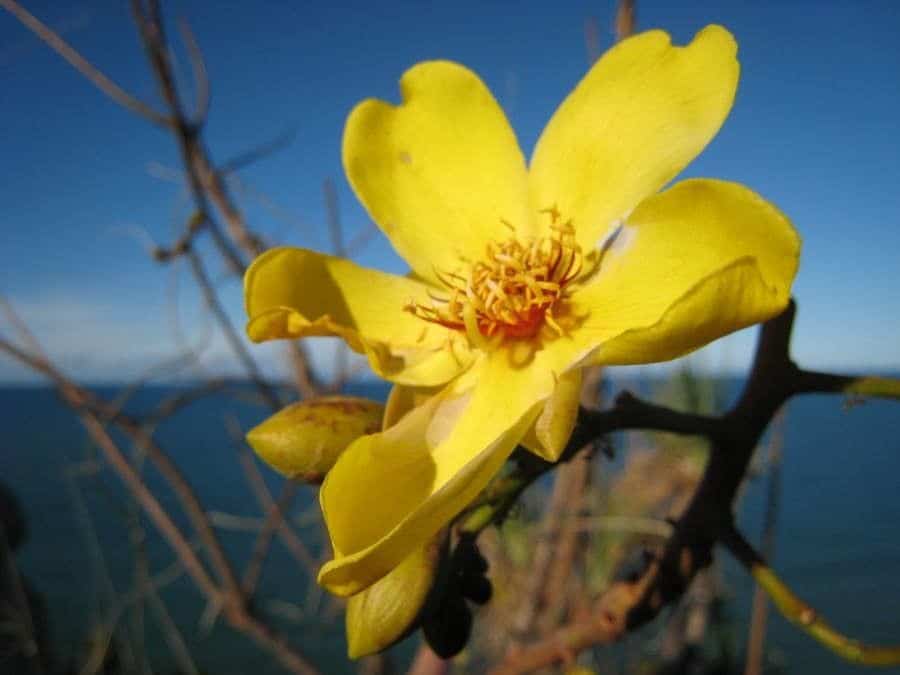
The Kapok Bush (Cochlospermum gillivraei), with its vibrant yellow flowers bursting forth against the arid Australian landscape, is a sight to behold. This resilient shrub, also known as the "silk cotton tree" or "native kapok," can be a stunning addition to gardens in arid and tropical zones. While admiring its beauty is easy, successfully propagating it requires a bit of know-how. Fear not, fellow plant enthusiasts! Today, we’ll unlock the secrets to growing new Kapok Bushes from scratch.
Two Paths to Propagation: Seeds vs. Cuttings
The Kapok Bush offers two primary propagation methods: seeds and cuttings. Each has its own set of advantages and challenges, allowing you to choose the best approach for your gardening style and resources.
1. The Seed Route: A Test of Patience
Propagating Kapok Bush from seed can be a rewarding, albeit leisurely, experience. Here’s a step-by-step guide to nurturing these tiny vessels of life:
- Source your seeds: Look for reputable online suppliers or local nurseries specializing in Australian native plants.
- Prepare for germination: Kapok seeds benefit from scarification, a process that gently scratches the seed coat to improve water absorption. You can achieve this by lightly rubbing the seed with sandpaper.
- Sow with care: Sow the scarified seeds in a well-draining seed-raising mix, covering them lightly with soil. Water gently and ensure the soil remains consistently moist but not waterlogged.
- Patience is key: Germination can be erratic, with some seeds sprouting within weeks while others take several months. Place the seed trays in a warm, bright location out of direct sunlight.
Transplanting triumph: Once the seedlings develop a few sets of true leaves, they are robust enough to be transplanted into individual pots or into your garden bed.
2. The Cutting Edge: A Quicker Approach
If you prefer a faster route to a flourishing Kapok Bush, cuttings are the way to go. This method allows you to clone an existing plant, ensuring you retain its specific traits. Here’s how:
- Timing is everything: The best time to take cuttings is during the active growing season, ideally in spring or early summer.
- Select healthy stems: Choose semi-hardwood cuttings, which are stems that are mature but still somewhat flexible, from a healthy Kapok Bush.
- Prepare the cutting: Using a clean, sharp knife or pruning shears, take a cutting around 15-20 cm long. Remove the leaves from the lower third of the cutting.
- Encourage root development: Dip the cut end of the stem into rooting hormone powder to stimulate root growth.
- Plant with purpose: Plant the cuttings in a well-draining potting mix specifically designed for cuttings. Water them in gently.
- Create a humid environment: To promote rooting, cover the cuttings with a clear plastic bag or humidity dome. This will help retain moisture.
- Transplanting success: After about 6-8 weeks, your cuttings should have developed roots and be ready to be transplanted into larger pots or your garden.
Nurturing Your Kapok Bush:
Regardless of your chosen propagation method, providing your Kapok Bush with well-drained soil and ample sunlight is crucial for its success. Once established, it is relatively drought-tolerant but appreciates occasional deep watering, especially during extended dry periods.
By following these steps and arming yourself with patience and care, you’ll be well on your way to successfully propagating your own vibrant Kapok Bush, adding a touch of Australian charm to your garden.