Unveiling the Beauty of Coelogyne Articulata: A Propagation Guide for Stunning Orchids
Coelogyne articulata, with its cascading chains of fragrant, crystalline-white blooms, is a sight to behold. Native to the cool, misty forests of Southeast Asia, this epiphytic orchid can bring a touch of the exotic into your own home. While admiring its beauty is easy, many orchid enthusiasts wonder about the best ways to propagate this unique species. Fear not, fellow plant lovers, for this guide will illuminate the path to propagating your own Coelogyne articulata and expanding your orchid family.
Understanding the Fundamentals
Before diving into the specifics, it’s essential to grasp some fundamental concepts:
- Epiphyte: Unlike terrestrial plants that grow in soil, Coelogyne articulata is an epiphyte, meaning it naturally grows on other plants, typically trees, for support. This preference directly influences its propagation methods.
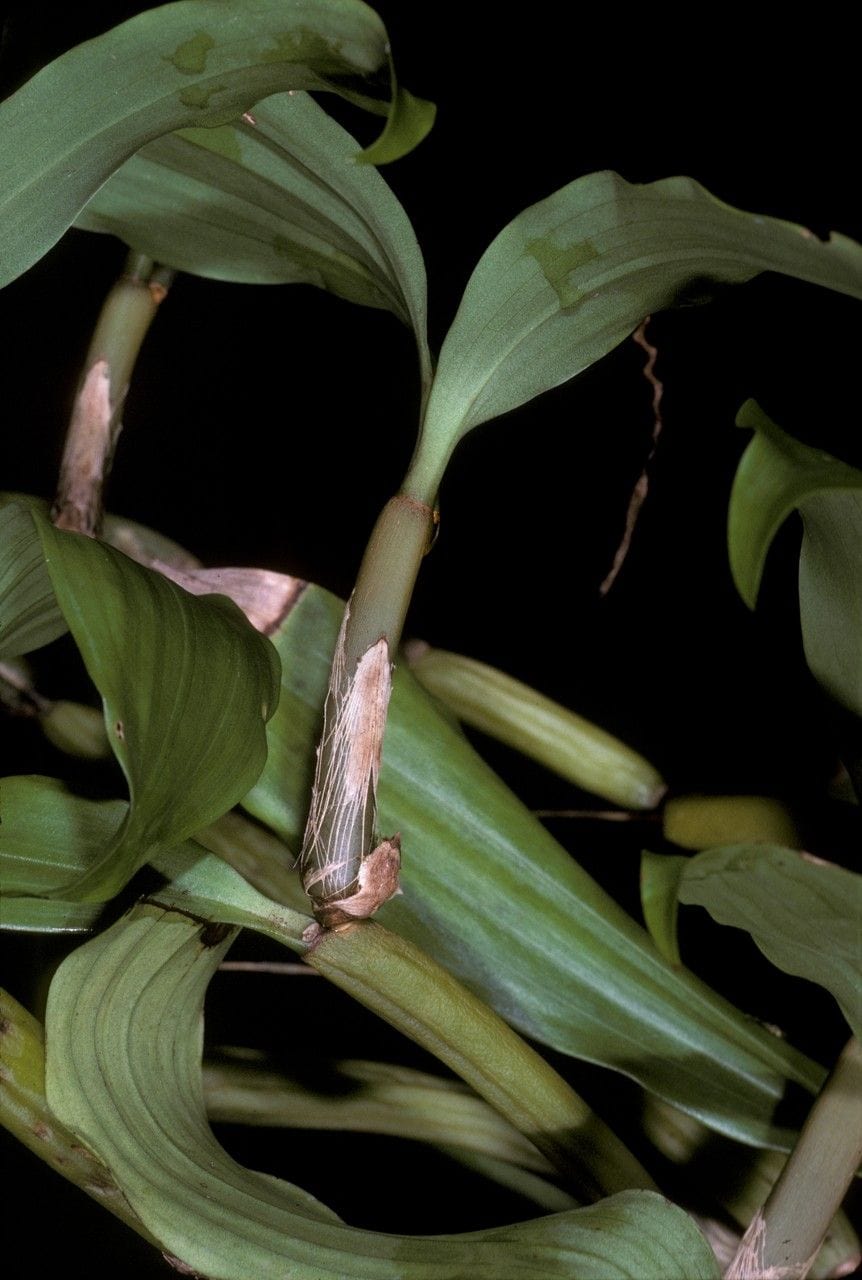
- Mature Growth: For successful propagation, you’ll need a healthy, mature plant. Look for a specimen with multiple pseudobulbs (swollen stems that store water and nutrients) connected by a rhizome (a modified stem that grows horizontally).
Two Primary Propagation Techniques
1. Division:
Division is the most common and reliable method for propagating Coelogyne articulata. Here’s a step-by-step guide:
- Timing: Early spring, just as new growth emerges, is the optimal time for division.
- Materials: Gather a sterilized cutting tool (sharp knife or pruning shears), a pot with drainage holes slightly larger than the division, and a well-draining orchid potting mix (bark, perlite, and charcoal).
- Process:
- Carefully remove the plant from its pot.
- Identify a section with at least 3-4 healthy pseudobulbs connected by a rhizome.
- Using your sterilized tool, make a clean cut through the rhizome, ensuring each division has roots attached.
- Plant each division in the prepared pot, ensuring the base of the pseudobulbs is level with the potting mix.
- Water thoroughly and place in a warm, humid environment with indirect light.
2. Backbulbs:
Backbulbs are older, leafless pseudobulbs that can potentially sprout new growth. While less reliable than division, it’s worth a try!
- Identification: Look for plump, healthy backbulbs without signs of rot or disease.
- Preparation: Prepare a tray or small pots with a moist, sphagnum moss-based medium.
- Placement: Gently press the backbulbs onto the surface of the moss, ensuring they are not fully buried.
- Conditions: Place the tray in a warm, humid location with bright, indirect light. Mist regularly to maintain moisture.
- Patience: Be patient! It can take several months for backbulbs to sprout new growth.
Nurturing New Growth
Once your divisions or backbulb propagations show signs of new growth, shift your care routine:
- Watering: Water thoroughly when the potting mix is nearly dry. Avoid overwatering, which can lead to root rot.
- Fertilizer: Use a balanced, diluted orchid fertilizer every other week during the growing season (spring and summer).
- Repotting: Repot every 2-3 years or when the plant outgrows its container, using fresh orchid potting mix.
Propagating Coelogyne articulata requires a blend of patience, care, and a touch of green-thumb magic. But, with practice and these tips, you’ll be able to witness the captivating beauty of these orchids multiply in your own plant sanctuary!