Unveiling the Secrets of Coelogyne Nervosa Propagation: A Guide to Multiplying Your Orchid
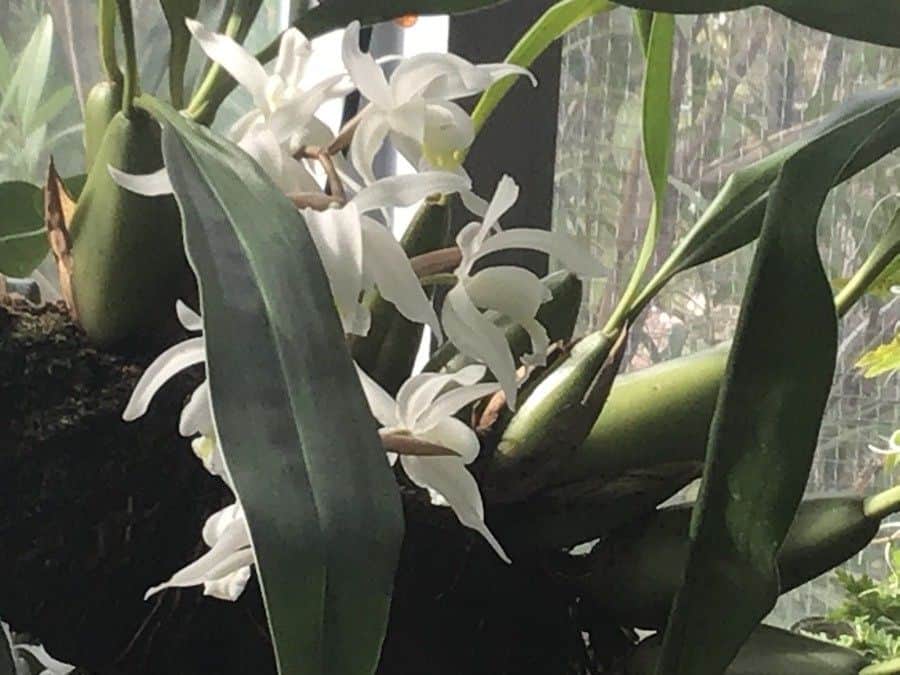
The Coelogyne nervosa, with its cascading chains of delicate, fragrant blooms, is a sight to behold. This captivating orchid, native to the Himalayas, can transform any space into a tranquil oasis. If you’re lucky enough to have one gracing your home, you might be wondering how to multiply its beauty. Fear not, fellow orchid enthusiasts, for propagating Coelogyne nervosa, while requiring a little patience, is an achievable feat.
This guide will delve into the two most effective methods of Coelogyne nervosa propagation: division and back bulbs.
1. Division: The Art of Separation
Division is the most common and straightforward method, ideal for mature, healthy plants with multiple growths or pseudobulbs.
• Timing is Key: Spring, just as the plant enters its active growing phase, is the optimal time for division.
• Tools of the Trade: You’ll need sterilized pruning shears or a sharp knife, pots with drainage holes, and a fresh orchid potting mix (a blend of bark chips, perlite, and sphagnum moss works well).
• The Division Process:
1. Carefully remove the plant from its pot.
2. Gently loosen the roots and identify sections with at least 3-4 healthy pseudobulbs each.
3. Using your sterilized tool, cut through the rhizome (the horizontal stem connecting the pseudobulbs) to divide the plant into sections.
4. Treat any cut surfaces with cinnamon or a fungicide to prevent infection.
5. Pot each division in a separate pot, ensuring the base of the pseudobulbs is level with the potting mix. Water lightly.
2. Back Bulbs: Nurturing New Life from Old Growth
Back bulbs are older, often leafless pseudobulbs that might appear shrivelled but still hold the potential for new growth.
• Identifying Potential: Look for back bulbs that are still firm to the touch and show signs of life, such as small, reddish nubs at the nodes.
• Creating the Perfect Environment:
1. Place the back bulbs in a shallow tray filled with moist sphagnum moss.
2. Cover the tray with plastic wrap to create a humid environment.
3. Place the tray in a warm, brightly lit location, out of direct sunlight.
• Patience is a Virtue: It can take several weeks or even months for back bulbs to sprout new growth. Maintain consistent moisture and warmth throughout this period.
Once new roots and shoots appear, you can carefully transplant the back bulb into a pot with orchid potting mix, following the same steps as division.Essential Post-Propagation Care
Propagating is just the first step. To ensure the success of your new Coelogyne nervosa plants, provide them with the care they need:
- Light: Bright, indirect light is crucial. Avoid harsh, direct sunlight.
- Water: Water thoroughly when the potting mix approaches dryness. Don’t let the roots sit in water.
- Humidity: Aim for humidity levels of 50% or higher. Use a humidifier or place the pots on a pebble tray filled with water.
- Fertilizer: Feed every 2-4 weeks during the growing season with a balanced orchid fertilizer diluted to half strength.
Propagating your Coelogyne nervosa is a rewarding experience that allows you to multiply your collection and share the captivating beauty of this orchid with others. With patience and proper care, you can enjoy a profusion of these elegant blooms for years to come.