Unlocking the Secrets of Coelogyne Ovalis Propagation: A Beginner’s Guide
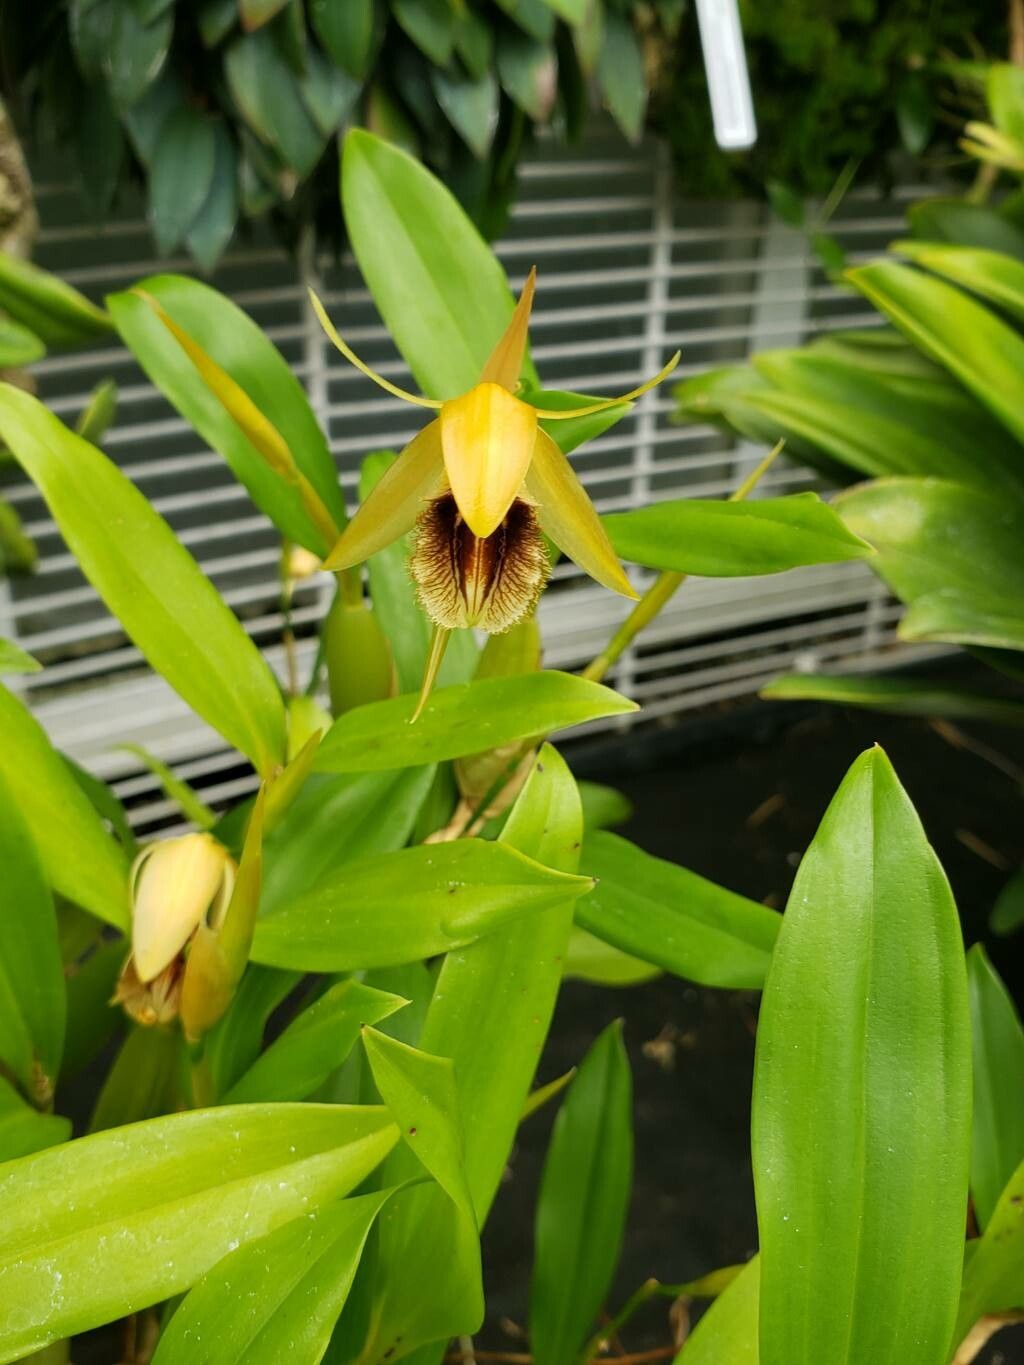
Coelogyne ovalis, with its charming clusters of creamy-green blooms and delicate fragrance, is a captivating addition to any orchid enthusiast’s collection. While admiring its beauty is a delight, wouldn’t it be even more rewarding to multiply your orchids and share their elegance? This comprehensive guide will delve into the world of Coelogyne ovalis propagation, empowering you to expand your orchid family with confidence.
Understanding the Fundamentals
Before we embark on this journey, it’s crucial to understand that Coelogyne ovalis, like many sympodial orchids, grows laterally and produces new shoots called “pseudobulbs” along a rhizome. This growth habit forms the basis of our propagation techniques:
1. Division:
- Timing is Key: The ideal time for division is during spring, just as new growth emerges.
- Healthy Divisions: Select a mature plant with at least 6-8 pseudobulbs. Ensure each division has a minimum of 3-4 healthy pseudobulbs with active roots attached.
- Sharp and Sterile: Use a sterilized, sharp knife or pruning shears to minimize damage and prevent disease transmission.
- Potting Up: Plant each division in a well-draining orchid mix, ensuring the rhizome sits above the potting medium to prevent rot.
2. Backbulb Propagation:
- Identifying Backbulbs: Backbulbs are older, often leafless pseudobulbs that still hold the potential for new growth.
- Creating Ideal Conditions: Place the backbulbs in a humid environment, like a sealed container with moist sphagnum moss or a propagation box.
- Patience is a Virtue: It may take several weeks or even months for backbulbs to sprout new growths. Once new roots and leaves appear, you can pot them up like mature divisions.
Essential Tips for Success:
- Light: Provide bright, indirect light for optimal growth. Avoid direct sunlight, which can scorch the leaves.
- Watering: Water your Coelogyne ovalis thoroughly when the potting mix approaches dryness. Good air circulation is crucial to prevent fungal issues.
- Humidity: Aim for a humidity level between 50-70%. You can achieve this by grouping orchids together, using a humidifier, or placing a tray of water nearby.
- Fertilizer: Use a balanced orchid fertilizer diluted to half strength during the growing season (spring and summer) to encourage healthy growth.
Troubleshooting Common Problems:
- Yellowing Leaves: This could indicate overwatering, poor drainage, or insufficient light.
- Rotting Roots: Overwatering and poor drainage are often the culprits. Repot with fresh orchid mix and adjust your watering practices.
- No New Growth: Ensure adequate light and humidity. Check for pests and diseases that might be hindering growth.
Embracing the Journey
Propagating Coelogyne ovalis is a rewarding experience that connects you deeply with your plants. While it requires patience and attention to detail, the joy of nurturing new life from existing growth is unparalleled. By following these guidelines and approaching the process with care, you’ll be well on your way to expanding your orchid collection and reveling in the beauty of these captivating blooms for years to come.