Unveiling the Secrets of Comparettia falcata Propagation: A Guide to Multiplying Your Miniature Marvel
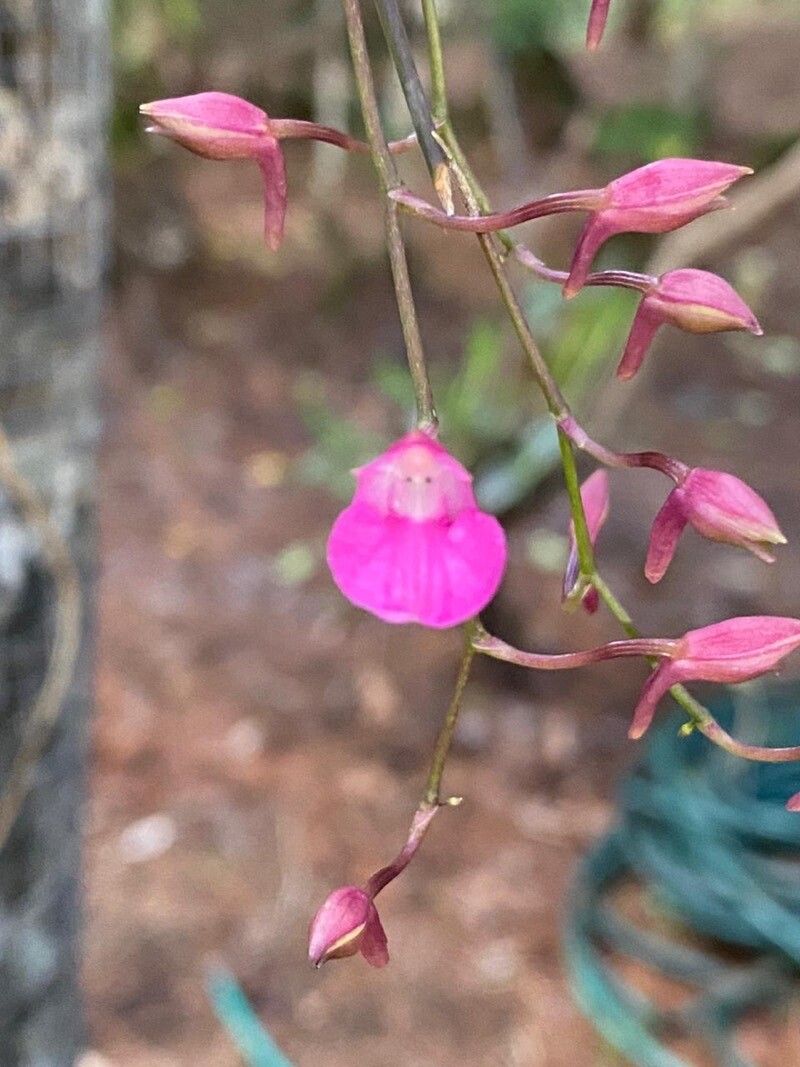
The Comparettia falcata, with its vibrant orange blooms resembling tiny dancing flames, is a captivating orchid that steals the show despite its diminutive size. If you’re lucky enough to house this miniature marvel, you’ve likely been enchanted by its fiery display and wondered, “How can I welcome more of these beauties into my home?” Fear not, fellow orchid enthusiast, for we’re about to delve into the art of propagating Comparettia falcata, breaking down the process into manageable steps.
Understanding the Basics
Before embarking on your propagation journey, it’s essential to grasp the fundamental methods applicable to Comparettia falcata:
Division: As with many orchids, division reigns supreme as the most common and effective propagation technique for the Comparettia falcata. Over time, your orchid will naturally develop multiple growths or “leads,” each capable of becoming an independent plant.
- Backbulbs: These plump, pseudobulb-like structures on mature plants act as energy reservoirs and can sprout new growths. While slightly less predictable than division, backbulb propagation offers another avenue to multiply your collection.
Let’s Get Down to Business: Step-by-Step Propagation
1. Timing is Key: Spring, as your Comparettia falcata concludes its blooming cycle and enters a phase of active growth, presents the ideal window for propagation.
2. Tools of the Trade: Assemble your propagation toolkit, including:
- Sterilized pruning shears or a sharp knife
- Small pots (2-3 inches in diameter)
- Orchid potting mix specifically formulated for good drainage
- Cinnamon or rooting hormone (optional)
3. Division – The Gold Standard:
- Carefully remove the orchid from its pot, gently loosening the roots.
- Identify sections with at least 3-4 healthy pseudobulbs and a well-established root system.
- Using your sterilized cutting tool, divide the rhizome (the horizontal stem connecting the pseudobulbs), ensuring each division has sufficient roots.
- Dust the cut ends with cinnamon or rooting hormone (optional) to discourage fungal infections.
- Pot each division in prepared pots with fresh orchid mix, ensuring the base of the pseudobulbs sits at or slightly above the soil line.
4. Backbulb Propagation – Embracing the Unconventional:
- Identify healthy, plump backbulbs on the mother plant.
- Carefully detach them using a sterilized cutting tool.
- Place the backbulbs in a shallow tray filled with moist sphagnum moss or a very light orchid mix.
- Provide bright, indirect light and maintain humidity.
- Be patient! Backbulb propagation can take several months. New growths will eventually emerge from the base of the backbulb.
Nurturing Your New Propagations
- Light: Provide bright, indirect light, similar to what the mother plant enjoys.
- Watering: Water when the potting mix approaches dryness. Avoid overwatering, as this can lead to root rot.
- Humidity: Maintain a humid environment, especially crucial for newly potted divisions. Group plants together, use a pebble tray, or consider a humidifier.
- Patience is a Virtue: It may take several months for new growths to appear and your propagations to fully establish.
Propagating your Comparettia falcata is a rewarding endeavor, allowing you to expand your collection and share the joy of these fiery miniature orchids with friends and fellow enthusiasts. Remember to approach the process with patience, provide the right care, and revel in the satisfaction of nurturing new life from your existing plants.