Unfurling the Mystery: Propagating the Silky Convolvulus (Convolvulus lanuginosus)
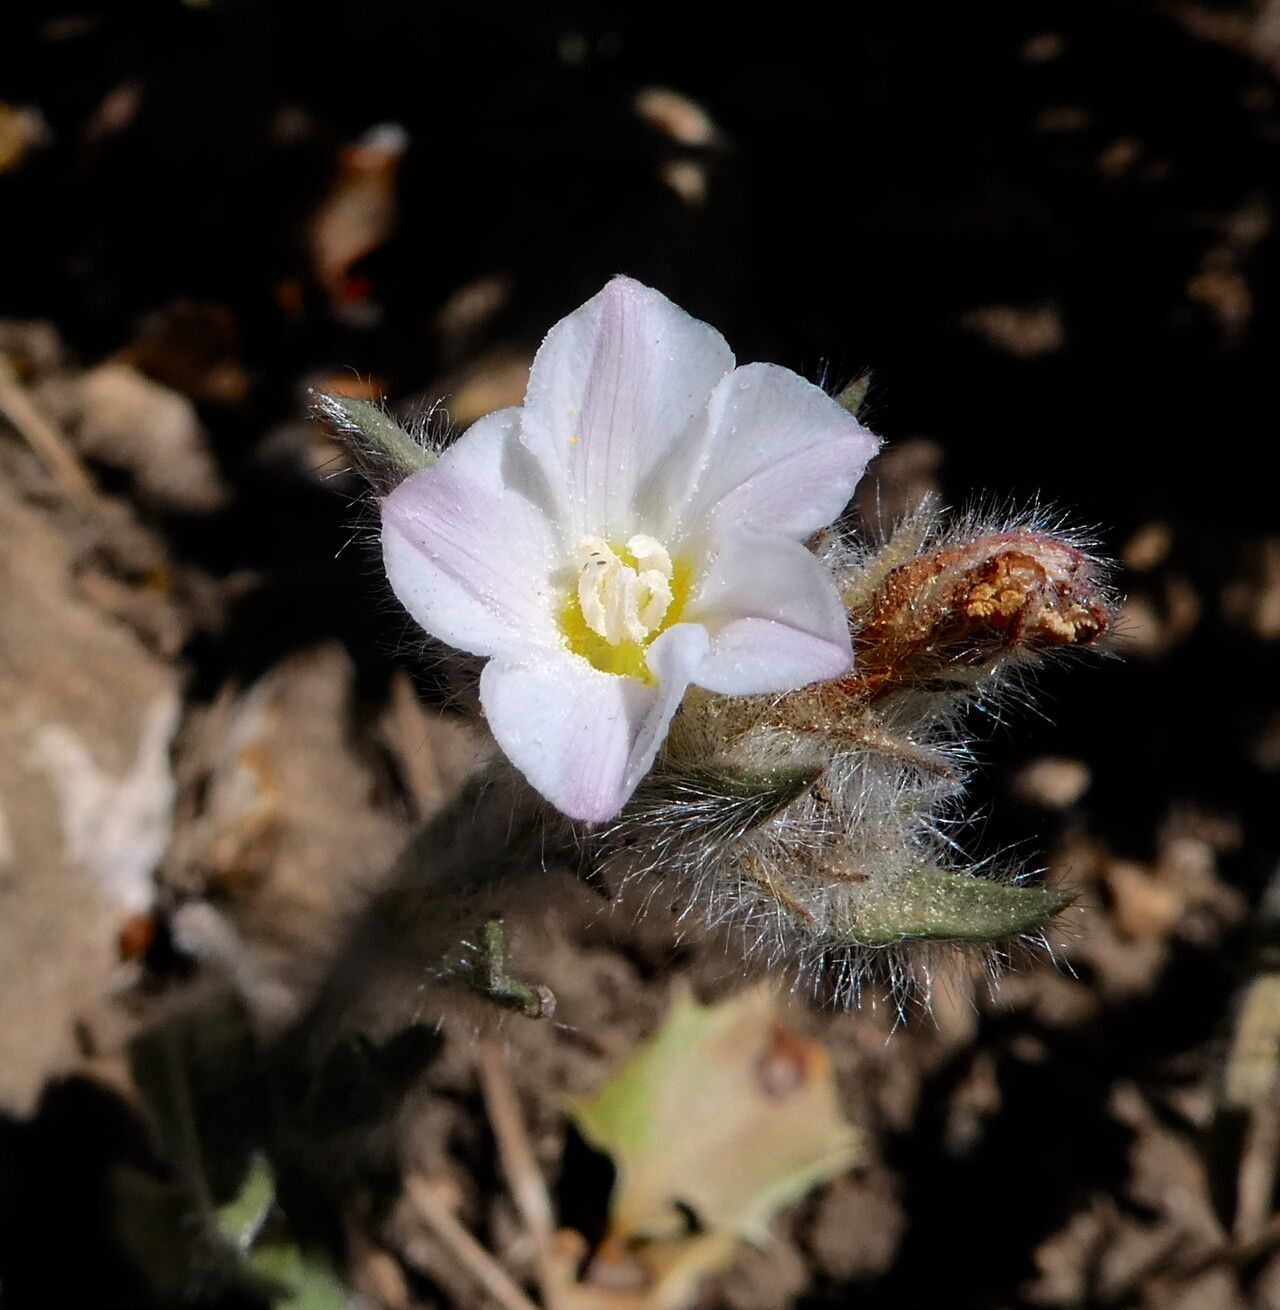
The Convolvulus lanuginosus, also known as the Silky Convolvulus, is a charming plant that captivates with its delicate, silvery foliage and cheerful pink blooms. Native to the Mediterranean region, this semi-evergreen perennial brings a touch of wild beauty to gardens with its trailing habit and resilience in drier conditions. While readily available at specialty nurseries, propagating your own Silky Convolvulus is a rewarding experience that lets you expand your plant family easily. This guide delves into the two primary methods of propagating this charming plant:
1. Seed Propagation:
- Timing is Key: The ideal time to sow Silky Convolvulus seeds is in the spring, after the last frost has passed. This allows the seedlings ample time to establish themselves before the arrival of colder weather.
- Sowing the Seeds: Choose a well-draining seed starting mix and lightly press the seeds into the surface. Mist the soil gently and keep it consistently moist but not waterlogged.
- Providing the Right Environment: Find a warm, bright location for your seed tray. A sunny windowsill or a greenhouse setup works well. The optimal temperature for germination is between 65-75°F (18-24°C).
- Germination Patience: Germination can be somewhat erratic, with some seeds sprouting within a week and others taking up to a month. Don’t be discouraged if you don’t see immediate results.
- Thinning and Transplanting: Once your seedlings have developed a couple of sets of true leaves, thin them out to ensure proper spacing and prevent overcrowding. When they reach about 3-4 inches tall, transplant them into individual pots or your desired outdoor location.
2. Propagation from Cuttings:
- The Right Time: Take cuttings in late spring or early summer, when the plant is actively growing.
- Selecting Healthy Cuttings: Choose healthy, non-flowering stems that are about 4-6 inches long. Make a clean cut just below a leaf node.
- Preparing the Cuttings: Remove the lower leaves from the cutting, leaving only a couple of pairs at the top. Dip the cut end in rooting hormone powder (optional but recommended for faster and more successful rooting).
- Planting the Cuttings: Plant the cuttings in a well-draining potting mix, burying the nodes where the leaves were removed. Water gently.
- Creating a Humid Environment: Cover the pot with a clear plastic bag or use a propagator to create a humid environment that encourages rooting.
- Rooting and Transplanting: Keep the soil consistently moist and monitor for root development, which typically takes around 4-6 weeks. Once the cuttings show signs of new growth, you can transplant them into larger pots or their final outdoor spot.
Additional Propagation Tips:
- The Silky Convolvulus prefers well-draining soil and thrives in full sun to partial shade.
- Water regularly, especially during dry periods, but avoid overwatering to prevent root rot.
- Pinching back the stems can encourage a bushier growth habit.
Propagating your own Silky Convolvulus, whether from seed or cuttings, is a deeply satisfying process that allows you to expand your garden with minimal cost and enjoy the unique beauty of this resilient and charming plant. So why not give it a try? With a little patience and care, you’ll be rewarded with an abundance of these delightful plants to adorn your garden for years to come.