Unlocking the Secrets of Copiapoa coquimbana Propagation: A Collector’s Guide
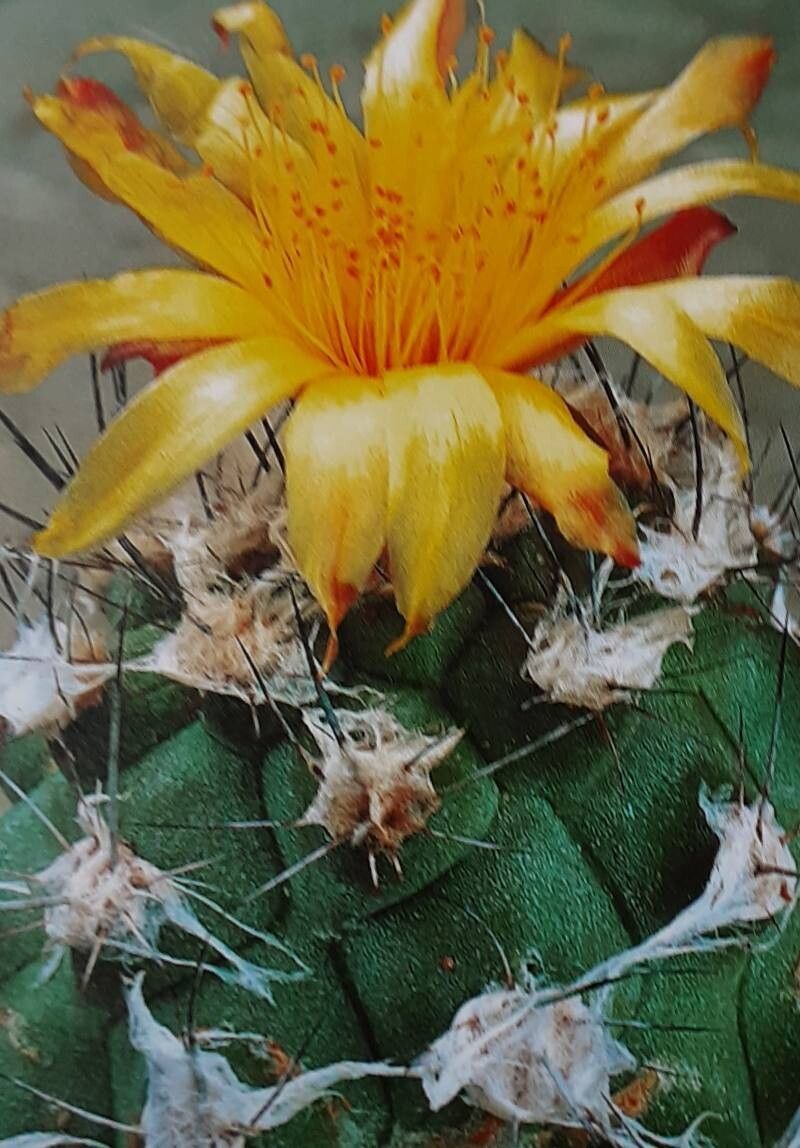
The Copiapoa coquimbana, with its otherworldly beauty and fascinating adaptations to the harsh Atacama Desert, is a prized possession for any serious cactus enthusiast. But successfully propagating this Chilean jewel can feel as challenging as surviving in its natural habitat. Fear not, fellow plant lovers, for this guide will demystify the process and equip you with the knowledge to expand your Copiapoa collection.
The Seed Route: Embracing the Challenge
Propagating Copiapoa coquimbana from seed is the most common method, though patience is definitely a virtue here. Here’s how you can embark on this rewarding journey:
- Sourcing Quality Seeds: Reputable online succulent and cacti nurseries are your best bet. Fresh seeds significantly improve your chances of success.
- Sowing the Seeds: Use a well-draining mineral-based soil mix specifically designed for cacti. Sow the seeds sparsely on the surface and mist lightly.
- Creating the Ideal Environment: Copiapoa seeds need light to germinate. Place the pot in a brightly lit location but out of direct sunlight. Optimal germination temperatures range between 70-80°F (21-27°C). Consider using a heat mat to maintain consistency.
- Patience, Young Padawan: Germination can take anywhere from a few weeks to a few months. Keep the soil consistently moist but not waterlogged. Once seedlings emerge, gradually reduce watering frequency.
- Potting On: Once your Copiapoa babies are a manageable size (around 1 year old), carefully transplant them into individual pots using the same well-draining soil mix.
The Offsetting Adventure: A Rarer Opportunity
While less common, some Copiapoa coquimbana produce offsets, also known as pups. Propagating from these offshoots offers a quicker route to mature plants:
- Identifying Offsets: Look for smaller versions of the main plant growing at the base.
- Careful Removal : Using a clean, sharp knife or shears, carefully separate the offset from the parent plant, ensuring you take some of the connecting tissue with it.
- Callus Time: Let the wound on the offset dry and callus over for a few days to a week. This helps prevent rot.
- Planting the Offset: Plant the callused offset in a well-draining soil mix, burying it just deep enough to stand upright.
- Watering and Care: Water sparingly, allowing the soil to dry completely between waterings. As the offset establishes roots and shows new growth, you can gradually increase watering frequency.
Essential Copiapoa coquimbana Care Tips
Regardless of your chosen propagation method, here are some general care guidelines for your Copiapoa coquimbana:
- Light: Provide ample bright light, ideally with some direct morning sun.
- Water: Water thoroughly only when the soil is completely dry. Overwatering is a death knell for these desert dwellers.
- Soil: A gritty, well-draining cactus mix is essential.
- Temperature: These cacti prefer warm temperatures, ideally above 50°F (10°C).
- Fertilizer: Feed diluted cactus fertilizer during the growing season (spring to early fall).
Propagating Copiapoa coquimbana requires patience and dedication, but seeing your efforts blossom into thriving plants is an incredibly rewarding experience. With the right knowledge and a gentle touch, you can successfully navigate this propagation journey and expand your collection of these remarkable cacti.