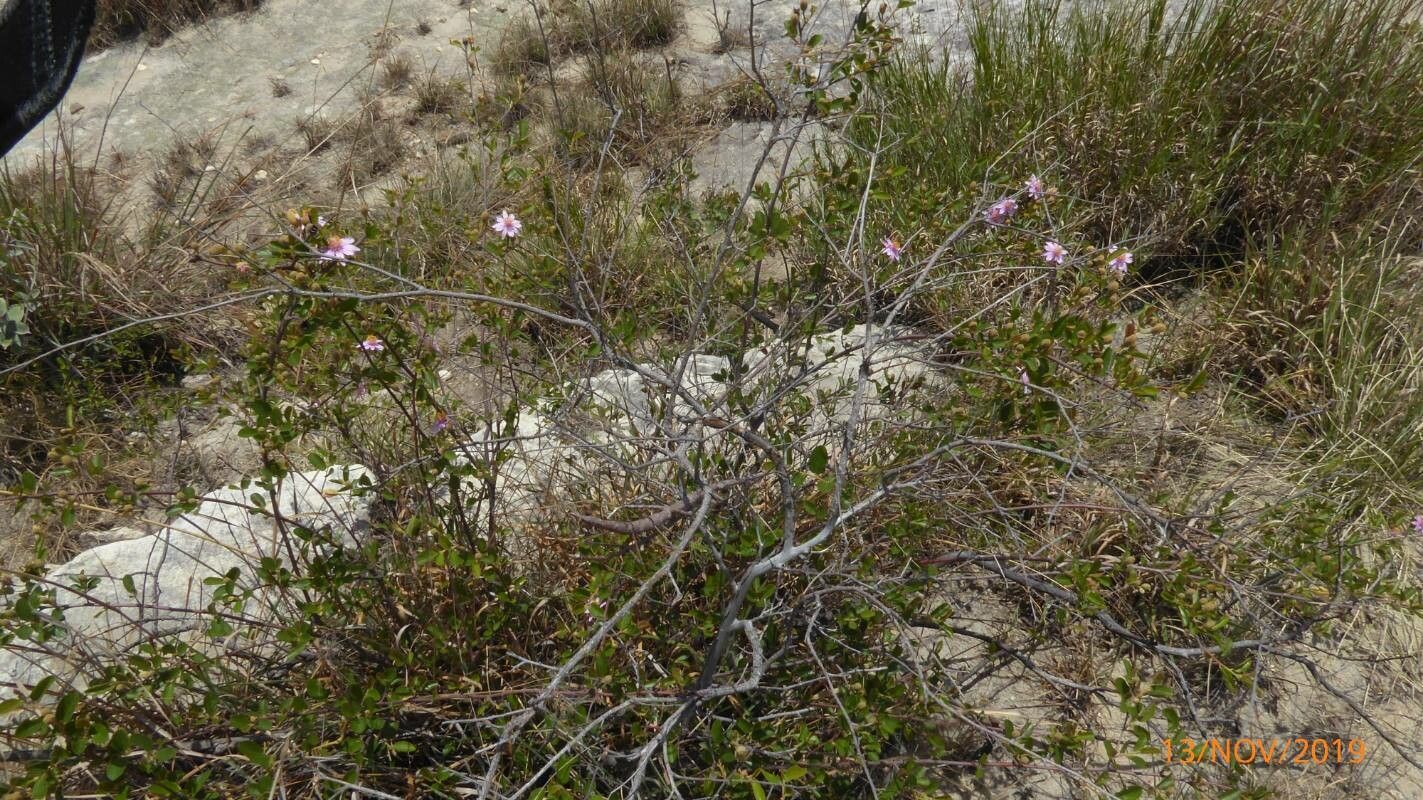
Unveiling the Secrets of California Aster Propagation: Grow Your Own Wildflower Patch
California aster, also known by its scientific name Corethrogyne filaginifolia, is a charming wildflower native to the western United States. With its delicate, daisy-like blooms in shades of lavender and yellow, this drought-tolerant beauty can bring a touch of natural elegance to any garden. If you’re eager to invite this captivating wildflower into your own outdoor space, you’ll be pleased to know that propagating California aster is an achievable endeavor, even for beginner gardeners. Let’s explore the different methods you can employ to grow more of these lovely wildflowers.
Sowing Seeds: A Dance with Dormancy
California aster readily reproduces via seeds, offering a rewarding (though slightly more time-consuming) propagation method. Here’s how to propagate California aster by seed:
Collection and Storage: Collect seeds from dried flower heads in late summer or fall. For best results, store the seeds in a cool, dry place until you’re ready to sow.
Breaking Dormancy: A Cold Treatment Essential California aster seeds require a period of cold stratification to break dormancy. You can achieve this by either:
- Winter Sowing: Sow seeds directly into prepared outdoor beds in late fall or early winter. Nature will take its course, providing the necessary cold period.
- Simulated Stratification: For starting seeds indoors, place them in a moist paper towel within a sealed plastic bag and store in your refrigerator for 4-6 weeks before sowing.
Sowing Time:
- Outdoor Sowing: Plant seeds directly into the ground after the last frost, usually in spring.
- Indoor Sowing: Start seeds indoors 6-8 weeks before the last expected frost.
Planting: Sow seeds in well-draining soil, lightly pressing them into the surface. Keep the soil consistently moist until germination.
- Sunlight: Provide seedlings with ample sunlight once they emerge.
Taking Cuttings: A Quicker Route to Clones
For a faster method, particularly for preserving desirable traits of a particular plant, propagation from cuttings is a great option. Follow these steps:
Timing is Key: Take cuttings in the spring or early summer from healthy, non-flowering stems.
Preparing the Cuttings: Using clean, sharp shears, make a cut about 4-6 inches long, just below a leaf node. Remove the lower leaves, leaving only a few at the top.
Rooting Hormone (Optional): While not essential, dipping the cut end of the stem in rooting hormone can encourage faster and more successful rooting.
Planting the Cuttings: Plant the cuttings in a well-draining potting mix, ensuring the leaf nodes are buried.
Humidity is Crucial: Cover the pot with a plastic bag or use a propagation dome to maintain humidity around the cuttings.
- Patience and Observation: Keep the soil consistently moist and place the cuttings in a bright location, but out of direct sunlight. Rooting typically takes a few weeks. Once new growth appears, you can transplant the cuttings into individual pots or outdoors.
Tip: Regardless of your chosen propagation method, remember that California asters thrive in well-drained soil and sunny locations. Providing these conditions will reward you with abundant blooms and healthy plants.
By diving into the world of plant propagation, you can enjoy these stunning wildflowers year after year and witness the magic of new life unfold in your garden.