Cracking the Correa Code: Propagating the Stunning Correa bauerlenii
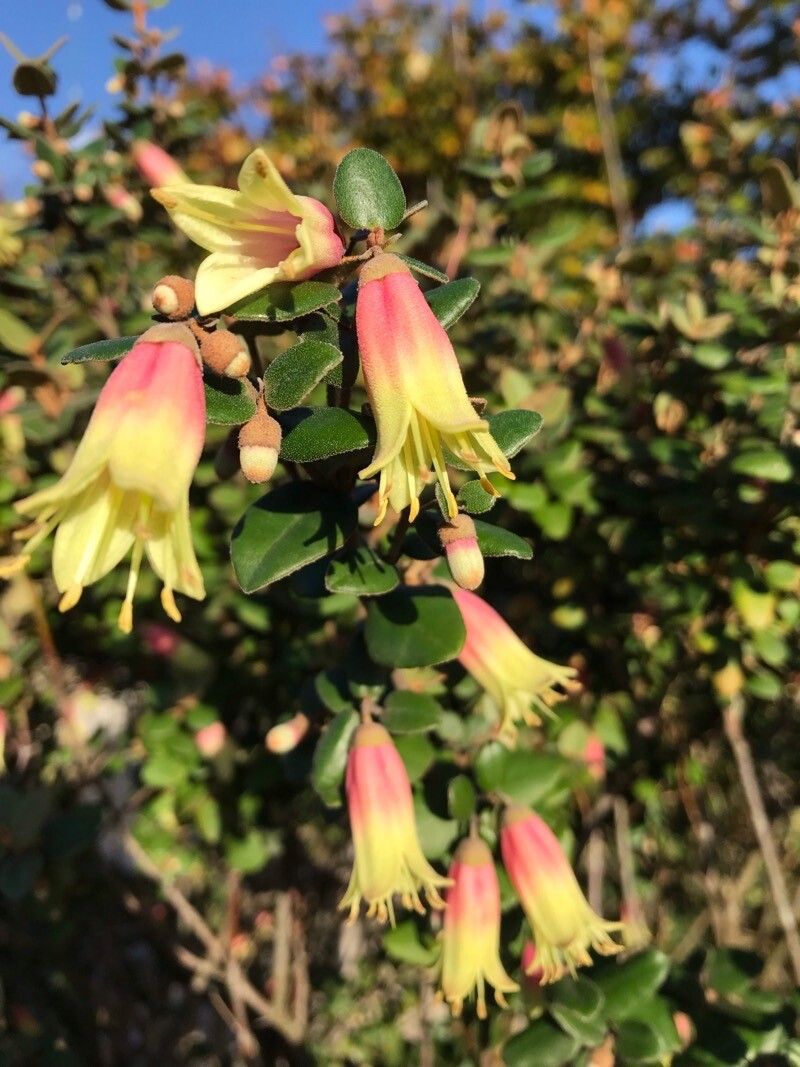
The Correa bauerlenii, also known as the Chef’s Cap Correa, is a beautiful Australian native shrub cherished for its unique bell-shaped flowers and attractive foliage. While readily available in nurseries, there’s a certain satisfaction in propagating your own Correa bauerlenii, welcoming a new generation of this lovely plant into your garden.
This comprehensive guide delves into the two most effective methods of propagating Correa bauerlenii:
1. Propagating Correa bauerlenii from Cuttings:
This method, favored for its relative simplicity, involves encouraging a cutting from a healthy parent plant to develop roots and grow into a new, independent shrub.
Here’s what you need:
- Healthy parent plant: Select a mature Correa bauerlenii showing vigorous growth.
- Sharp, sterilized pruning shears or secateurs: Cleanliness is key to prevent the spread of disease.
- Potting mix specifically designed for cuttings: This ensures good drainage and aeration for optimal root development.
- Rooting hormone (optional but recommended): This helps stimulate faster and more successful root growth.
- Small pots or trays: Choose containers with drainage holes to prevent waterlogging.
Step-by-step guide:
- Take your cuttings: In late spring or early summer, choose healthy, non-flowering stems approximately 10-15cm long. Cut just below a leaf node (the point where a leaf joins the stem).
- Prepare the cuttings: Remove the lower leaves from the cutting, leaving only a few at the top. If using rooting hormone, dip the cut end in the powder or gel.
- Planting: Fill your pots with the cutting mix. Make a hole in the center and gently insert the cutting. Firm the soil around the base.
- Watering: Water the newly planted cuttings thoroughly, allowing excess water to drain.
- Creating a humid environment: Cover the pots with a clear plastic bag or use a propagator to maintain humidity, which is crucial for root development. Place the pots in a warm, well-lit location, out of direct sunlight.
- Be patient: It can take several weeks or even months for roots to establish. Monitor the cuttings regularly, removing any that show signs of rot.
- Potting on: Once new growth appears, it indicates successful root development. You can then carefully transplant your rooted cuttings into individual pots filled with quality potting mix.
2. Propagating Correa bauerlenii from Seed:
While slightly less predictable and potentially more time-consuming, seed propagation is an exciting way to grow Correa bauerlenii.
Here’s what you need:
- Fresh Correa bauerlenii seeds: Harvest these from dried seed capsules on the plant, or source them from reputable suppliers.
- Seed raising mix: This provides a light and airy medium for germination.
- Small pots or trays with drainage holes: Choose appropriately sized containers.
- Water spray bottle: A gentle mist is best for keeping the seeds hydrated without disturbing them.
Step-by-step guide:
- Prepare the seeds: Correa bauerlenii seeds have a hard outer shell. You can increase germination rates by soaking the seeds in warm water for 24 hours before sowing.
- Sowing: Fill your pots with seed-raising mix and sprinkle the seeds evenly on the surface. Lightly cover them with a thin layer of mix.
- Watering: Mist the surface of the soil gently with water, ensuring it is moist but not waterlogged.
- Location and patience: Place the pots in a warm, bright location out of direct sunlight. Keep the soil consistently moist.
- Germination: This can be a slow process, sometimes taking several months.
- Transplanting: Once the seedlings have developed a few sets of true leaves and are large enough to handle, carefully transplant them into individual pots with quality potting mix.
With patience and care, you can successfully propagate Correa bauerlenii using either of these methods and enjoy the satisfaction of watching your very own plants thrive. Happy propagating!