Conquer the Pampas Grass: A Guide to Propagating Cortaderia hieronymi
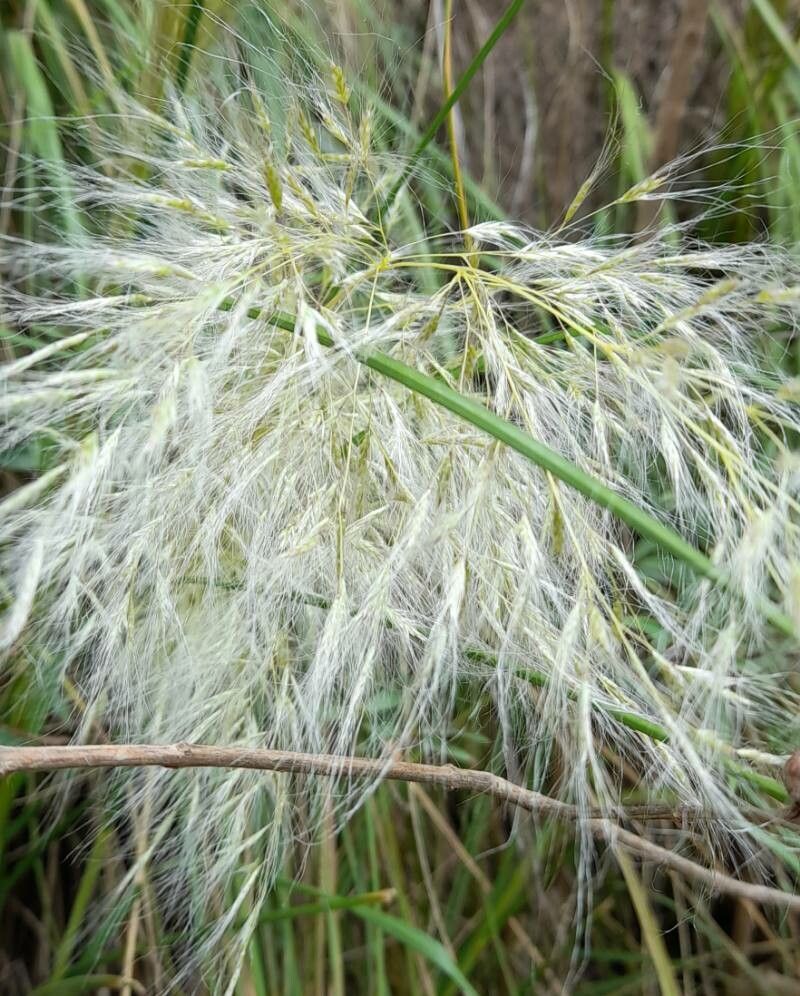
The majestic Cortaderia hieronymi, commonly known as Pampas Grass, is a striking addition to any garden, boasting plumes of feathery white flowers that dance in the wind. But did you know you can easily create new plants from the existing ones? This blog post will guide you through the world of Pampas Grass propagation, empowering you to expand your garden paradise with this stunning species.
The Power of Division: A Simple Yet Effective Method
One of the most straightforward ways to propagate Cortaderia hieronymi is through division. This technique is best performed in spring when the plant is actively growing.
Here’s how to divide your Pampas Grass:
- Prepare the Ground: Choose a sunny spot with well-drained soil. Dig a hole slightly larger than the root ball of the chosen division.
- Excavate the Plant: Carefully dig around the base of the parent plant to expose the roots. Be gentle to avoid damaging them.
- Divide the Clump: Use a sharp spade or a garden knife to carefully separate a healthy clump of the plant. Aim for a section with a good amount of root material and several actively growing stems.
- Replant and Water: Place the divided clump in the prepared hole, ensuring the root ball is level with the soil. Fill the hole with soil and water thoroughly to settle the roots.
Seeds: A Journey from Tiny to Tall
If you’re feeling adventurous, growing Cortaderia hieronymi from seed is another option. While it may take a bit longer, it’s a rewarding experience.
Here’s how to sow your Pampas Grass seeds:
- Collect Seeds: Harvest ripened seeds from the fluffy plumes in early autumn.
- Prep the Soil: Use a seed tray or pot filled with well-draining seed compost.
- Sow and Cover: Sprinkle the seeds over the surface and gently press them into the compost without burying them too deep.
- Create a Warm Environment: Keep the soil moist and maintain a temperature around 20 degrees Celsius. You can use a humidity dome or wrap the tray in cling film for optimal conditions.
- Patience is Key: Expect germination within 4-6 weeks, but it might take longer. Once your seedlings have developed a few true leaves, you can transplant them into individual pots.
The Art of Taking Cuttings: For a Controlled Sprout
Although less common than division, propagating Pampas Grass from cuttings can also be successful.
Here’s what you need to know:
- Select the Right Time: Early spring or summer when the plant is actively growing is ideal for taking cuttings.
- Prepare Cuttings: Choose a healthy, mature stem. Cut a 10-15cm section directly below a node, the point where a leaf emerges. Remove the lower leaves.
- Dip in Hormone: Applying a rooting hormone to the cut end can significantly increase the success rate.
- Potting Mix: Use a gritty potting mix suitable for rooting young plants.
- Planting and Care: Plant the cuttings about 2-3 cm deep in the mix, ensuring the bottom node remains buried. Water them regularly and keep them in a bright, sheltered location, simulating a greenhouse environment if possible.
Tips for Success:
- Protection: Young Pampas Grass plants, whether grown from seed, cuttings, or division, are susceptible to frost. Ensure they are protected during cold weather.
- Patience: Patience is key for successful propagation. It may take a few months for your new plants to establish.
- Fertilize Regularly: During the growing season, provide your Pampas Grass with a balanced fertilizer to support their growth.
- Enjoy the Show: With proper care, you’ll soon enjoy your own lush stands of pampas grass, creating a striking and captivating addition to your garden.
Propagating Cortaderia hieronymi is a fulfilling and rewarding experience. Using these straightforward methods, you can enjoy the beauty of this captivating plant while expanding your garden horizons. So, grab your tools, get your hands dirty, and embark on a journey of Pampas Grass propagation!