Unlocking the Secrets of Spiral Ginger Propagation: Multiply Your Costus Erythrothyrsus
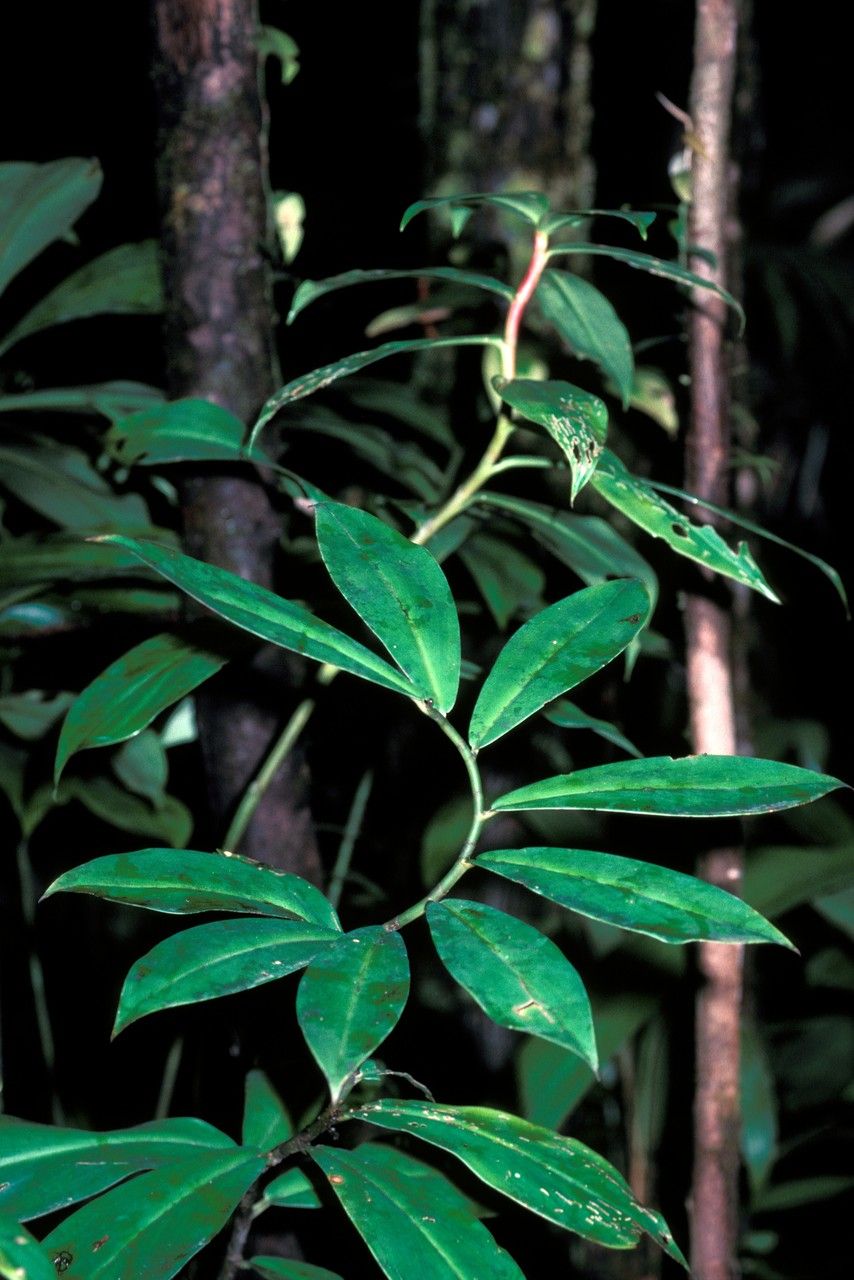
The Costus erythrothyrsus, also known as the Red Button Ginger or Spiral Ginger, is a sight to behold. Its spiraling stems and vibrant red cones add a touch of the tropics to any garden or home. While admiring its beauty is easy, you might be wondering how to get your hands on more of these stunners. Thankfully, propagating Costus erythrothyrsus is achievable and rewarding. Let’s delve into the secrets of multiplying your very own Spiral Ginger!
Understanding the Basics:
Before we jump into techniques, it’s important to understand the plant’s growth habit. Costus erythrothyrsus spreads through rhizomes, which are underground stems that produce roots and shoots. This characteristic offers us two primary propagation methods: rhizome division and stem cuttings.
1. Rhizome Division: The Foolproof Method
Rhizome division is the easiest and most successful way to propagate your Spiral Ginger. Here’s how:
- Timing is Key: The ideal time for division is during the plant’s active growing season, typically spring or early summer.
- Gentle Excavation: Carefully dig up a mature, healthy plant, ensuring you get a good portion of the rhizome system.
- Divide and Conquer: Using a clean, sharp knife or garden shears, divide the rhizome into sections. Each section should have at least one healthy growth point (a bud or small shoot).
- Potting Up: Plant the divisions in well-draining potting mix, ensuring the growth point is slightly above the soil line. Water well and place in a warm, bright location, but out of direct sunlight.
- Patience is a Virtue: It may take a few weeks for new growth to appear. Once established, gradually acclimate the new plants to brighter conditions.
2. Stem Cuttings: A More Adventurous Approach
While slightly less reliable than rhizome division, stem cuttings offer another way to propagate your Costus erythrothyrsus. Here’s a step-by-step guide:
- Selecting the Right Stem: Choose a healthy, non-flowering stem with at least two to three nodes (the points where leaves emerge).
- Making the Cut: Using a sharp, sterilized knife, cut the stem just below a node. Remove the leaves from the lower portion of the cutting, leaving a couple near the top.
- Encouraging Root Development: Dip the cut end in rooting hormone (optional but helpful). Plant the cutting in a well-draining potting mix, burying at least one node.
- Creating a Humid Environment: Cover the pot with a plastic bag or humidity dome to retain moisture. Place in a warm, bright location, out of direct sunlight.
- Monitoring Progress: Keep the soil consistently moist but not waterlogged. Roots should develop within several weeks, and new growth will emerge shortly after.
Nurturing Your Propagated Plants:
Whether you choose rhizome division or stem cuttings, providing the right care is crucial for success:
- Well-Draining Soil: Costus erythrothyrsus thrives in well-draining soil. A mix formulated for tropical plants or a blend of peat moss, perlite, and vermicast is ideal.
- Bright, Indirect Light: These beauties love bright, indirect light. Avoid placing them in direct sunlight, which can scorch their leaves.
- Consistent Moisture: Maintain consistently moist soil, but avoid overwatering, which can lead to root rot.
- Warm Temperatures: As tropical plants, they prefer warm temperatures above 60°F (15°C).
By following these simple steps and providing the right care, you can successfully propagate your Costus erythrothyrsus and enjoy its mesmerizing beauty for years to come. Soon, you’ll be sharing the joy of these stunning plants with friends and fellow plant enthusiasts!