
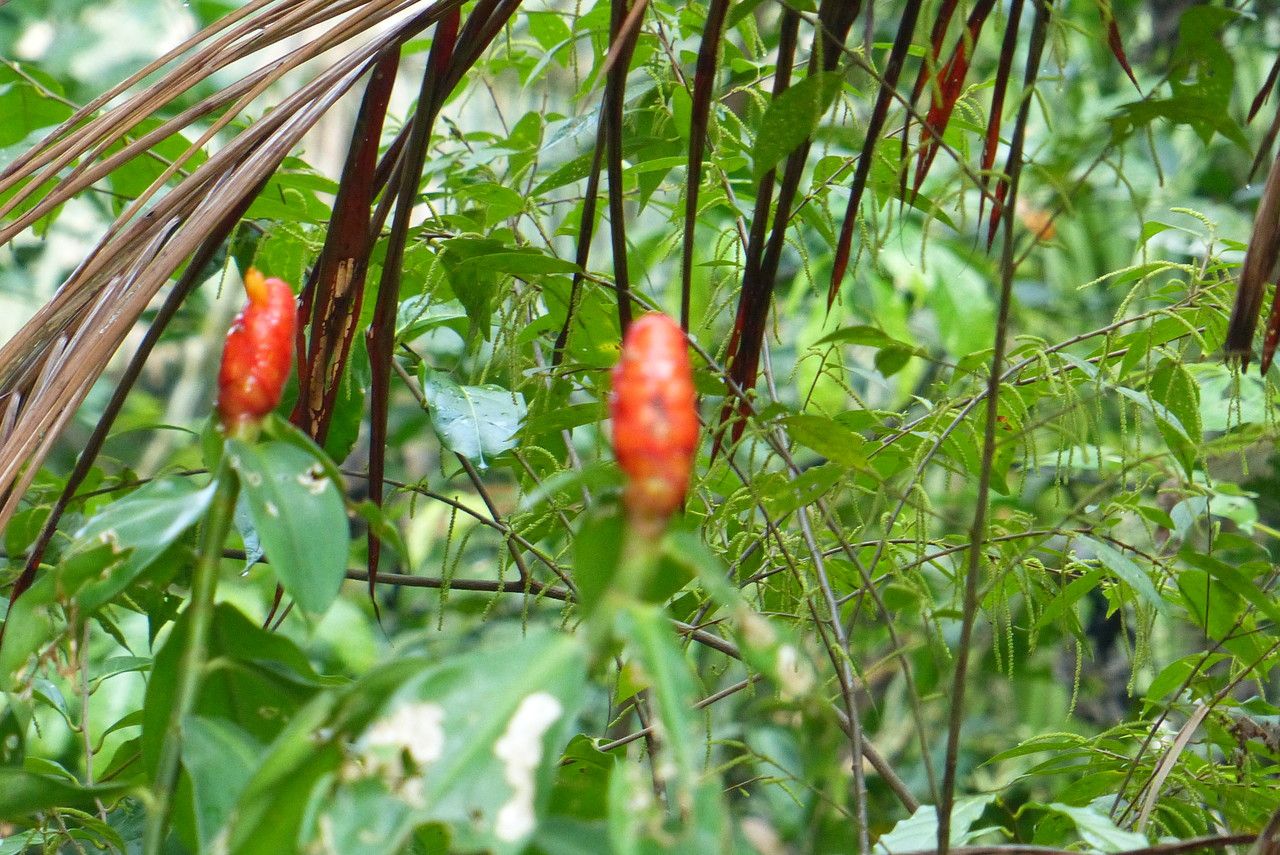
Igniting the Red Torch: Simple Propagation Techniques for Your Costus Woodsonii
The “Red Button Ginger,” scientifically known as Costus woodsonii, is a visual treat for any garden with its vibrant red cone-shaped bracts and delicate orange flowers. This tropical beauty, native to Central America, isn’t just a feast for the eyes; it’s also remarkably easy to propagate, allowing you to share its fiery charm with friends or expand your own tropical haven.
Let’s explore the two most effective methods for propagating Costus woodsonii:
1. Division: Separating for Multiplication
Division is the most straightforward and successful method for propagating your Red Button Ginger. Here’s how:
- Timing is Key: The best time for division is during the plant’s active growing season, ideally in spring or early summer.
- Unearth and Divide: Carefully dig up a healthy clump of Costus woodsonii. Using a sharp, clean knife or garden shears, divide the rhizome (the underground stem) into sections. Each section should have at least one growth point (a bud or shoot).
- Potting the Divisions: Prepare pots with well-draining soil, rich in organic matter. Plant each rhizome section about 2-3 inches deep, ensuring the growth point faces upwards.
- Water and Patience: Water thoroughly after planting, and place the pots in a warm, shaded spot. Maintain consistent soil moisture, but avoid overwatering. New growth should appear within a few weeks.
2. Stem Cuttings: From Shoot to Root
While slightly less common than division, propagating Costus woodsonii from stem cuttings is entirely achievable:
- Selecting the Cuttings: In spring or summer, choose healthy, non-flowering stems. Make a clean cut just below a leaf node (where the leaf emerges from the stem). Each cutting should be about 6-8 inches long.
- Preparing the Cuttings: Remove the leaves from the bottom third of each cutting. This encourages root development. You can also dip the cut end in rooting hormone (though not mandatory, it can speed up the process).
- Planting and Encouraging Roots: Plant the cuttings in a well-draining potting mix, burying the bottom node. Water thoroughly and enclose the pot in a clear plastic bag or use a propagation dome to create a humid environment.
- Maintaining Humidity and Light: Place the cuttings in a warm, bright location, but out of direct sunlight. Monitor moisture levels, misting regularly to maintain humidity. Roots should develop in 4-6 weeks. Once new growth appears, you can transplant the cuttings into larger pots.
Essential Tips for Propagation Success:
- Healthy Parent Plant: Always choose healthy, vigorous Costus woodsonii plants for propagation.
- Clean Tools: Sterilize your cutting tools with rubbing alcohol before and after use to prevent the spread of disease.
- Patience is a Virtue: Propagation takes time. Don’t be discouraged if you don’t see results immediately.
Propagating your Costus woodsonii is a rewarding endeavor. It allows you to expand your garden, share this tropical beauty with fellow plant enthusiasts, and deepen your connection with the natural world. So, grab your gardening gloves, and let the propagation journey begin!