From Seed to Success: Propagating the Beautiful Coursetia brachyrhachis
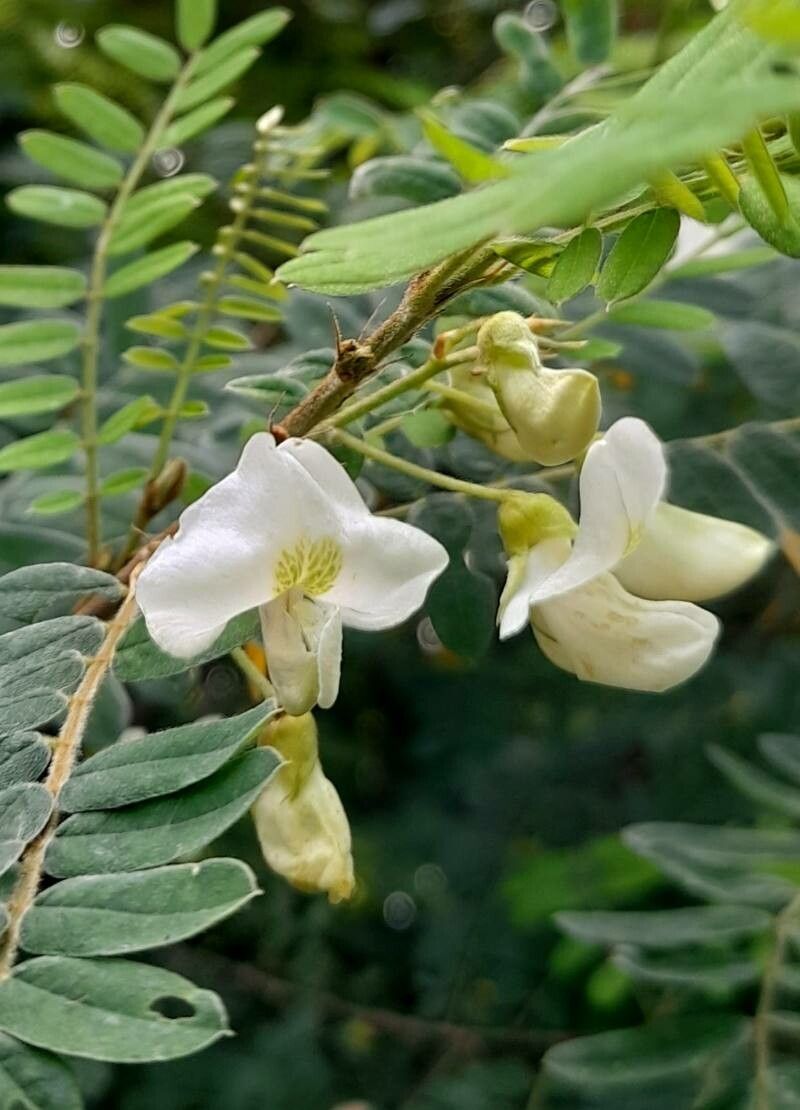
Are you a plant enthusiast yearning to add a touch of the exotic to your collection? Look no further than Coursetia brachyrhachis, a captivating shrub boasting clusters of vibrant purple flowers. While you might find stunning specimens for sale, there’s a unique satisfaction in cultivating your own Coursetia brachyrhachis from scratch. And guess what? Propagating this beauty is surprisingly achievable, even for novice gardeners!
Seeds of Promise:
The most common method of propagating Coursetia brachyrhachis is from seed. These tiny treasures can be harvested from mature seed pods, typically forming on the plant during the summer months. Once collected, it’s crucial to ensure they’re ripe and ready for planting.
Here’s a step-by-step guide:
- Preparation: Before sowing, scarify the seed coat. This involves gently nicking the surface with a sharp knife or using sandpaper. Scarification mimics the natural process of seed dispersal, aiding germination.
- Sowing: Fill a seed tray with a well-draining seed-starting mix. Sow seeds directly into the soil, spacing them about an inch apart. Cover the seeds with a thin layer of soil.
- Moisture and Light: Keep the soil consistently moist but not soggy. Place the seed tray in a warm, sunny location. Direct sunlight is essential for optimal germination.
- Patience Pays Off: Coursetia brachyrhachis seeds can take several weeks to germinate. Be patient and maintain a watchful eye, ensuring the soil remains moist throughout.
Cuttings for Quick Growth:
For a faster propagation route, consider taking cuttings from a healthy, established Coursetia brachyrhachis plant. This method is particularly effective during the spring or early summer months.
Here’s how to do it:
- Selection: Choose strong, non-flowering stems, preferably semi-hardwood cuttings.
- Cutting Preparation: Using a sharp, clean knife or pruning shears, make a 4-6 inch cut just below a node (the area where a leaf grows from the stem). Remove any leaves that are below the soil line.
- Hormone Boost: Dip the cut end of the stem in rooting hormone powder. This encourages root formation.
- Planting: Fill a pot with a peat-based rooting mix. Plant the cutting into the mixture, ensuring that at least 2 nodes are buried beneath the soil.
- Humidity is Key: Cover the pot with a plastic dome or a plastic bag to maintain humidity and warmth. Place the pot in a warm, brightly lit area, but avoid direct sunlight.
- Time for Roots: Keep the rooting mix consistently moist. Within 4-6 weeks, you should start to see signs of root development. Once the cutting has established new growth, you can gradually acclimate it to outdoor conditions.
A Touch of Care:
Coursetia brachyrhachis thrives in well-draining soil and a sunny location. It can handle brief periods of drought but appreciates regular watering, especially during hot weather.
If you’re planning on growing your propagated Coursetia brachyrhachis outdoors, be sure to plant it after the last frost has passed in your region.
With a little love and patience, your propagated Coursetia brachyrhachis will reward you with an abundance of vibrant purple blooms, transforming your garden into a captivating tropical oasis.
So, whether you choose the seed method or the cutting method, be sure to give it a try and enjoy the thrill of watching your own Coursetia brachyrhachis flourish!