
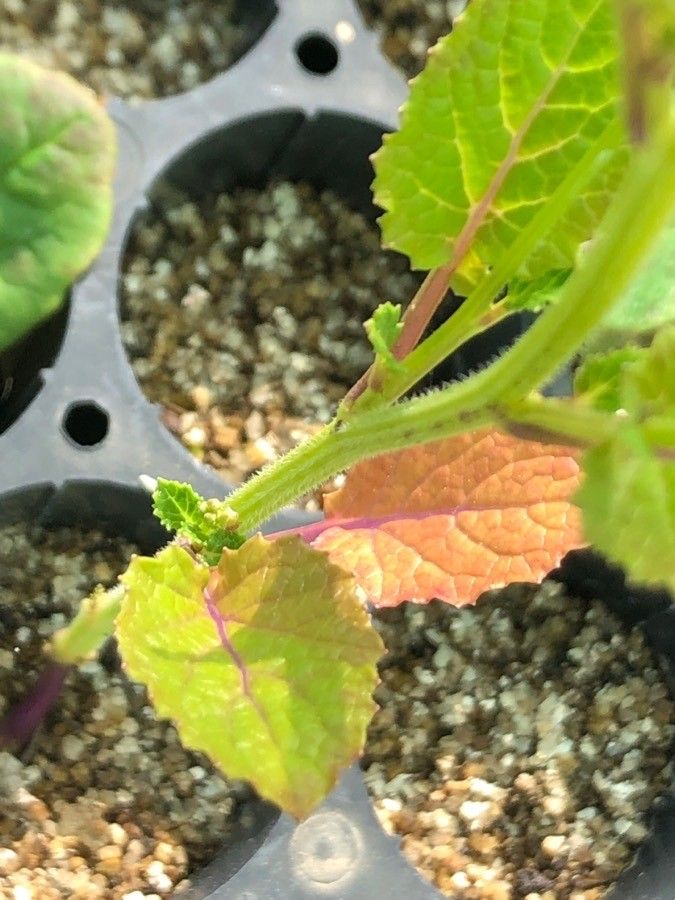
Unlocking the Secrets of Sea Kale Propagation: Grow Your Own Coastal Garden Gem
Crambe hispanica, better known as sea kale, is a fascinating plant with a unique history and a striking presence in the garden. This hardy perennial, native to the coastal regions of Europe, boasts beautiful, blue-green foliage and delicate white flowers that attract a plethora of pollinators. While prized for its ornamental value, sea kale also offers edible shoots with a flavor reminiscent of asparagus.
Ready to add this versatile plant to your garden? Let’s dive into the secrets of sea kale propagation:
Two Paths to Propagation:
Sea kale offers two main methods of propagation: seed sowing and root cuttings. Both techniques are relatively straightforward and can yield fantastic results with a little patience and care.
1. Seed Sowing:
- Timing is Key: Begin sowing indoors in late winter (February to March) or sow directly outdoors after the last frost has passed in spring.
- Prepare your seedbed: Sea kale prefers well-drained soil with a slightly alkaline pH (around 7.0-7.5). If sowing indoors, use seed trays filled with a good quality seed starting mix. For direct sowing, amend your garden bed with compost to improve drainage and fertility.
- Embrace the Stratification: Sea kale seeds benefit from a period of cold stratification to break their dormancy. To stratify indoors, mix the seeds with a bit of damp vermiculite, place them in a sealed plastic bag, and store them in the refrigerator for 4-6 weeks before sowing.
- Sow with Care: Sow seeds about 1/2 inch deep and keep the soil consistently moist but not waterlogged.
- Patience, Young Sprout: Germination can take anywhere from 2 to 8 weeks depending on the temperature and freshness of the seeds.
- Transplanting Triumph: Once your seedlings have developed a couple of true leaves, they are ready to be transplanted outdoors after the danger of frost has passed. Choose a sunny location and space them about 24 inches apart to allow for their mature size.
2. Root Cuttings:
- The Right Time: The best time to take root cuttings is in late autumn or early winter when the plant is dormant.
- Choose Wisely: Select healthy, established plants for root cuttings.
- The Cutting Edge: Using a sharp, clean knife or pruning shears, make 2-3 inch long cuttings from the thicker roots. Ensure each cutting has at least one growth bud.
- Planting for Success: Plant the cuttings horizontally in pots filled with a well-draining potting mix, ensuring the growth bud is facing upwards and barely covered with soil.
- Overwintering Options: Keep the pots in a cool, dark, and frost-free location throughout winter.
- Spring Awakening: In spring, move the pots to a sunny location and water regularly. Once you see new growth, you can transplant the rooted cuttings into your garden.
Nurturing Your Sea Kale:
- Sunlight Lovers: Sea kale thrives in full sun to partial shade.
- Thirst Quenching: Keep the soil consistently moist, especially during dry spells. Applying a layer of organic mulch can help retain moisture and suppress weeds.
- Feeding for Growth: While sea kale is not a heavy feeder, amending the soil with compost in spring will provide essential nutrients.
- Pests and Diseases: Generally, sea kale is a low-maintenance plant. However, keep an eye out for common garden pests like slugs and snails, particularly on young shoots.
Reaping the Rewards:
Sea kale’s edible shoots, known as “sea asparagus,” are a culinary delicacy best harvested in early spring before the leaves unfurl. Forcing the shoots by covering them with a bucket or pot will yield blanched, tender stems.
Whether you choose to cultivate sea kale for its ornamental beauty or its unique flavor, this coastal gem is a rewarding addition to any garden. With a little effort and the right techniques, you’ll be enjoying the fruits (or rather, shoots) of your labor for years to come!