From Seed to Stardom: Growing Your Own Crotalaria Ochroleuca
Ever dreamt of a vibrant, yellow splash in your garden, but intimidated by the thought of planting from scratch? Look no further than Crotalaria ochroleuca, a stunning flowering plant that’s surprisingly easy to cultivate from seed.
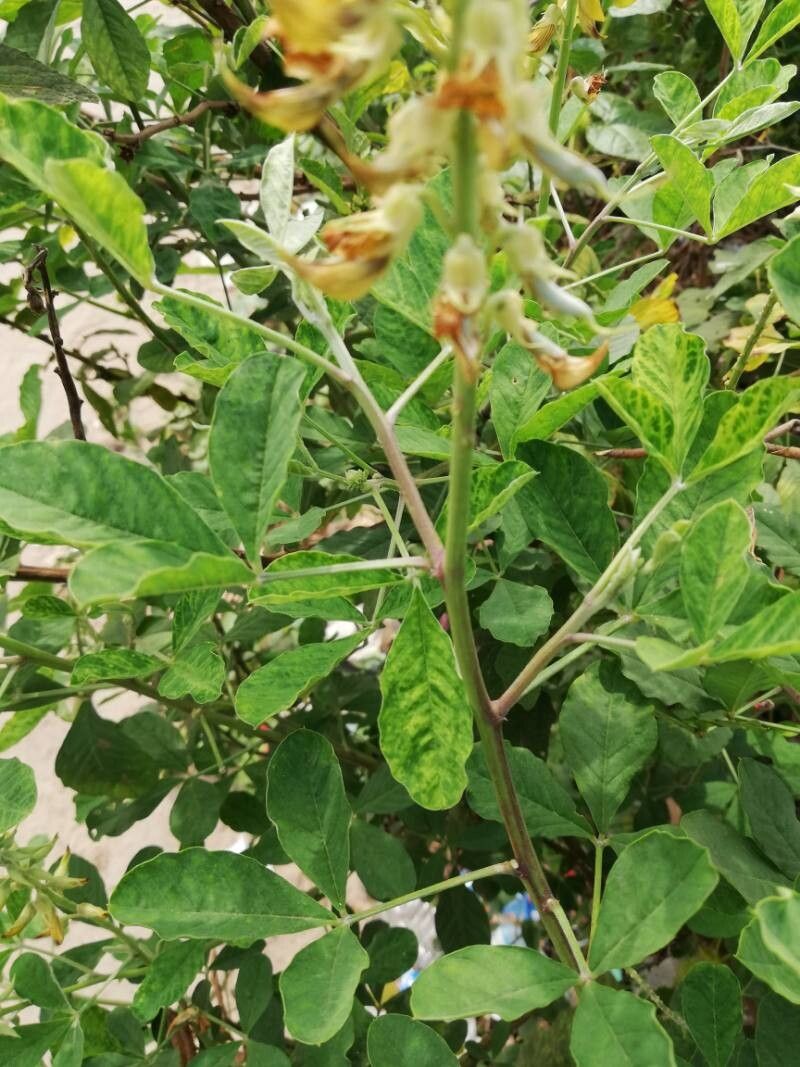
This guide will walk you through the fundamentals of propagation so you can enjoy the beauty of this unique species, commonly known as the “rattlepod” for its distinctive seed pods.
Understanding the Basics of Propagation
Propagation is essentially the process of creating new plants from existing ones. For Crotalaria ochroleuca, we’ll focus on seed propagation, the easiest and most common method. Here’s why:
- Abundant Seed Availability: Rattlepods produce numerous seeds after flowering, making it readily available for your propagation journey.
- Cost-Effective: Starting from seed is significantly cheaper than purchasing a mature plant.
- Variety: You can potentially obtain a diverse range of plants from your seeds, as each seed holds the potential for unique genetic variations.
Step-by-Step Guide to Seed Propagation
- Collect Mature Seed Pods: Wait for the seed pods to fully ripen and turn brown. The seeds inside will be hard and ready for planting.
- Prepare the Seedbed: Choose a sunny spot with well-draining soil. You can either use a pot or a seed tray for starting your seeds. Fill the container with a seed-starting mix or a blend of potting soil and perlite.
- Sow the Seeds: Gently press the seeds into the soil, about ¼ inch deep. Space them a couple of inches apart.
- Water Thoroughly: Make sure the soil is moist but not soggy. Use a watering can with a fine rose to avoid disturbing the seeds.
- Provide Optimal Conditions: Rattlepods thrive in warm temperatures. Keep the seedbed in a sunny location or use a heat mat to maintain optimal germination temperatures (around 70-75°F).
- Germination Time: Expect the seeds to germinate within 10-14 days. Maintain consistent moisture during this period.
- Thinning: Once the seedlings have a few true leaves, thin them out to ensure adequate spacing for healthy growth.
- Transplanting: When the seedlings are about 4-6 inches tall, they can be transplanted into their permanent location in the garden.
Additional Tips for Success
- Nitrogen-rich Fertilizer: Crotalaria ochroleuca loves nitrogen. After transplanting, use a balanced fertilizer high in nitrogen to promote vigorous growth and enhance flowering.
- Pruning: Deadheading (removing spent flowers) encourages continuous blooming. You can also prune the plant to maintain its shape.
- Pest and Disease Control: Monitor your Crotalaria for any signs of pests or diseases. Addressing issues promptly keeps your plants healthy and thriving.
Final Thoughts
Growing your own Crotalaria ochroleuca is a rewarding experience. Witnessing the vibrant yellow blooms unfold from the seeds you’ve sown brings a special joy to gardening. By following these simple steps and being attentive to your little plants, you’ll be able to effortlessly cultivate a striking feature in your garden, adding a touch of tropical charm to your outdoor space. So, grab some seeds, unleash your green thumb, and experience the delightful journey of growing Crotalaria ochroleuca.