Unlocking the Secrets of Crotalaria sphaerocarpa: A Guide to Propagation
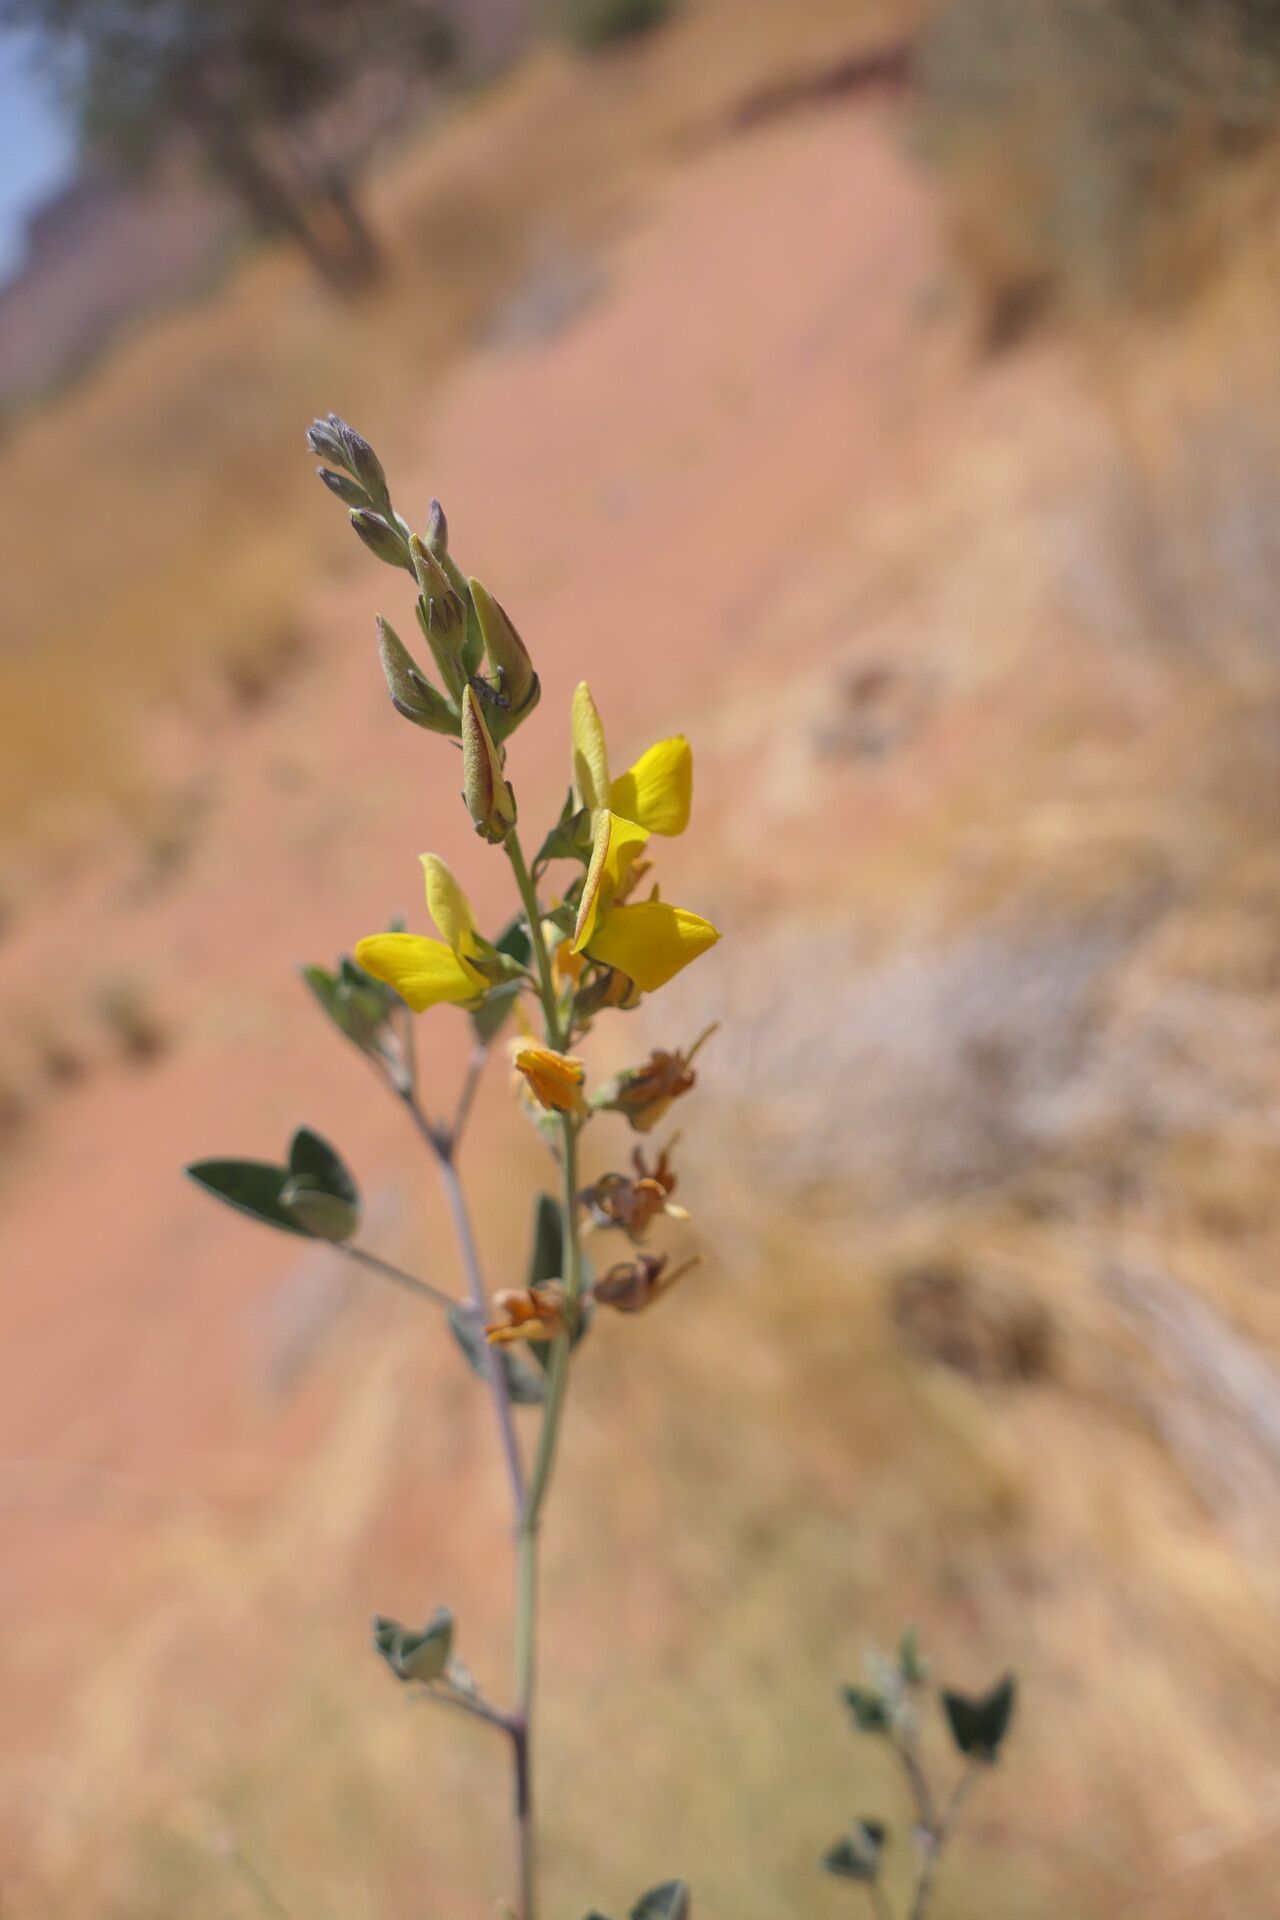
Crotalaria sphaerocarpa, with its charming yellow blooms and unique seed pods, adds a touch of whimsical beauty to any garden. This easy-to-grow member of the legume family is a favorite among seasoned gardeners and curious beginners alike. But have you ever thought about propagating your own stand of these delightful plants?
Fear not, fellow plant enthusiasts, for propagating Crotalaria sphaerocarpa is easier than you might think! Let’s delve into the world of seeds and cuttings to unlock the secrets of multiplying this botanical gem.
Method 1: The Magic of Seeds
Harvesting the Goods: When those intriguing spherical seed pods turn brown and dry on the plant, it’s harvest time! Gently remove the pods and place them in a paper bag. A few shakes and voila! You’ll have a collection of tiny, hard seeds ready for their grand debut.
Scarification: A Helping Hand: Crotalaria sphaerocarpa seeds are notoriously tough and benefit from a little “scarification” to encourage germination. You can achieve this by gently rubbing each seed with sandpaper or nicking it with a nail clipper. This process weakens the seed coat, allowing water to penetrate more easily.
Sowing the Seeds: Fill seed trays or small pots with a well-draining seed starting mix. Sow the seeds about ¼ inch deep and lightly cover them with the mix. Water gently and keep the soil consistently moist but not waterlogged.
Patience is Key: Depending on the temperature and humidity, germination can take anywhere from a few weeks to a couple of months. Be patient and keep the soil consistently moist.
- Basking in the Sunlight: Once the seedlings emerge, place them in a bright location, gradually acclimating them to full sun. With proper care and attention, your Crotalaria sphaerocarpa seedlings will flourish.
Method 2: The Art of Cuttings
Timing is Everything: Spring or early summer is the ideal time to take cuttings. Choose healthy, non-flowering stems that are about 4-6 inches long.
Cut and Prepare: Make a clean cut just below a leaf node using a sharp, sterilized knife or pruning shears. Remove the lower leaves from the cutting, leaving only a few at the top.
Rooting Hormone: An Optional Boost: While not strictly necessary, dipping the cut end of the stem in rooting hormone can encourage faster and more successful root development.
Planting the Cuttings: Insert the prepared cuttings into a well-draining potting mix, ensuring that at least one leaf node is buried. Water gently and cover the pot with a plastic bag or humidity dome to create a warm, humid environment.
- Light and Patience: Place the cuttings in a bright, indirect light and wait patiently for roots to develop, which usually takes several weeks. Once rooted, you can transplant your Crotalaria sphaerocarpa cutting into a larger pot or directly into the garden.
A Rewarding Experience
Propagating Crotalaria sphaerocarpa, whether from seeds or cuttings, is a rewarding experience that allows you to witness the magic of plant reproduction firsthand. With a little patience, care, and the right techniques, you can cultivate a thriving collection of these fascinating plants, adding a touch of vibrant beauty and ecological value to your garden for years to come.