Unlocking the Secrets of Croton Gratissimus Propagation: Grow Your Own Healing Garden
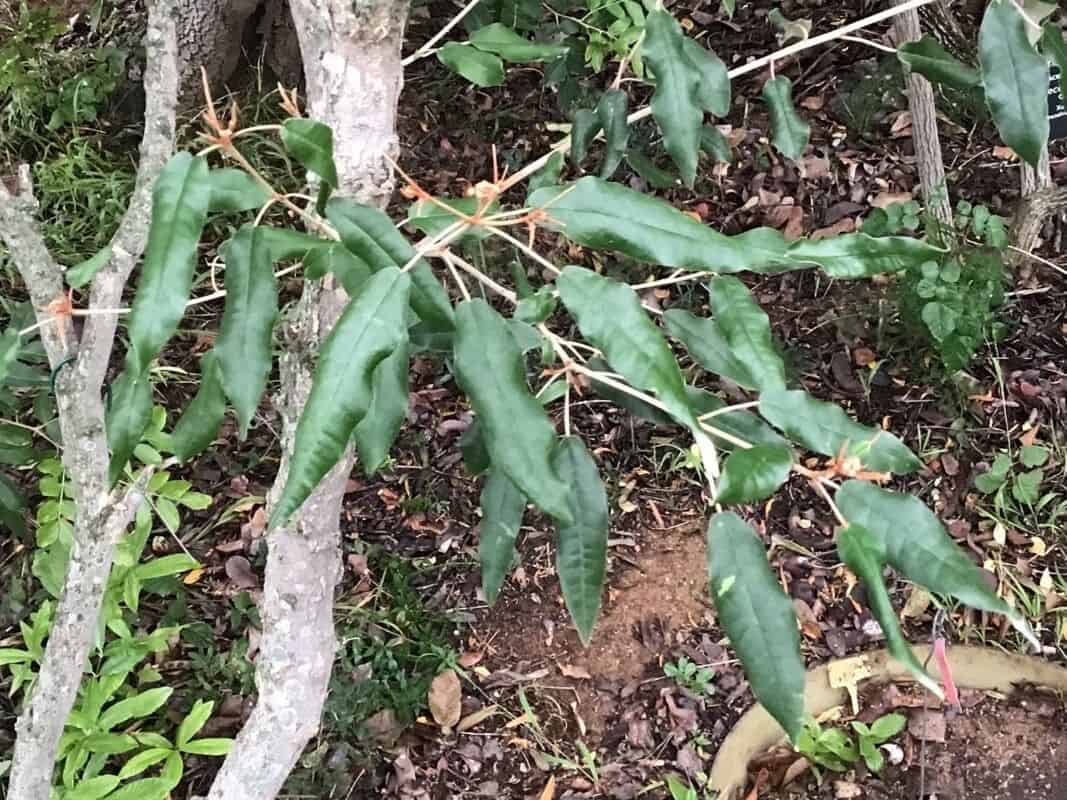
Croton gratissimus, also known as the Lavender Croton, is more than just a pretty face in the garden. Revered for its medicinal properties and intoxicatingly aromatic leaves, this South African native is a wonderful addition to any plant lover’s collection. But what if you could multiply this fragrant beauty and share its magic? Well, you’re in luck! Propagating Croton gratissimus is entirely achievable, even for beginners. Let’s delve into the how-to and unlock the secrets of growing new plants from your existing Lavender Croton.
Understanding the Options: Stem Cuttings vs. Seeds
There are two primary ways to propagate Croton gratissimus: stem cuttings and seeds.
- Stem cuttings offer a quicker and more reliable route, generally resulting in a plant identical to the parent.
- Seeds, while requiring more patience, provide an element of surprise as they may not inherit all the parent plant’s characteristics.
Method 1: Mastering the Art of Stem Cuttings
What you’ll need:
- Sharp, sterilized pruning shears or a knife
- Rooting hormone (optional, but recommended)
- Seed starting mix or a well-draining potting mix
- Small pots or seed trays
- Water
- Patience!
Instructions:
- Choose your cutting: Select a healthy, non-flowering stem from your Croton gratissimus. Ideally, the cutting should be about 4-6 inches long with several leaves.
- Make the cut: Using your sterilized shears, make a clean cut just below a leaf node (the point where a leaf emerges from the stem). Remove any leaves from the bottom third of the cutting.
- Hormone boost (optional): Dip the cut end of the stem into rooting hormone powder, gently tapping off any excess.
- Potting up: Fill your pots or seed trays with moist seed starting mix or well-draining potting mix. Create a small hole in the center and gently insert the cutting, ensuring at least two leaf nodes are buried.
- Create a humid environment: Cover the pots with a clear plastic bag or humidity dome to trap moisture and encourage root development.
- Light & Water: Place your cuttings in a bright location, but out of direct sunlight. Keep the soil consistently moist but not waterlogged.
- Patience is key: Rooting can take anywhere from 4 to 8 weeks. You’ll know roots have formed when you see new growth on your cuttings.
- Transplanting success: Once your cuttings have developed a strong root system, transplant them into individual pots filled with well-draining potting mix.
Method 2: Embracing the Journey of Seed Propagation
While less common, propagating Croton gratissimus from seeds can be a rewarding experience. However, finding viable seeds might be challenging.
Instructions:
- Source your seeds: Check online retailers specializing in exotic seeds or inquire with experienced growers.
- Prepare for sowing: Soak the seeds in warm water for 24 hours to improve germination rates.
- Sow with care: Plant the seeds in a seed starting mix, covering them lightly with soil.
- Consistent moisture: Mist the soil regularly to keep it evenly moist.
- Patience is paramount: Germination can take several weeks to months.
- Transplanting time: Once seedlings develop a few true leaves, carefully transplant them into individual pots.
Nurturing Your New Croton Gratissimus
Whether you choose stem cuttings or seeds, your new Croton gratissimus plants will thrive in bright, indirect light and well-draining soil. Water when the top inch of soil feels dry and fertilize lightly during the growing season. With proper care, you’ll have a flourishing collection of these beautiful and beneficial plants to enjoy for years to come.