Unleashing the Power of Mitsuba: A Guide to Propagating Japanese Parsley
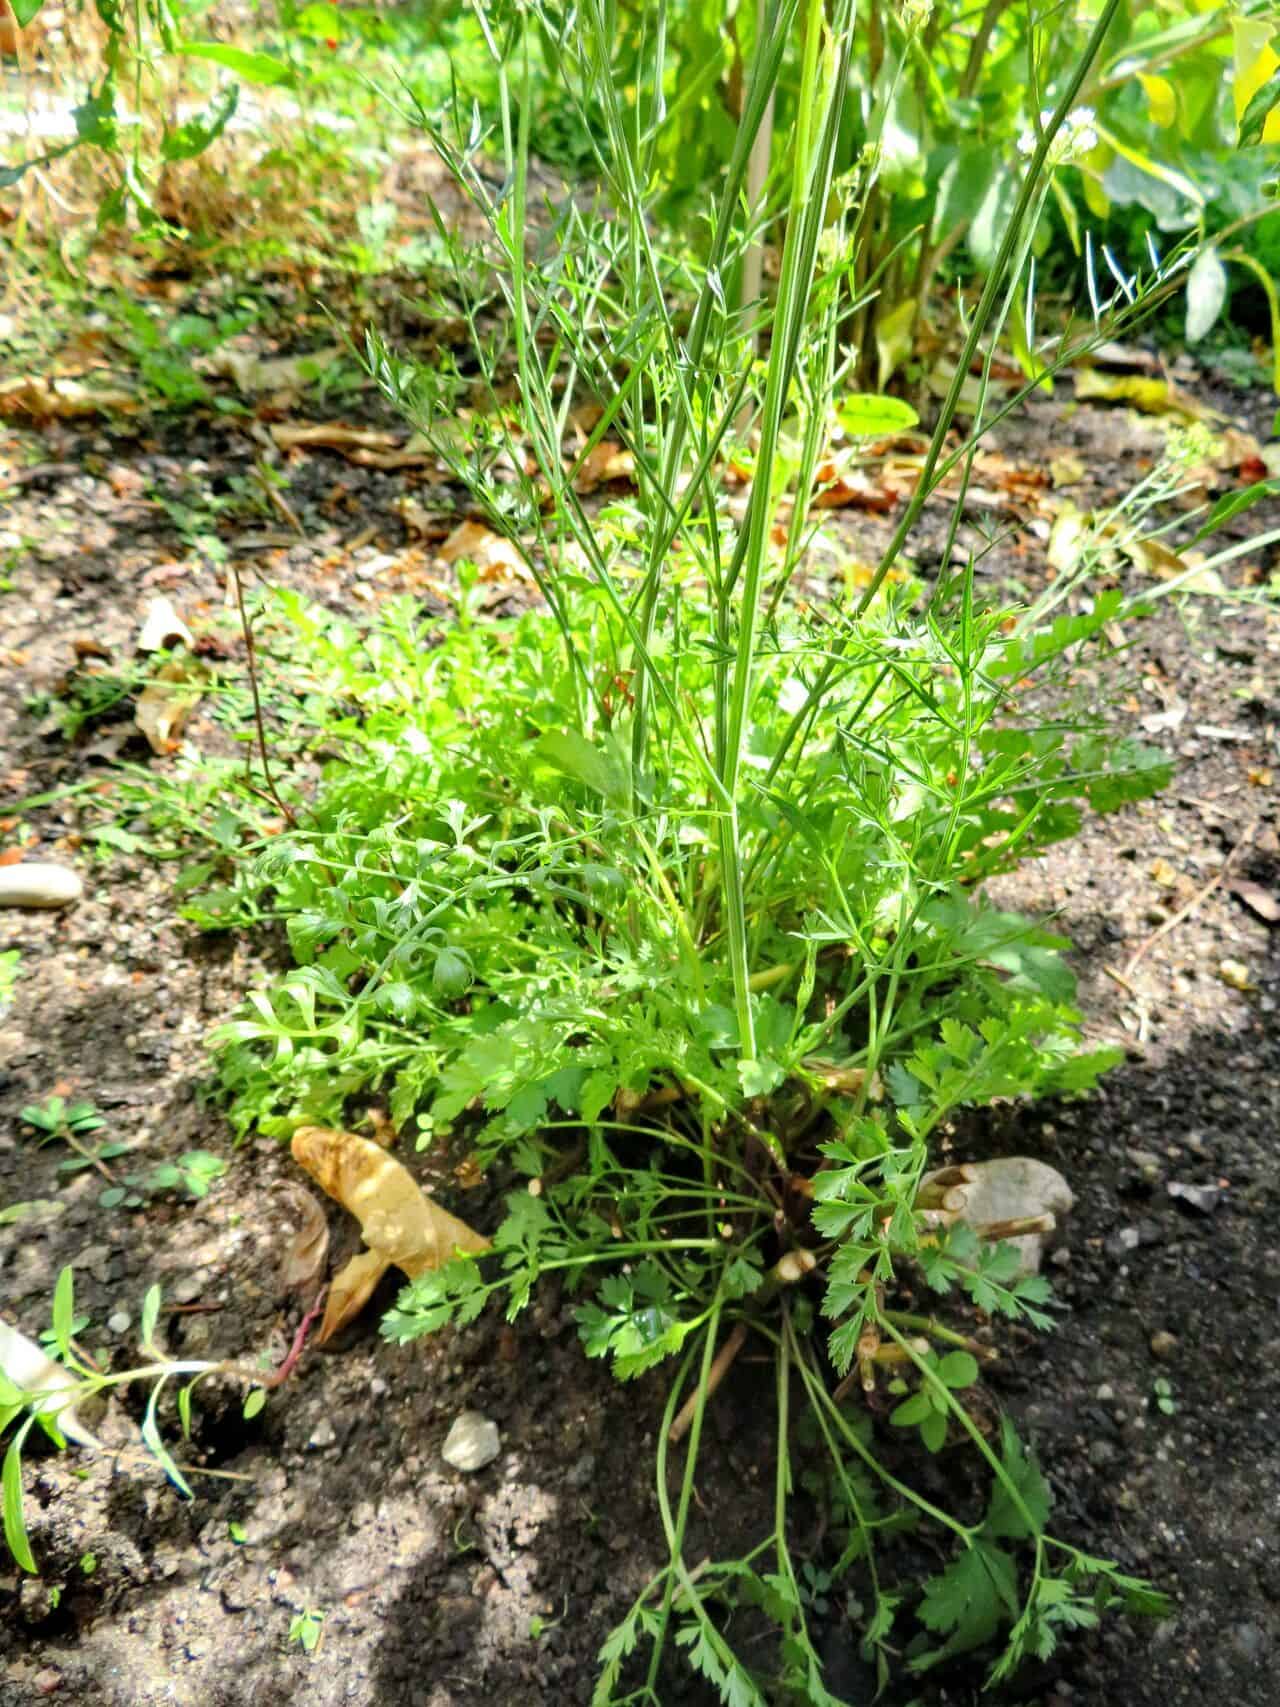
Cryptotaenia japonica, better known as mitsuba or Japanese parsley, is a culinary herb gaining popularity for its delicate flavor and beautiful foliage. With hints of celery, parsley, and cilantro, mitsuba adds a unique dimension to salads, soups, and even tempura. Luckily for home gardeners, propagating this versatile herb is surprisingly straightforward. Whether you’re starting with seeds or divisions, this guide will equip you with the knowledge to successfully grow your own mitsuba.
Seed Starting: Sow the Seeds of Success
Starting mitsuba from seed is a rewarding experience and offers the benefit of witnessing the entire growth cycle. Here’s how:
Timing is Key: Sow mitsuba seeds indoors approximately 6-8 weeks before the last expected frost. Alternatively, direct sow in the garden once the soil has warmed in spring.
Prepare a Welcoming Home: Choose a seed starting mix that’s light and well-draining. Moisten the mix and sow the seeds about ¼ inch deep.
Embrace Patience (and Moisture): Mitsuba seeds can be slow to germinate, taking anywhere from 2-4 weeks. Maintain consistent moisture by misting the soil regularly or using a humidity dome.
Light Up Their Lives: Place the seed tray in a bright location, out of direct sunlight. A sunny windowsill or under grow lights will do the trick.
- Thinning the Herd: Once seedlings develop a couple of true leaves, thin them out to leave the strongest one in each cell or space them about 6-8 inches apart in the garden.
Division: Sharing is Caring (and Multiplying!)
Dividing established mitsuba plants is an excellent way to propagate while also rejuvenating older clumps. Follow these steps:
The Right Time and Tools: Divide mitsuba in early spring or fall when the weather is cool. You’ll need a sharp, clean knife or garden spade.
Carefully Unearth: Gently dig up the mitsuba clump, ensuring you get as much of the root system as possible.
Divide and Conquer: Using your knife or spade, carefully separate the clump into smaller sections, ensuring each division has healthy roots and shoots.
- Replant and Rejuvenate: Replant the divisions at the same depth they were previously growing, spacing them about 12-18 inches apart. Water thoroughly and mulch around the base to retain moisture.
Caring for Your New Mitsuba Progeny
Mitsuba thrives in partial shade and prefers moist, well-drained soil. Water regularly, especially during dry periods. A layer of organic mulch will help conserve moisture and suppress weeds.
This low-maintenance herb doesn’t typically require fertilizing, but amending the soil with compost before planting will give it a good head start.
By following these simple propagation techniques, you can cultivate an abundance of fresh, flavorful mitsuba to elevate your culinary creations. So go ahead – unleash the power of this versatile herb in your own garden!