Unlocking the Secrets of the Spiny Melon: A Guide to Propagating Cucumis aculeatus
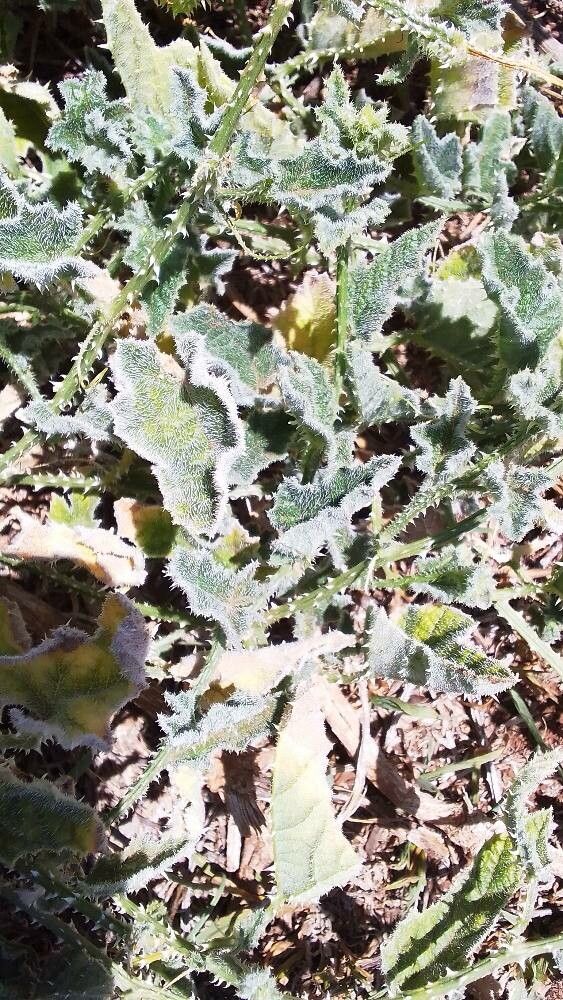
The Spiny Melon, scientifically known as Cucumis aculeatus, is a fascinating plant with a unique charm. This African native, closely related to the cucumber, boasts vibrant yellow flowers and intriguing, spiny fruits. While not as widely known as its cucumber cousin, the Spiny Melon offers a rewarding experience for adventurous gardeners looking for something different.
This guide delves into the world of Cucumis aculeatus propagation, offering valuable insights for successful growth.
Getting Started: Seeds vs. Cuttings
Like many plants, Cucumis aculeatus can be propagated through two primary methods: seeds and cuttings. Each comes with its own set of advantages and considerations:
1. Seed Propagation:
- Availability: Seeds are generally easier to obtain from specialized online retailers or seed exchanges.
- Cost-effective: Seed propagation is often the more budget-friendly option.
- Time Commitment: Starting from seed requires more patience, as it takes longer for plants to mature.
2. Cutting Propagation:
- Faster Growth: Cuttings, already containing a portion of the parent plant, tend to establish themselves quicker.
- Preserves Traits: Cuttings ensure the new plant inherits the exact characteristics of the parent plant.
- Availability: Obtaining cuttings may require access to an existing Cucumis aculeatus plant.
Sowing the Seeds of Success
If you’ve opted for the rewarding journey of seed propagation, follow these steps:
- Timing is Key: Start seeds indoors 4-6 weeks before the last expected frost in your region.
- Well-Draining Soil: Use a seed starting mix that drains well to prevent waterlogging and seed rot.
- Sow with Care: Plant seeds about ½ inch deep in individual pots or seed trays, keeping the soil consistently moist.
- Warmth and Light: Provide a warm environment (70-80°F) and ample indirect sunlight for optimal germination.
- Transplanting Time: Once seedlings develop a few true leaves and the danger of frost has passed, harden them off gradually before transplanting outdoors.
Mastering the Art of Cuttings
For those who prefer a faster approach or wish to replicate the traits of a specific plant, cuttings are the way to go:
- Choose Wisely: Select healthy, non-flowering stems from the current season’s growth.
- Make the Cut: Using a clean, sharp knife or shears, cut a 4-6 inch section just below a leaf node.
- Prepare the Cutting: Remove the leaves from the bottom inch of the stem to encourage root development.
- Rooting Hormone (Optional): Dipping the cut end in rooting hormone can increase the success rate, although it’s not strictly necessary.
- Planting Time: Plant the cutting in a well-draining potting mix, burying the bottom node where the leaves were removed.
- Create a Humid Environment: Maintain high humidity by covering the pot with a plastic bag or humidity dome.
- Patience is Key: Keep the soil consistently moist but not waterlogged. Roots should develop in a few weeks.
Caring for Your Spiny Success
Whether you’ve propagated from seed or cutting, proper care is essential for thriving Cucumis aculeatus plants:
- Sunlight Needs: Provide at least 6 hours of direct sunlight daily.
- Water Wisely: Water regularly, allowing the top inch of soil to dry out between waterings. Avoid overwatering.
- Supporting Growth: Provide a trellis or other support structure for the vines to climb.
- Nutrient Boost: Fertilize every 2-3 weeks during the growing season with a balanced fertilizer.
By following these steps, you’ll be well on your way to successfully propagating and enjoying the unique beauty and bounty of the Cucumis aculeatus. So why not embark on this exciting horticultural adventure and witness the wonder of this fascinating plant firsthand?