Taming the Paper Spine Cactus: A Guide to Propagating Cumulopuntia glomerata
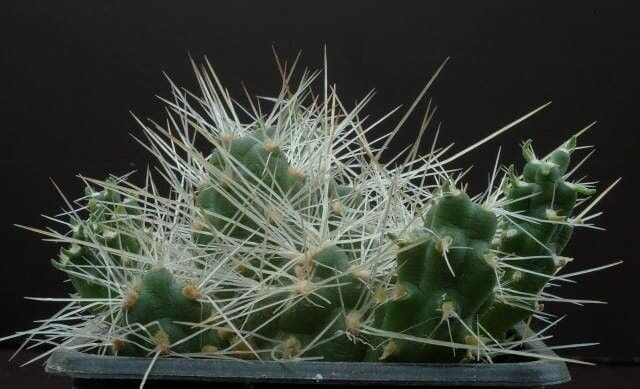
The Cumulopuntia glomerata, more affectionately known as the Paper Spine Cactus, is a captivating plant that draws attention with its unique, paper-like spines and vibrant flowers. This native of Argentina and Bolivia, while small in stature, makes a big statement in any collection. But what if you want to multiply your spiny friend? Fear not, propagating the Paper Spine Cactus is a relatively straightforward affair, and this guide will equip you with the know-how to do just that.
Two Roads to Multiplication: Seeds vs. Cuttings
The Paper Spine Cactus generously offers two primary methods for propagation:
- Seeds: This method, while rewarding, requires patience. Seeds can be collected from the plant’s fruit and sown in a well-draining cactus mix. Keep the soil consistently moist and place the pot in a warm, bright location. Germination can be slow and erratic, often taking a few weeks to several months.
- Cuttings: Offering a quicker and often more reliable route, cuttings involve removing a segment of the cactus to grow a new plant. Don’t worry, the parent plant won’t even miss it! This method is our focus today due to its speed and ease.
The Art of the Cutting: A Step-by-Step Guide
Ready to try your hand at propagating your Paper Spine Cactus? Here’s what you need:
Materials:
- A healthy Paper Spine Cactus
- A clean, sharp knife or pruning shears
- Potting mix specifically formulated for cacti and succulents
- A small pot with drainage holes
- Optional: Rooting hormone powder
Steps:
- Choose your cutting: Select a healthy segment from the cactus. Look for a pad or cluster of pads that is firm and free of any damage or disease.
- Make the cut: Using your sterilized knife or shears, make a clean cut at the base of the chosen segment. Make sure the cut is smooth to encourage proper healing.
- Callus over: Leave the cutting in a warm, dry location out of direct sunlight for a few days to a week. This allows the cut end to callus over, reducing the risk of rot. You’ll know it’s ready when the cut end feels dry and firm to the touch.
- Potting time: Fill your pot with the prepared cactus mix. Gently make a small indentation in the center and dust it with rooting hormone (optional but recommended). Carefully insert the calloused end of the cutting into the soil, burying it just deep enough to stand upright.
- Light and water: Place the potted cutting in a bright location, avoiding direct sunlight for now. Water sparingly, just enough to moisten the soil. You want to prevent the cutting from drying out completely, but avoid overwatering, which can lead to rot.
- Patience is key: Over the next few weeks, your cutting will begin to develop roots. You’ll know it’s taken root when you see new growth emerging.
Caring for Your Newest Addition
Once your new Paper Spine Cactus is established, care for it as you would the parent plant: plenty of bright, indirect light, well-draining soil, and infrequent but deep watering.
Propagating your Paper Spine Cactus is a rewarding experience that allows you to easily expand your collection. The process is straightforward and forgiving, making it a great option even for beginner plant parents. So, don your gardening gloves, grab your sharpest knife, and get ready to multiply your spiny companions!