Unlocking the Secrets of Cunila Microcephala Propagation: From Seed to Sanctuary
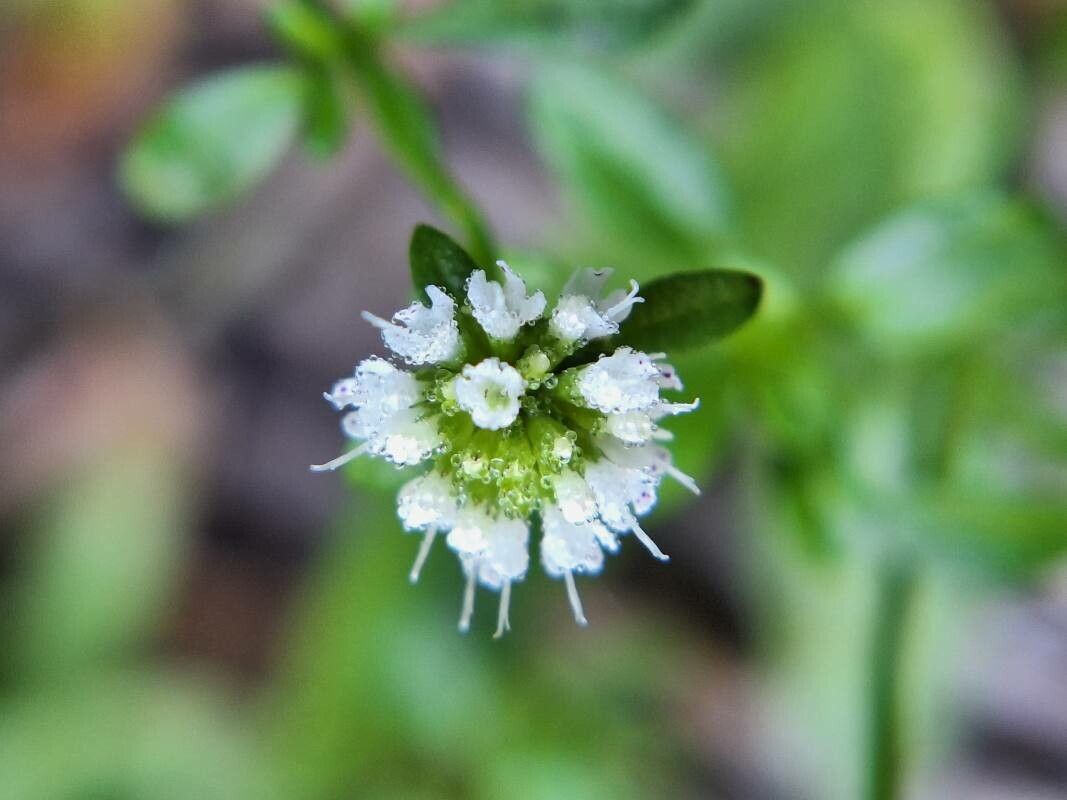
Cunila microcephala, also known as the Smallhead Dittany, is a charming little plant with a lot to offer. This North American native boasts beautiful, delicate foliage, a delightful minty fragrance, and an important role as a pollinator attractor in your garden. But getting your hands on one can be tricky, as it’s not widely available in garden centers.
The good news? Propagating Cunila microcephala is an achievable and rewarding endeavor, even for beginner gardeners! Let’s delve into the different techniques to multiply your stock and invite this delightful plant into your garden sanctuary:
Method 1: Seed Starting for the Patient Gardener
While it requires a bit more time and patience, growing Cunila microcephala from seed is an exciting journey. Here’s a step-by-step guide:
- Source your seeds: Look for reputable online retailers specializing in native plants.
- Prepare the seed starting mix: Use a well-draining seed starting blend.
- Sow the seeds: Surface sow the seeds, pressing them lightly onto the moist soil but avoiding burying them.
- Provide light and warmth: Place your seed tray in a brightly lit area (avoid direct sunlight) and maintain a temperature of around 70°F (21°C).
- Keep the soil consistently moist: Misting the soil surface regularly prevents the seeds from drying out.
- Be patient: Germination can take anywhere from 2-4 weeks.
Method 2: Cuttings for Quicker Results
Propagating Cunila microcephala from cuttings is a faster method that yields quicker results. Follow these simple steps:
- Take your cuttings: In the spring or early summer, select healthy, non-flowering stems about 3-4 inches long.
- Prepare the cuttings: Remove the lower leaves and make a clean cut just below a leaf node.
- Hormone treatment (optional): Dip the cut end in rooting hormone to encourage faster root development.
- Plant the cuttings: Insert the cuttings into a well-draining potting mix.
- Provide humidity: Cover the pot with a plastic bag or use a humidity dome to create a greenhouse-like environment.
- Maintain moisture: Water carefully, ensuring the soil remains consistently moist but not waterlogged.
- Watch for growth: After 4-6 weeks, gently tug on the cuttings. Resistance indicates successful rooting!
Method 3: Division for Established Plants
For those lucky enough to already have a thriving Cunila microcephala, division is an excellent way to propagate new plants and maintain the health of your existing one. Here’s how:
- Timing is key: Divide your plant in the early spring, just as new growth begins to emerge.
- Lift and separate: Carefully dig up the entire plant, loosening the soil around the roots. Gently tease apart the root ball into smaller sections, ensuring each division has healthy roots and shoots.
- Replant and water well: Replant the divisions at the same depth they were originally growing and water them thoroughly.
Tips for Success:
- Regardless of the method, always use a well-draining soil mix as Cunila microcephala dislikes soggy roots.
- Provide your plants with at least 6 hours of sunlight daily for optimal growth and flowering.
- Once established, Cunila microcephala is relatively drought-tolerant but will benefit from occasional watering during dry spells.
Propagating your own Cunila microcephala is a fulfilling experience that lets you enjoy the beauty and benefits of this plant for years to come. So why wait? Choose your preferred method and start multiplying your stock today!