Unveiling the Secrets of Cyananthus Inflatus Propagation: From Seed to Summit
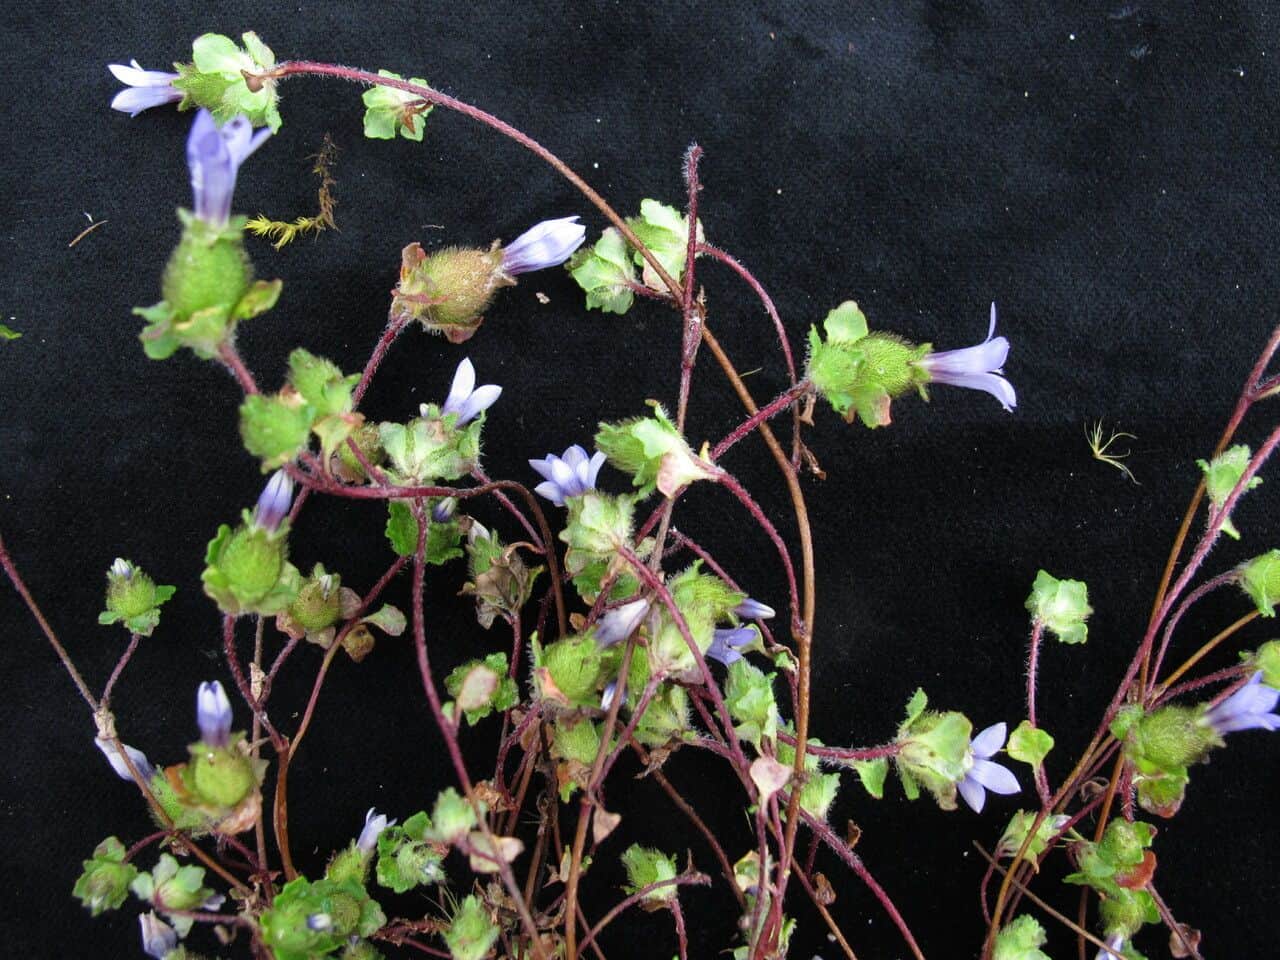
Cyananthus inflatus, with its sky-blue, bell-shaped blooms, is a sight to behold. Often gracing alpine gardens and rockeries, this charming plant, also known as the "inflated bellflower," can seem a bit intimidating to propagate. But fear not, fellow plant enthusiasts! We’re here to demystify the process, unveiling the secrets to successfully cultivating new Cyananthus inflatus plants.
Two Roads Diverge: Seed vs. Cuttings
When it comes to propagating Cyananthus inflatus, you have two primary options: seeds or cuttings.
1. The Seed Route: A Test of Patience
Propagating Cyananthus inflatus from seed can be a rewarding, albeit more time-consuming process. Here’s your step-by-step guide:
- Sourcing Seeds: Your best bet is to collect seeds from existing plants in late summer or early fall. Alternatively, reputable online retailers specializing in alpine plants often carry Cyananthus inflatus seeds.
- Sowing the Seeds: Sow the fine seeds directly onto the surface of a well-draining seed compost in late winter or early spring. Ensure the compost is evenly moist but not waterlogged.
- Light and Temperature: Cover the seed tray with a clear plastic lid or cling film to retain moisture and place it in a bright location, out of direct sunlight. A temperature around 15-18°C (59-64°F) is ideal for germination.
- Germination Patience: Be prepared to wait, as germination can take anywhere from a few weeks to a couple of months.
- Pricking Out and Potting On: Once the seedlings are large enough to handle, carefully prick them out and transplant them into individual pots filled with a well-draining potting mix.
2. The Cutting Edge: A Quicker Path
Propagating from cuttings offers a faster alternative to growing from seed. Here’s how to do it:
- Timing is Key: The optimal time to take cuttings is in late spring or early summer, when the plant is actively growing.
- Choosing Your Cuttings: Select healthy, non-flowering shoots that are around 3-4 inches long.
- Preparing the Cuttings: With a sharp, clean knife or pair of scissors, make a clean cut just below a leaf node. Remove the lower leaves from the cutting, leaving only a couple of leaves at the top.
- Planting the Cuttings: Dip the cut end of the stem in rooting hormone (optional but recommended) and insert it into a pot filled with a mixture of peat moss and perlite or vermiculite.
- Creating a Humid Environment: Water the cutting well and cover the pot with a clear plastic bag or use a propagator to create a humid environment.
- Rooting Time: Keep the cuttings in a bright location, out of direct sunlight, and maintain consistent moisture. Rooting typically takes 4-6 weeks.
- Transplanting: Once the cuttings have developed strong root systems, they can be transplanted into individual pots or directly into the garden.
Cultivating Success: Essential Tips
Regardless of your chosen propagation method, here are some essential tips for success:
- Well-Drained Soil: Cyananthus inflatus thrives in well-drained soil. Avoid heavy clay soils that retain water, as this can lead to root rot.
- Sunshine and Shelter: Choose a location that receives plenty of sunlight but is also sheltered from strong winds, which can damage the delicate blooms.
- Watering Wisely: Water regularly during the growing season, allowing the soil to dry slightly between waterings. Reduce watering in the winter months.
- Deadheading Delight: Regularly deadhead spent blooms to encourage further flowering and prevent self-seeding, which can be prolific in some cases.
With a little patience and the right techniques, propagating Cyananthus inflatus can be a rewarding experience. Soon, you’ll have a flourishing collection of these enchanting blue beauties gracing your garden with their captivating charm.