Fuzzy Wonders: Multiplying Your Own Cyanotis Villosa
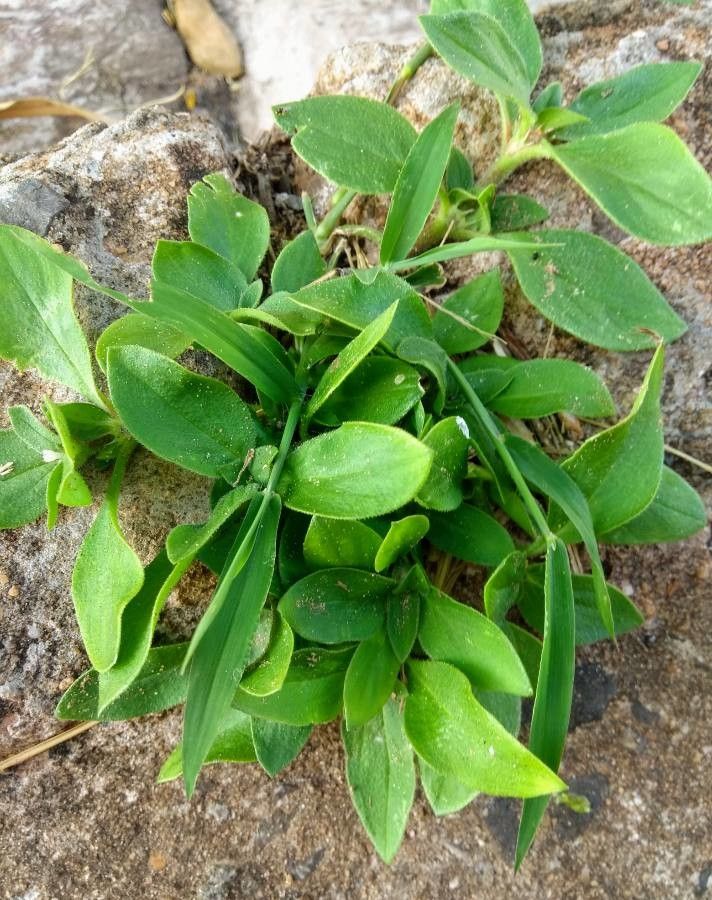
The Cyanotis villosa, affectionately nicknamed “Pussy Ears” or “Kitten Ears” for its fuzzy, endearing leaves, is gaining popularity amongst houseplant enthusiasts. Native to India, this charming succulent boasts unique foliage and a resilient nature. But did you know that propagating this beauty is surprisingly easy? Let’s dive into the world of Cyanotis villosa propagation and get your own fuzzy army started!
Understanding the Basics
Before we get our hands dirty (figuratively, propagation is quite a clean process!), it’s useful to know what we’re working with. Cyanotis villosa generally propagates through:
- Stem Cuttings: The most common and reliable method, yielding quick results.
- Seed Propagation: While possible, seeds can be difficult to find and require more patience.
Method 1: Conquering Cuttings
- Gather Your Tools: You’ll need clean, sharp scissors or pruning shears, a pot or tray with drainage, and a well-draining potting mix suitable for succulents.
- Take the Cutting: Choose a healthy stem and cut about 3-4 inches below a leaf node (where the leaf grows from the stem). Remove the lower leaves, leaving a couple at the top.
- Let it Callus: Allow the cut end of your stem to dry and form a callus for about 1-2 days. This prevents rot when planted.
- Planting Time: Dip the callused end in rooting hormone (optional but helpful), and gently plant it in the prepared potting mix. Ensure the bottom leaf node is buried.
- Patience is Key: Water lightly and place the pot in a bright, indirectly lit location. Avoid direct sunlight as it can scorch the developing roots.
- New Growth Celebration: In a few weeks, you’ll notice new growth, a sure sign that roots have developed!
Method 2: Seed Starting Saga
- Source Your Seeds: Reputable online stores or specialized nurseries are your best bet for finding Cyanotis villosa seeds.
- Prepare the Seedbed: Use a seed starting mix or create a blend of peat moss and perlite for good drainage.
- Sow Your Seeds: Sprinkle the seeds evenly on the surface and lightly press them down. Don’t bury them; they need light to germinate.
- Humidity is Your Friend: Mist the soil surface with water and cover the tray with a plastic dome or a humidity dome. This retains moisture and encourages germination.
- Light and Warmth: Place your seed tray in a bright area with indirect light and maintain a temperature around 70-75°F (21-24°C).
- Germination Anticipation: Patience is vital as seed germination can take several weeks. Keep the soil consistently moist but not waterlogged.
Caring for Your New Plants
Once your new Cyanotis villosa plants are established, they are relatively low-maintenance. Water when the soil is dry to the touch, provide bright, indirect light, and fertilize them every few weeks during the growing season.
Propagating your Cyanotis villosa is a rewarding experience, allowing you to expand your plant family with minimal effort. So why not grab your gardening gloves and give it a try? You’ll be amazed at how easily these fuzzy wonders multiply, bringing a touch of whimsy and charm to every corner of your home.