Cholla Power: How to Propagate Your Own Cylindropuntia Arbuscula
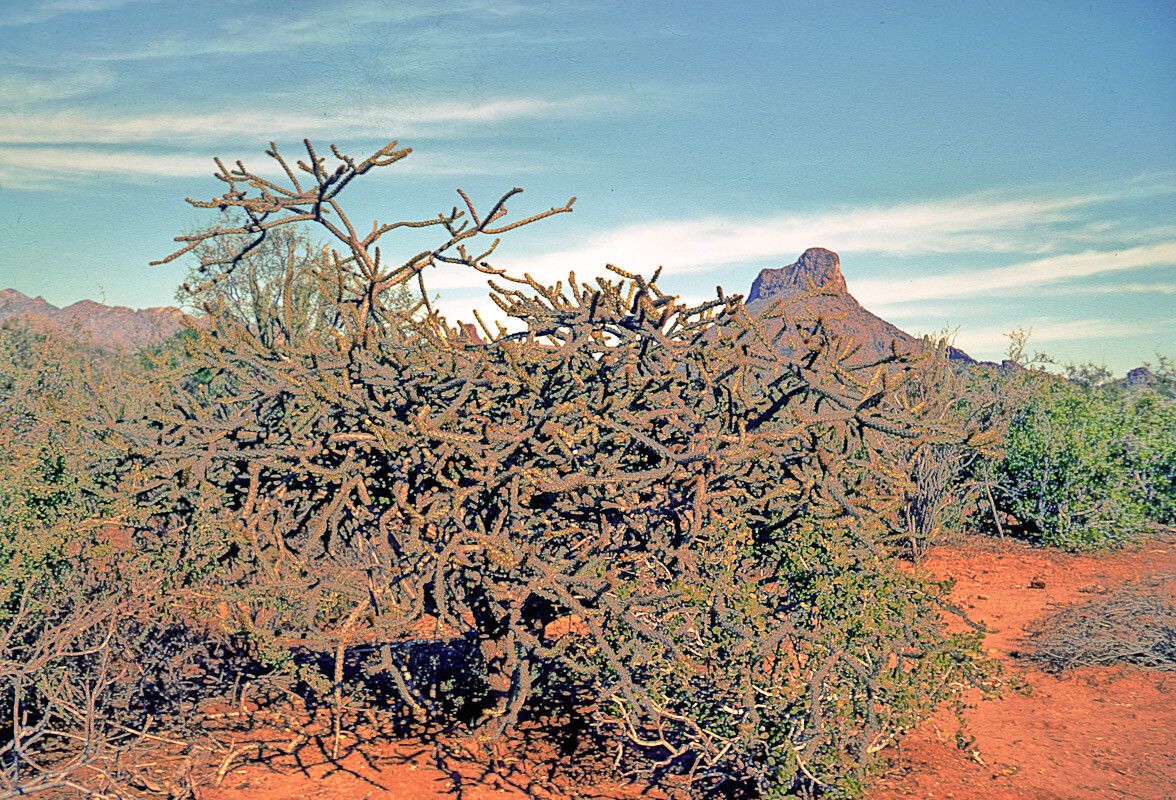
The Cylindropuntia arbuscula, also known as the “cholla” or “jumping cholla” (due to its prickly, detachable branches), is a fascinating and unique succulent that can add a touch of the desert to your garden. This hardy plant thrives in harsh conditions, making it a perfect choice for low-maintenance landscapes. But what if you want to share its awesomeness with friends or expand your own cholla collection? That’s where propagation comes in!
Fortunately, propagating cholla is relatively easy, even for beginners. There are two main methods: seed propagation and cutting propagation.
1. Seed Propagation: Starting From Scratch
- Gather Seeds: Cholla seeds are typically small and brown, and you can find them within the plant’s prickly fruits. If you don’t have fruits on your own cholla, consider getting seeds from a reputable source.
- Preparation: Sow the seeds in a well-draining potting mix, preferably one designed for cacti and succulents. Lightly press the seeds into the soil but don’t bury them too deeply.
- Moisture and Light: Keep the soil consistently moist, but not soggy. Cholla seeds need light to germinate, so avoid covering the container with plastic wrap or a dome.
- Germination Time: Patience is key! Cholla seeds can take several weeks to germinate, and sometimes even months.
- Transplanting: Once your seedlings have grown a few inches tall, you can carefully transplant them into individual pots.
2. Cutting Propagation: The Quick and Easy Way
- Take Cuttings: Cholla branches easily break off, offering a convenient way to propagate. Cut a healthy, mature branch with a sharp, clean knife or pruning shears.
- Let it Dry: To prevent rotting, let the cut end of the branch dry for a few days in a cool, dry place. This will allow a callus to form.
- Planting: Once the callus is formed, gently press the base of the cut branch into well-draining potting mix.
- Water Lightly: Water the cutting sparingly, only when the soil feels completely dry. Avoid overwatering, which can lead to rot.
- Roots and New Growth: With proper care, your cholla cutting should root within several weeks. Keep an eye out for new growth, a clear sign of successful propagation!
Essential Tips for Cholla Propagation Success
- Choose the Right Pot: Use pots with drainage holes to avoid waterlogged conditions.
- Use a Well-Draining Potting Mix: A mix specially designed for cacti or succulents will offer the best drainage.
- Provide Ample Sunlight: Cholla plants require full sun to thrive.
- Don’t Overwater: Let the soil dry completely between waterings.
- Be Patient: Cholla plants grow slowly, and it can sometimes take several years for them to reach their full potential.
Beyond the Basics:
- Variety: Depending on the specific variety of Cylindropuntia arbuscula, you might encounter slightly different growing needs. Research the specific variety you are propagating for optimal results.
- Pest Control: Keep an eye out for common succulent pests like mealybugs and scale. Treat promptly if you see any infestation.
While cholla might seem a bit intimidating with its spiky appearance, propagating this fascinating plant is easier than you might think. With a little patience and the right techniques, you can enjoy the beauty and resilience of this unique desert plant in your own garden or share its prickly charm with others. So, get your gloves on and give cholla propagation a try! You might be surprised at how rewarding the experience can be.