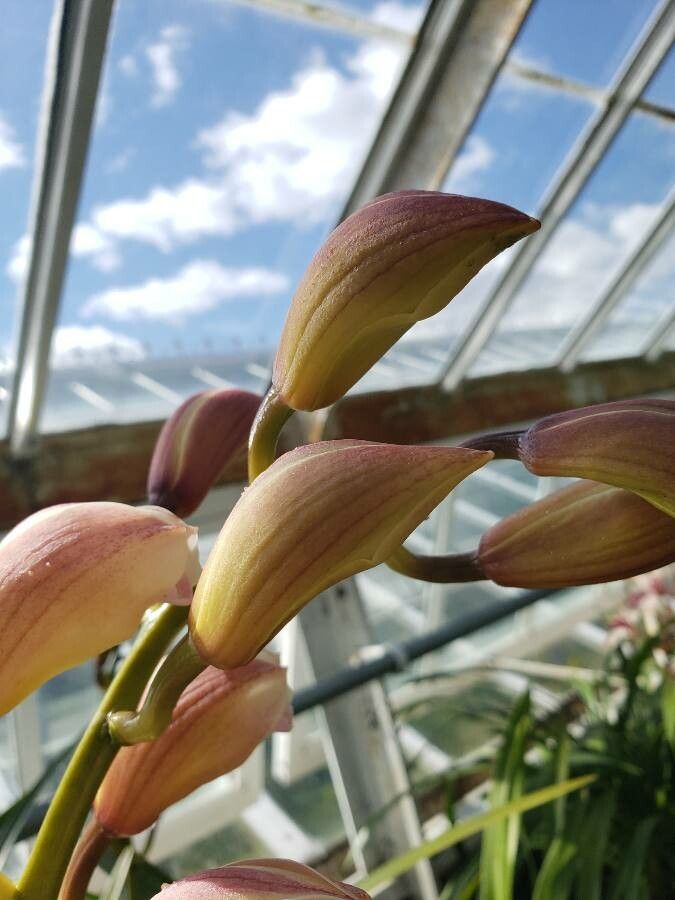
Grow Your Own Orchid Paradise: Propagating Cymbidium insigne
Calling all orchid enthusiasts! Are you captivated by the beauty of the Cymbidium insigne, with its stunning, intricate flowers and elegant foliage? Do you dream of filling your home or garden with these exotic blooms? Then, you might be surprised to learn that propagating your own Cymbidium insigne is easier than you think!
This article will guide you through the fascinating process of propagating your prized orchid, opening the door to a vibrant, self-sustaining collection of these magnificent plants.
Understanding the Methods
Cymbidium insigne can be propagated in a few different ways, each with its own unique advantages:
- Division: This method involves carefully separating the plant into individual divisions, each containing its own root system and growth point. This is the simplest and most common way to propagate Cymbidium insigne, often done when repotting.
- Seed Propagation: While this is a longer and more challenging method, it allows for the potential to create new and exciting hybrid varieties. Seed propagation requires a sterile environment and a keen understanding of specific orchid growing conditions.
- Keiki Propagation: This method involves inducing the formation of “keikis,” or baby plants, on the mother plant’s stem or flower spike. Keikis are miniaturized copies of the parent plant and can be easily separated and potted once they develop their own root system.
Step-by-Step Guide to Division Propagation
- Choosing the Right Time: The best time to divide your Cymbidium insigne is during the repotting season, typically in the spring or early summer, when the plant is actively growing.
- Prepare the Plant: Carefully remove your Cymbidium insigne from its pot and gently loosen the potting mix around the roots.
- Identify the Divisions: Look for natural divisions where the plant has produced multiple growth points. These divisions should have their own root systems and be clearly separated.
- Divide and Pot: Using a sharp, sterilized knife, carefully separate the divisions, making sure each new plant has sufficient roots and at least two healthy growth points. Repot each division in a fresh, well-draining potting mix, ensuring the crown (where the leaves emerge) is above the soil line.
Tips for Successful Propagation
- Sterilization: Always sterilize your tools before and after working with your Cymbidium insigne to prevent the spread of disease.
- Gentle Handling: Treat your plants with care during the propagation process, as damage to the roots or leaves can hinder their growth.
- Proper Lighting and Watering: Newly propagated Cymbidium insigne plants require bright, indirect light and regular watering, ensuring the soil is consistently moist but not waterlogged.
Enjoying Your New Orchids
After propagation, your new Cymbidium insigne plants may take several months to establish themselves. Be patient, provide them with proper care, and enjoy the thrill of nurturing your own little orchid paradise. You’ll soon be rewarded with the beauty and fragrance of these truly unique and captivating orchids.
By following these simple steps, you can unlock a world of possibilities for your Cymbidium insigne collection and experience firsthand the joy and satisfaction of growing these magnificent plants from your own home. So, get ready to embrace your green thumb and embark on your own orchid propagation adventure!