Unveiling the Secrets: How to Propagate the Exotic Cyrtochiloides ochmatochila
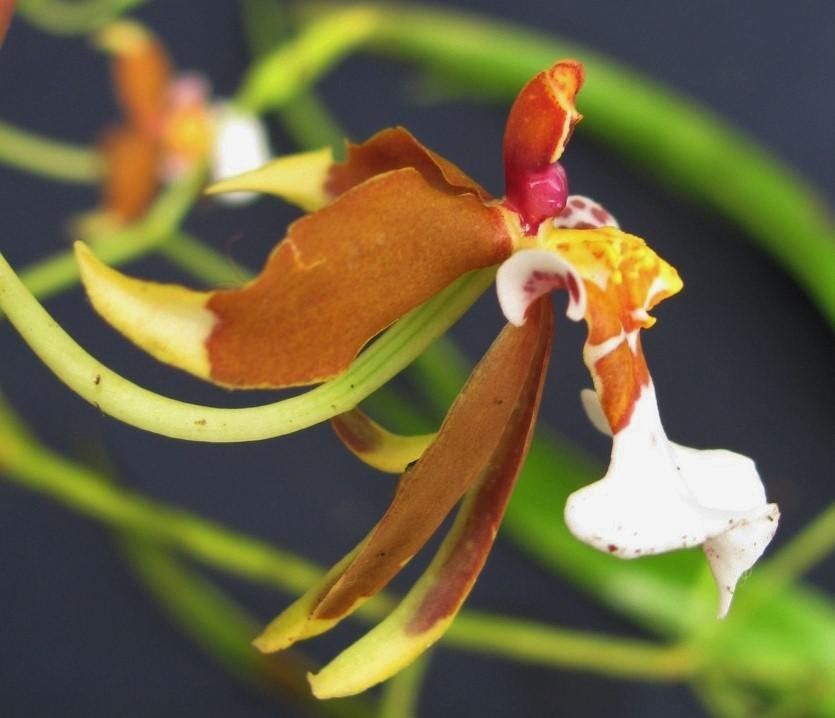
The Cyrtochiloides ochmatochila, while a bit of a tongue twister, is an orchid that captivates with its cascading blooms and air of delicate grace. Native to the high-altitude forests of the Andes, this epiphytic beauty might seem intimidating to propagate, but with a little know-how, you can successfully expand your orchid family.
Understanding the Basics
Before we jump into techniques, it’s crucial to understand that Cyrtochiloides ochmatochila can be propagated in two main ways:
- Division: This method involves separating a mature plant into multiple smaller plants, each with its own roots and leaves.
- Backbulbs: Cyrtochiloides ochmatochila, like many orchids, produces pseudobulbs (often called backbulbs) that store water and nutrients. These can be used to grow new plants.
Method 1: Division – Patience is Key
Division is best performed when repotting your orchid, ideally in spring just as new growth begins. Here’s a step-by-step guide:
- Removal: Gently remove the orchid from its pot and carefully loosen the roots from the potting medium.
- Sectioning: Identify natural divisions in the plant where multiple pseudobulbs are connected. Using a sterilized knife or shears, carefully separate the plant into sections, ensuring each section has at least 3-4 healthy pseudobulbs and a healthy root system.
- Potting: Plant each division in a well-draining orchid mix, ensuring the base of the pseudobulbs sits slightly above the potting medium’s surface.
- Aftercare: Water sparingly until new growth emerges. Provide bright, indirect light and moderate humidity.
Method 2: Backbulbs – From Bulb to Bloom
Propagating from backbulbs requires a bit more patience, but it’s an excellent way to maximize your chances of success.
- Selection: Choose plump, healthy backbulbs that show signs of new growth or “eyes” at their base.
- Preparation: Place the backbulbs in a shallow tray filled with slightly moistened sphagnum moss. Ensure the “eyes” are facing upwards.
- Environment: Cover the tray with a humidity dome or plastic wrap to create a warm, humid environment. Maintain a temperature of around 70-75°F (21-24°C).
- Patience: This method takes time. New shoots and roots may take several weeks or even months to appear.
- Potting: Once the new growths have developed a small root system, pot them individually in a well-draining orchid mix.
Tips for Success
- Sterilization: Always use sterilized tools when dividing or working with backbulbs to prevent the spread of diseases.
- Patience: Orchid propagation, especially from backbulbs, is not an overnight process. Be patient and consistent with your care.
- Observation: Regularly check for any signs of rot or disease and adjust your watering and humidity accordingly.
Propagating Cyrtochiloides ochmatochila is a rewarding experience. By understanding the plant’s specific needs and following these methods, you can increase your chances of success and enjoy watching new life emerge from these enchanting orchids.