From Seed to Showstopper: Propagating the Majestic Cloud Broom (Cytisus supranubius)
Imagine a plant with vibrant golden blossoms cascading over a low, spreading shrub, blooming profusely in the late spring and early summer. This captivating sight belongs to the Cloud Broom (Cytisus supranubius), a unique and increasingly popular addition to gardens. While you can purchase this beauty from nurseries, growing your own Cloud Broom from seed or cuttings adds a special touch to your gardening journey.
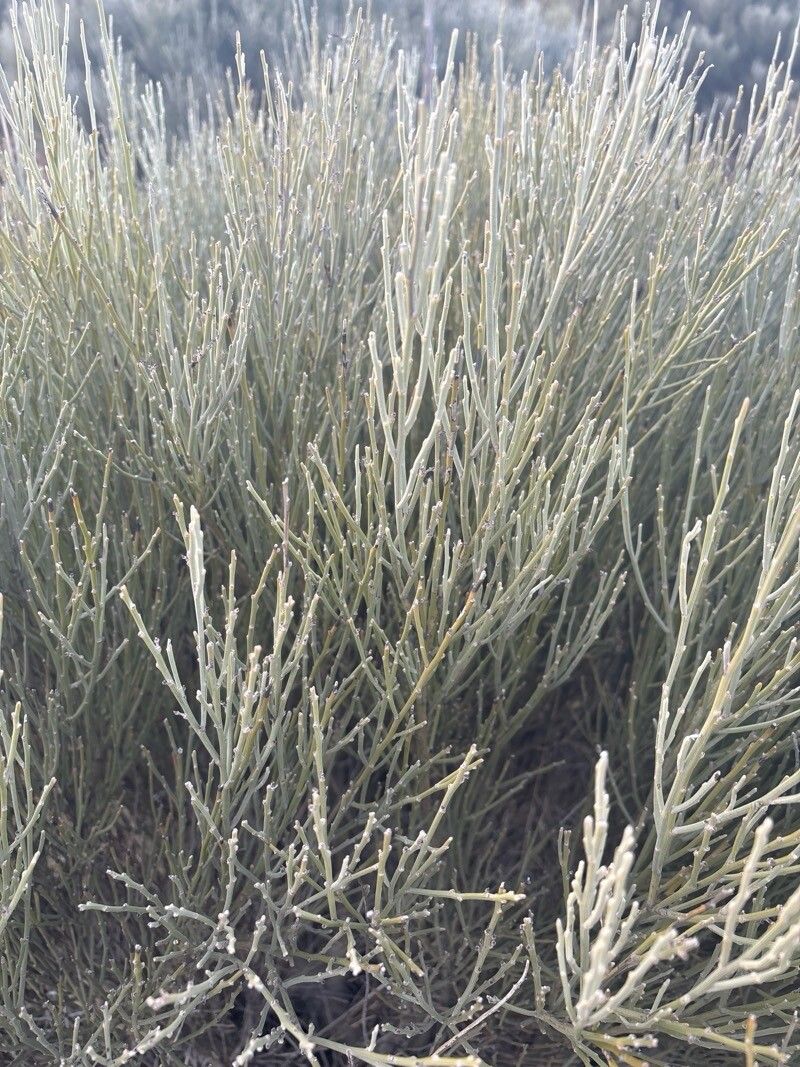
A Little About the Cloud Broom
This rare, yet enchanting, shrub hails from mountainous regions of Portugal and Spain. Its botanical name, Cytisus supranubius, literally translates to “above the clouds,” hinting at its preference for elevated, sunny habitats. Cloud Broom’s ability to tolerate drought and poor soil makes it a fantastic choice for rock gardens, containers, and even sunny slopes.
Propagation Options: From Seed to Success
For those eager to cultivate their own Cloud Broom, two primary propagation methods are available:
1. Seed Propagation:
- Harvesting Seeds: Once the yellow blooms fade and the pods develop, collect them from your existing plant. These pods contain numerous seeds, ready to be sown.
- Seed Scarification: The hard outer coat of the seeds needs a little help to germinate. Lightly scarify the seed by scraping it with a sandpaper or filing its surface gently. This process allows moisture to penetrate the seed coat, promoting germination.
- Sowing: Fill a seed tray with a well-draining seed-starting mix and sow the seeds. Keep the mix consistently moist. For optimal germination, place the trays in a warm spot with temperatures around 70 degrees Fahrenheit (21 degrees Celsius).
- Germination Time: Patience is key! Cloud Broom seeds can take 4 to 8 weeks to sprout, so don’t be discouraged if it takes time.
- Transplanting: Once the seedlings have developed a few true leaves, transplant them into individual pots.
2. Cutting Propagation:
- Ideal Time: The best time for taking cuttings from Cloud Broom is during the late spring or early summer.
- Cutting Selection: Choose healthy, firm stems from the current year’s growth. Aim for 4 to 6 inches long cuttings with multiple nodes (buds) along the stem.
- Preparing the Cuttings: Prepare the cuttings by making a clean, angled cut below a node. Remove any leaves from the lower 1 to 2 inches of the stem.
- Rooting Hormone: Dip the cut end of the stem in rooting hormone powder for better root development.
- Planting: Plant the cuttings in a suitable potting mix, ensuring the lower node (where the leaves were removed) is buried.
- Conditions: Keep the cuttings moist in a warm, humid environment. Ideally, create a mini greenhouse environment with a clear plastic wrap or cloche to maintain the ideal temperature and humidity.
- Rooted Cuttings: Depending on the conditions, your cuttings should develop roots within 4 to 6 weeks. Once established, transplant them into individual pots.
Planting Your Cloud Broom
Whether you’ve grown your Cloud Broom from seed or cuttings, find a sunny location with well-drained soil for planting. Allow the plant ample space to spread, as it can reach up to 6 feet wide.
Maintenance Tips
- Watering: Deeply water your Cloud Broom regularly during the growing season, especially during dry spells.
- Pruning: After blooming, you can prune the plant lightly to maintain its shape and encourage bushier growth.
With its vibrant blossoms and easygoing nature, the Cloud Broom is a captivating addition to any garden. Propagating this exquisite shrub from seed or cuttings adds another layer of satisfaction to your gardening journey. Whether you opt for the patient approach of seed propagation or the slightly quicker method of cuttings, the blooming reward will be well worth the effort. So, get ready to enjoy the breathtaking beauty of the Cloud Broom in your very own garden!